
- Catalogs
- Williams Milton Roy
- Conversion Kit

Conversion Kit

Conversion Kit
- Drain oil from the pump using a 3/16" hex wrench to remove drain plugs.
- Disassemble the stroke adjuster knob and body using appropriate hex wrenches.
- Remove and set aside specific components, ensuring not to disassemble subassemblies unless instructed.
- Reassemble the stroke adjuster body with lubrication and ensure proper alignment and torque.
- Install the control rod subassembly and secure with a set-screw, ensuring correct positioning.
- Calibrate and secure the knob with a calibration ring and capacity label.
- Remove motor cylinder components using a 9/64" hex wrench.
- Disassemble and set aside specific components, retaining the spring and motor cylinder assembly.
- Reassemble the bore cartridge with lubrication and tighten to specified torque.
- Fill the pump with specified oil to the correct level.
- Reassemble the piston/plunger and motor cylinder subassemblies, securing them with screws and washers.
- Remove and replace the suction check valve and reducer bushing if applicable.
- Apply thread sealing compound and PTFE tape to all connections during installation.
- Hex wrenches: 1/16", 9/64", and 3/16"
- Socket torque wrench with 1-1/8" and 1-1/4" sockets
- Flat-blade screwdriver, PTFE pipe thread tape, thread sealing compound, silicone grease, removable thread-locking adhesive, super glue, adhesive surface primer
Catalog excerpts

1.0 STROKE ADJUSTER Refer to Figure 3 for the following procedure: 1.1 Using a 3/16" hex wrench,remove the drain plugs (Fig.1,item 150) at the bottom of the Wilroy > pump,and drain the pump of all oil. 1.2 Using a 1/16" hex wrench,remove the set-screw (350) from the stroke adjuster knob (310).Remove the e-clip (330).Unscrew andremove the stroke adjuster knob. 1.3 Using a 1/16" hex wrench,remove the set-screw (320) from the stroke adjuster body (260).Then remove the control rod subassemblyٗconsisting of components 225 (if applicable),355 and 340do not disassemble any subassemblies unless otherwise...
Open the catalog to page 2
1.10 Remove the vinyl cap from the stroke adjuster body. 1.11 Insert the spring (270) through the stroke adjuster body (260) and slide it over the piston (240). 1.12 The control rod subassemblyconsisting of components 225 (if applicable),355 and 340חis factory assembled.NOTE:The sleeve(225) is not used on the Wilroy > 5M.Apply O-ring lubricant (or supplied grease) to the outside surface of the O-ring (355). 1.13 Insert the control rod subassembly into the stroke adjuster body (260). 1.14 Apply a removable thread-locking adhesive to the set-screw (320).With the control rod subassembly fully inserted,thread...
Open the catalog to page 3All Williams Milton Roy catalogs and technical brochures
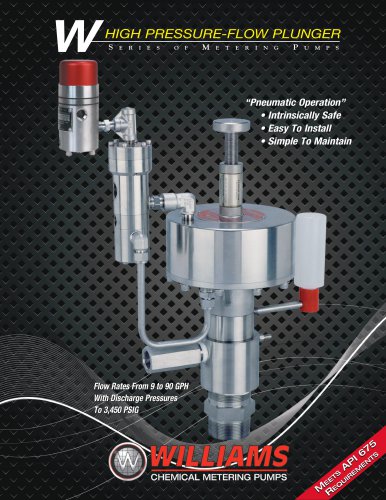 W-Series Brochure
8 Pages
 31049 MKVII PL RK
1 Page
 31025 5-2012 P125V V&X PL RK
2 Pages
 30956 V Series
32 Pages
 P2250 Parts List
1 Page
 P1500 Parts List 39288
2 Pages
 PCV125-AL
1 Page
 APU-XP
1 Page
 WPC-9001-GP XP Control Units
2 Pages
 W Series Pump IOM
25 Pages
 MKXII Controller
2 Pages
 Wilroy Brochure
6 Pages
 V series Brochure
12 Pages
 W-Series Brochure
8 Pages
 Wilroy IOM
20 Pages

Archived catalogs
 Williams V Dual Seal #30950
12 Pages

