
- Catalogs
- U-Reach Data Solutions Inc.
- PCIE SSD Duplicator

PCIE SSD Duplicator
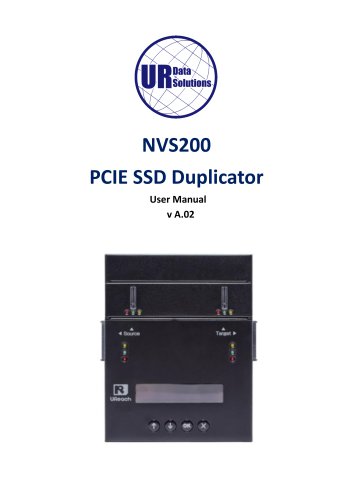
PCIE SSD Duplicator
U-Reach disclaims liability for damages from product use, including data loss or business interruptions. Customers must ensure product quality meets their needs. Specifications may change without notice.
A one-year warranty covers parts and labor, excluding consumables. Extended warranties are available, and lifetime support is provided.
U-Reach is not liable for copyright infringements. Users must ensure legal compliance when copying data.
Read the manual thoroughly. Ensure devices are functional and have equal capacity. Use approved power sources and operate in a clean environment. Follow safety precautions.
The duplicator includes a source port, control buttons, LCD display, power supply, and SD slot for firmware updates. The package includes the duplicator, power adapter, power cord, SATA cable, user manual, and optional accessories.
- Copy: Transfers data with four modes available.
- Compare: Verifies data accuracy.
- Copy+Compare: Combines copy and compare functions.
- Erase: Offers multiple erasure standards.
- Utility: Provides device information and updates.
- Setup: Configures settings.
1. Copy: Connect devices and select 'Copy'. Ensure target capacity is adequate.
2. Compare: Select 'Compare' to verify data.
3. Copy+Compare: Automates processes.
4. Erase: Offers erasure methods compliant with standards.
5. Utility: Displays information and updates firmware.
6. Setup: Configures operational settings.
Describes procedure to calculate write speed. Original data will be modified. Select "5.5 Write Speed" to proceed.
Calculates CRC64 value for source port to verify data correctness. Select "5.6 Calc. CRC64" to proceed.
Includes submenus for copy area, skipping bad sectors, and language preferences. Access via "6. Utility".
- System and Files: Copies data while skipping empty spaces.
- All Partitions: Copies all partitions if target capacity is sufficient.
- Whole Device: Copies entire device bit-by-bit.
- Percentage: Copies a percentage of source capacity.
Disabling "Copy GPT Backup Area" allows copying from larger to smaller devices if partition size permits.
- Options to not copy HPA data, copy settings, or copy both settings and data.
Set number of bad sectors to skip, recommended "0" for critical data.
Enables or disables source port for data sanitization.
In "System and Files" mode, choose to copy or skip unknown formats.
Select between writing random characters per byte or in a set area.
Choose to clear or keep HPA settings during erase.
Select interface language from English, Japanese, or Spanish.
Sets capacity tolerance range affecting copy success.
Option to clear SSDs before copying, default "No".
Restores all settings to manufacturer's defaults.
Steps for replacing M.2 sockets include turning off power, removing screws, replacing sockets, and securing cover plate. Caution advised to prevent damage.
Catalog excerpts
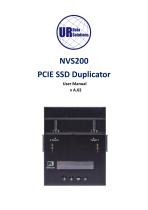
NVS200 PCIE SSD Duplicator User Manual v A.02
Open the catalog to page 1
Index Table
Open the catalog to page 2
Product Disclaimer U-Reach is not accountable for any incidental or consequential damages, which includes, but is not constrained to property harm, loss of time or data from use of a U-Reach product, or any other damages attributable to product malfunction or failure (including without limitation, those attributable to: (1) reliance of the materials provided, (2) costs of product replacement, (3) loss of use, data or profits, (4) delays or business interruptions, (5) and any principle of legal responsibility, arising out of or in reference to the use or overall performance or from delays in servicing...
Open the catalog to page 3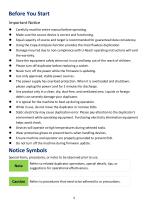
Important Notice • Carefully read the entire manual before operating. • Make sure the source device is correct and functioning. • Equal capacity of source and target is recommended for guaranteed data consistency. • Using the Copy+Compare function provides the most flawless duplication. • Damage incurred due to non-compliance with U-Reach operating instructions will void the warranty. • Store the equipment safely when not in use and keep out of the reach of children. • Please turn off duplicator before replacing a socket. • Never turn off the power while the firmware is updating. • Use only approved,...
Open the catalog to page 4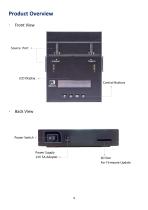
Front View Source Port Control Buttons Back View Power Switch Power Supply 12V 5A Adapter SD Slot For Firmware Update
Open the catalog to page 5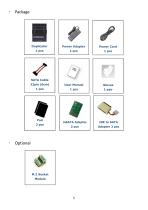
Power Adapter Power Cord User Manual SATA Cable mSATA Adapter
Open the catalog to page 6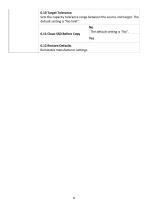
Reinstates manufacturer settings.
Open the catalog to page 9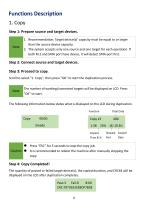
1. Recommendation: Target device(s)' capacity must be equal to or larger than the source device capacity. 2. The system accepts only one source and one target for each operation. If both M.2 and SATA port have device, it will detect SATA port first. Scroll to select "1. Copy", then press "OK" to start the duplication process. The number of working/connected targets will be displayed on LCD. Press "OK" to start. The following information below states what is displayed on the LCD during duplication. Function Total Data Copied Slowest Copied Time & % Port Data • Press "ESC" for 5 seconds to stop...
Open the catalog to page 10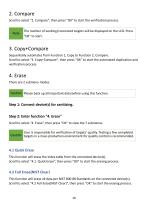
2. Compare Scroll to select "2. Compare", then press "OK" to start the verification process. The number of working/connected targets will be displayed on the LCD. Press "OK" to start. 3. Copy+Compare Sequentially automates from Function 1, Copy to Function 2, Compare. Scroll to select "3. Copy+Compare", then press "OK" to start the automated duplication and verification process. 4. Erase There are 2 submenu modes. Caution Please back up all important data before using this function. Step 1: Connect device(s) for sanitizing. Step 2: Enter function "4. Erase" Scroll to select "4. Erase”, then press...
Open the catalog to page 11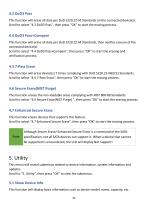
4.3 DoD3 Pass This function will erase all data per DoD 5220.22-M Standards on the connected device(s). Scroll to select "4.3 DoD3 Pass", then press "OK" to start the erasing process. 4.4 DoD3 Pass+Compare This function will erase all data per DoD 5220.22-M Standards, then verifies erasure of the connected device(s). Scroll to select "4.4 DoD3 Pass+Compare", then press "OK" to start the erasing and verification process. 4.5 7-Pass Erase This function will erase device(s) 7 times complying with DoD 5220.22-M(ECE) Standards. Scroll to select "4.5 7-Pass Erase", then press "OK" to start the erasing...
Open the catalog to page 12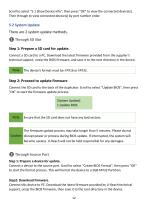
Scroll to select "5.1 Show Device Info", then press "OK" to view the connected device(s). Then through to view connected device(s) by port number order. There are 2 system update methods. Connect a SD card to a PC. Download the latest firmware provided from the supplier's technical support, unzip the BIOS firmware, and save it to the root directory in the device. The device's format must be: FAT16 or FAT32. Connect the SD card to the back of the duplicator. Scroll to select "Update BIOS", then press "OK" to start the firmware update process. [System Update] Step 1: Prepare a device for update....
Open the catalog to page 13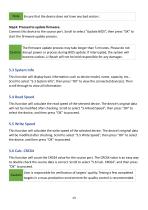
Ensure that the device does not have any bad sectors. Step3: Proceed to update firmware. Connect this device to the source port. Scroll to select "Update BIOS”, then press "OK" to start the firmware update process. The firmware update process may take longer than 5 minutes. Please do not Caution disrupt power or process during BIOS update. If interrupted, the system will become useless. U-Reach will not be held responsible for any damages. 5.3 System Info This function will display basic information such as device model, name, capacity, etc… Scroll to select "5.3 System Info”, then press "OK"...
Open the catalog to page 14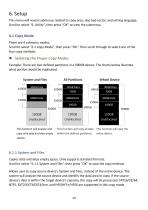
6. Setup This menu will reveal submenus related to copy area, skip bad sector, and setting language. Scroll to select "6. Utility”, then press "OK" to view the submenus. 6.1 Copy Mode There are 4 submenu modes. Scroll to select "6.1 Copy Mode”, then press "OK.” Then scroll through to select one of the four copy methods. ⚫ Selecting the Proper Copy Modes Example: There are two defined partitions in a 500GB device. The charts below illustrate what portion would be duplicated. System and Files 100GB 250GB This function will analyze and copy only data and skip empty spaces. This function will copy...
Open the catalog to page 15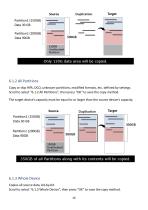
6.1.2 All Partitions Copy or skip HPA, DCO, unknown partitions, modified formats, etc. defined by settings. Scroll to select "6.1.2 All Partitions”, then press "OK" to save the copy method. The target device’s capacity must be equal to or larger than the source device’s capacity. 6.1.3 Whole Device Copies all source data, bit-by-bit. Scroll to select "6.1.3 Whole Device”, then press "OK" to save the copy metho
Open the catalog to page 16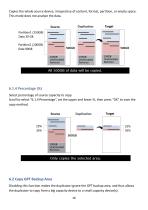
Copies the whole source device, irrespective of content, format, partition, or empty space. This mode does not analyze the data. 6.1.4 Percentage (%) Select percentage of source capacity to copy. Scroll to select "6.1.4 Percentage”, set the upper and lower %, then press "OK" to save the copy method. 6.2 Copy GPT Backup Area Disabling this function makes the duplicator ignore the GPT backup area, and thus allows the duplicator to copy from a big capacity device to a small capacity device(s). 16
Open the catalog to page 17All U-Reach Data Solutions Inc. catalogs and technical brochures
 Carry Series
21 Pages
 SATA III Ultra-High Speed
19 Pages
 Carry Series
18 Pages
 MTS-SASN Series
31 Pages
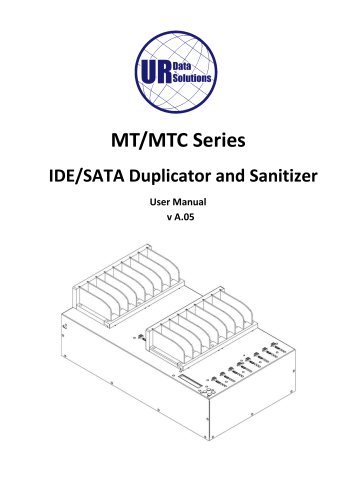 MT/MTC Series
31 Pages
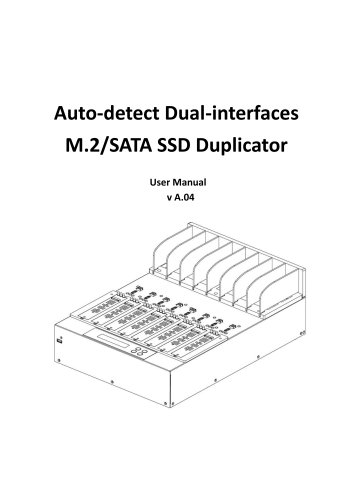 Auto-detect Dual-interfaces
23 Pages
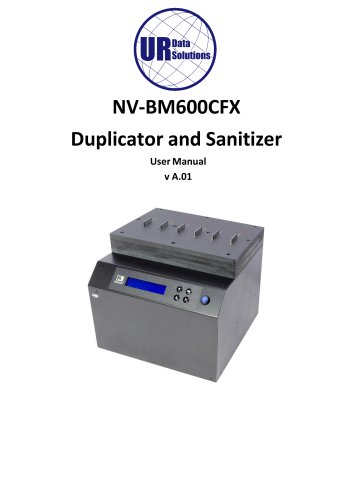 NV-BM600CFX
37 Pages
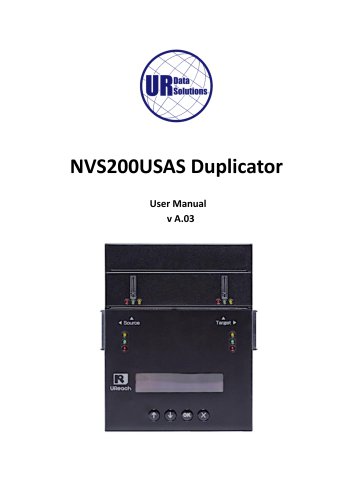 NVS200USAS Duplicator
21 Pages
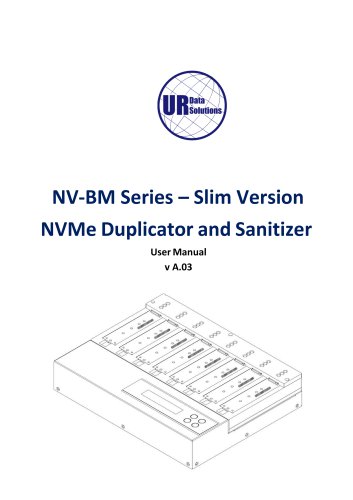 NV-BM Series – Slim Version
24 Pages
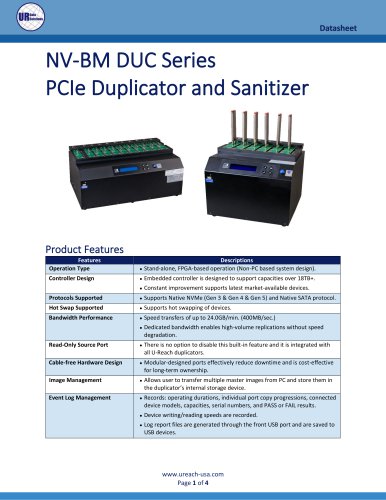 NV-BM DUC Series
4 Pages
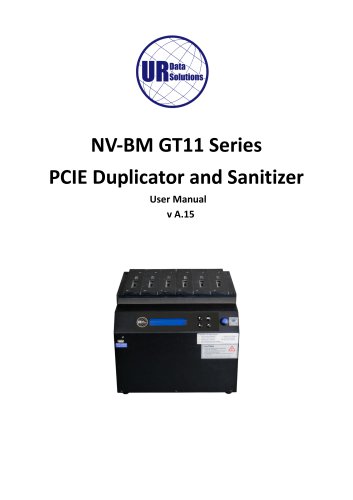 NV-BM GT11 Series
41 Pages
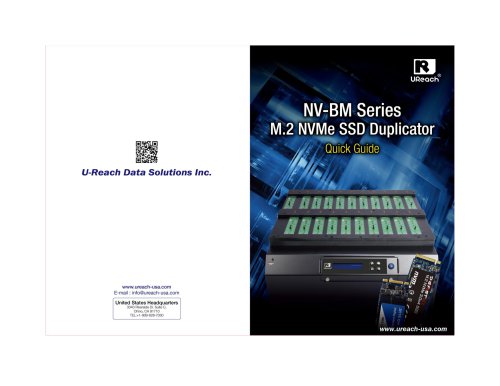 NV-BM Series
2 Pages
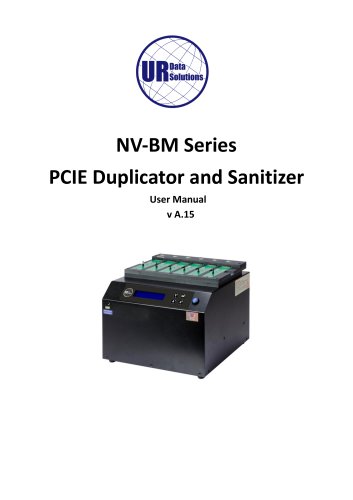 NV-BM Series
41 Pages
- Grinding mill
- LED hand lamp
- Vertical pulverizer
- Reporting software
- Punching center
- Creation software
- Waste chopper
- Impact pulverizer
- Rechargeable hand lamp
- Storage software
- Visible illumination
- Hammer grinding mill
- Compact lump breaker
- Portable hand lamp
- Hole punch punching machine
- Lamp illumination
- Automatic grinding mill
- Software solution on site
- Hand lamp with battery
- UV illumination