
- Catalogs
- STS - Bespoke Handling Equipment
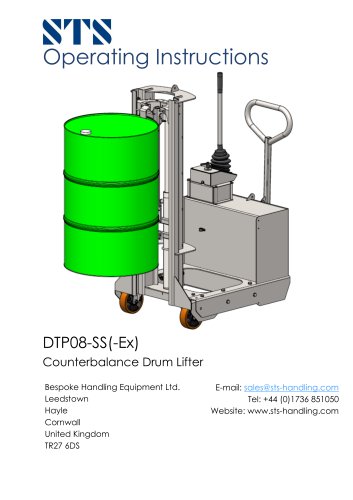
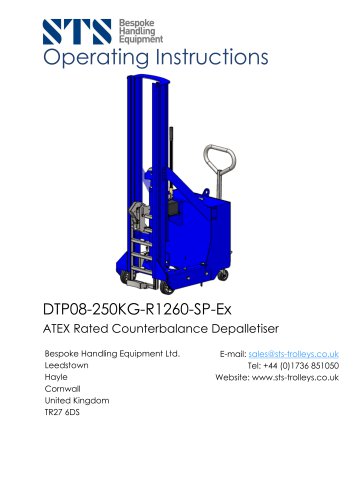
- Motorized drum lifter - DTP08 Series - Instruction Manual (Motorized drum lifter DTP08 Series)


- Company
- Products
- Catalogs
- News & Trends
- Exhibitions
Motorized drum lifter - DTP08 Series - Instruction Manual (Motorized drum lifter DTP08 Series)
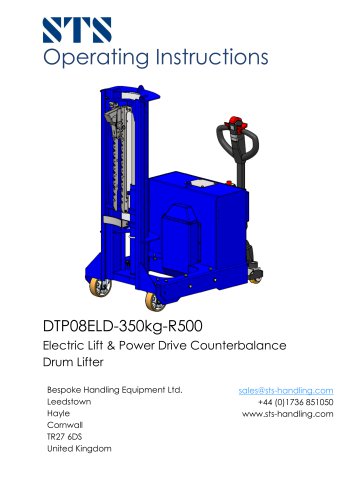
Motorized drum lifter - DTP08 Series - Instruction Manual (Motorized drum lifter DTP08 Series)
- General: The unit must be used according to instructions to prevent damage or injury. It complies with relevant directives and standards.
- Foreseeable Misuse: Avoid exceeding the maximum safe working load (SWL), unnecessary travel with a raised load, or altering the unit's specifications. Unauthorized modifications void the warranty.
- Approved Conditions: Operate in dry environments, within -20°C to 40°C, and at altitudes below 2000m. Ensure proper lighting and secure, level surfaces.
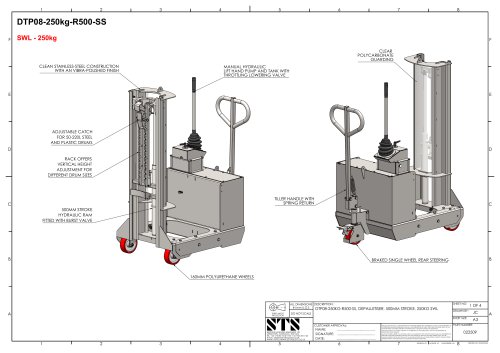
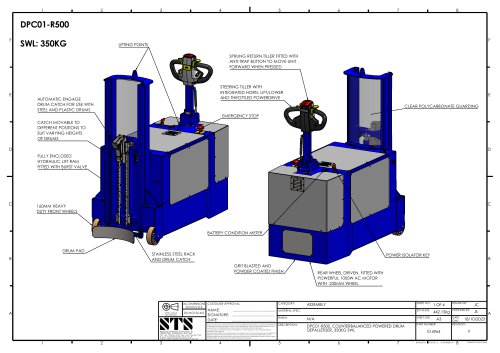
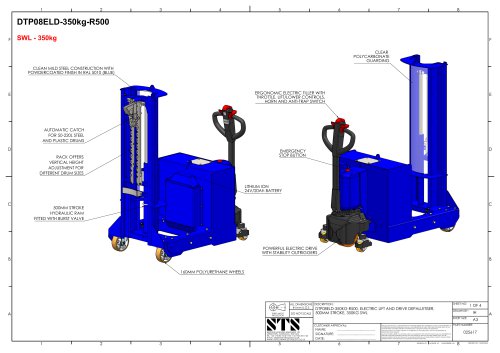
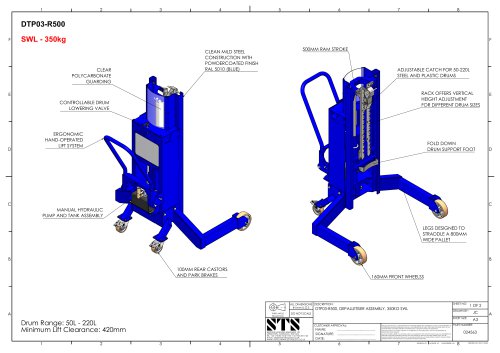
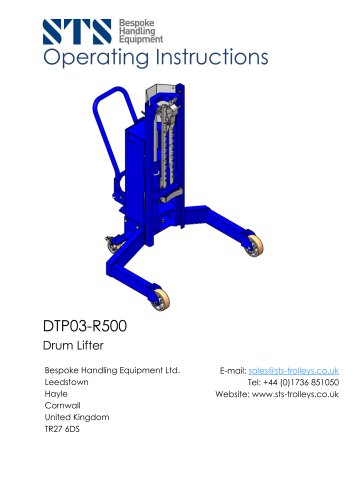
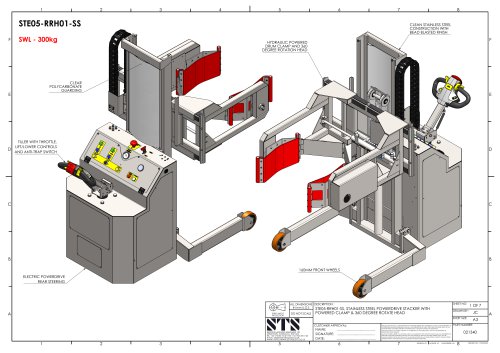
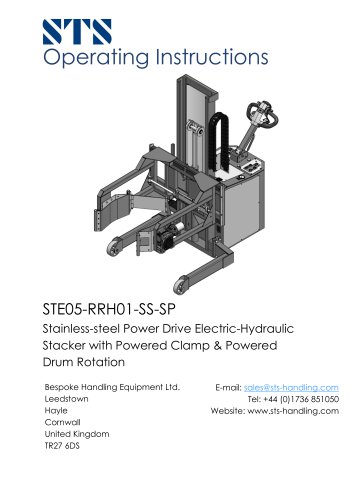
Details the components and features of the DTP08ELD-350kg-R500 Electric Lift & Power Drive Counterbalance Drum Lifter.
- Pre-start Inspections: Conduct checks before operation.
- Battery Charging: Follow specific procedures for charging and monitoring charge status.
- Operating Functions: Instructions for lift/lower and drive functions, including height adjustments.
- Maintenance Checklist: Regular checks and servicing are required.
- Troubleshooting: Guidelines for addressing common issues.
- Consumables: Use only original parts to maintain safety and warranty.
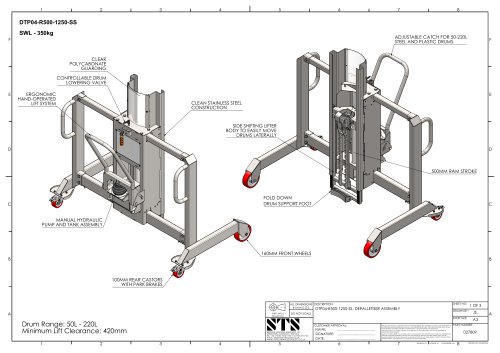
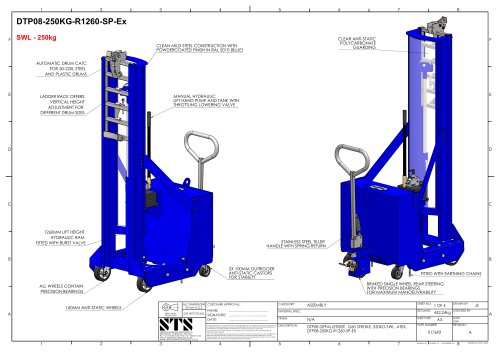
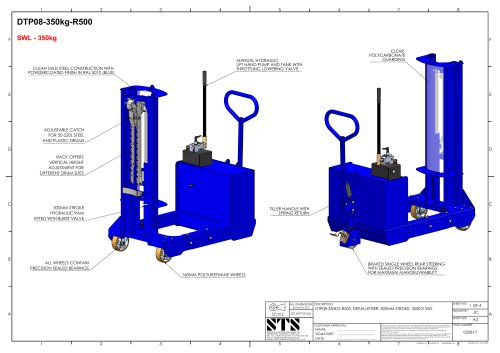
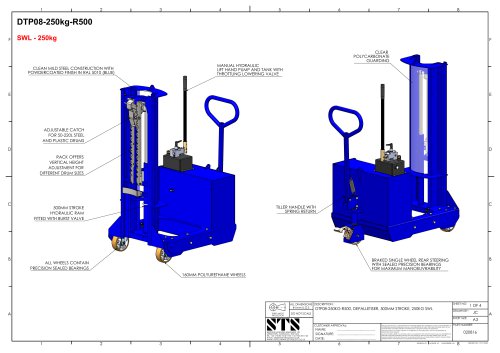
Provides detailed technical specifications and general arrangement of the unit.
- Decommissioning: Steps for safely decommissioning and disposing of the unit.
- Safety Tests: Regular safety tests are required, especially after unusual incidents.
Proper maintenance of hydraulic hoses is crucial for safety and functionality.
Lift chains must be kept clean using a citrus cleaner and PTFE or food-grade lubrication spray.
Ensure the unit is on a level surface and use appropriate lifting gear. Only qualified personnel should handle the unit.
Secure the unit properly during transport using tension belts or tie-down straps.
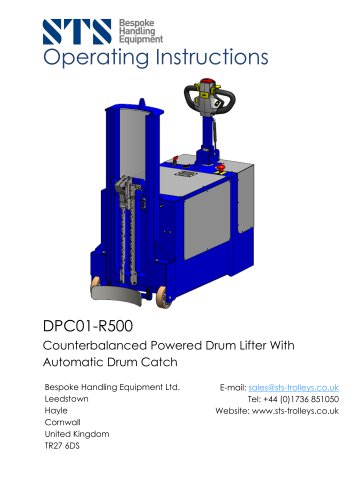
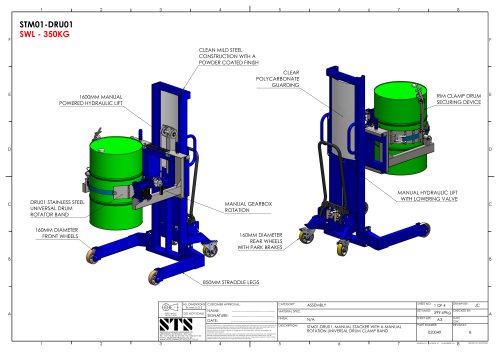
The drum lifter is designed for lifting, lowering, and transporting drums with a SWL of 350kg.
Inspect the unit for damage, check battery charge, and test emergency functions.
Use only the supplied battery and charger. Charge in a well-ventilated area.
Ensure the battery is charged and deactivate the emergency stop to power the unit.
Regular maintenance is required, including checking labels, components, and electrical systems.
Provide the unit serial number, error description, product name, and current location for efficient customer service.
- Load Exceeds SWL: Reduce load mass.
- Incorrectly Secured Load: Follow clamping and lifting instructions.
- Low Hydraulic Oil Level: Check and refill oil.
- Unit Not Lifting Fully: Ensure rod is at the bottom and refill oil.
- Unlit Tiller Battery Display: Enter code and press green tick.
- Emergency Stop Engaged: Twist to release.
- Low Battery Charge: Check and recharge battery.
- Incorrect Battery Fit: Check connections.
- Faulty Fuse: Inspect and replace if necessary.
- Oil Leaks: Replace seals or damaged parts.
Use original STS consumables to avoid injury or damage. Replace hydraulic oil with 32-grade or equivalent.
Replace if damaged or visibility is reduced.
Replace damaged wheels following safety instructions.
Use only approved batteries and chargers. Avoid improper connections and modifications.
Use appropriate extinguishing agents for lithium battery fires.
Maintain charge levels and store within specified temperature ranges.
Ensure the battery is in normal condition without damages or abnormal signs.
If any battery damage is found, contact the service provider immediately.
Dispose of lithium-ion batteries according to national environmental regulations as hazardous waste.
The unit has a maximum width of 700mm, length of 1260mm, turning radius of 1300mm, and height of 1500mm. It supports a maximum load of 350kg.
If out of service for over a month, store in a frost-free, dry room. Final decommissioning must follow national regulations.
Reconnect the battery ensuring it is undamaged. Perform safety checks annually or after unusual incidents.
For further assistance, contact STS Technical Support Line at +44 (0) 1736 851050.
Catalog excerpts
Bespoke Handling Equipment Ltd. [email protected] Hayle www.sts-handling.com United Kingdom
Open the catalog to page 1
Only operation manuals written in English are the original instructions, versions provided in any other language then become a translation of the original instructions. The unit described in the present operating instructions must be used, operated and serviced in accordance with the present instructions. Any other type of use is beyond the scope of application and can result in damage or injury to personnel, the unit or property. The unit described in the present operating instructions complies with all relevant directives and standards. Foreseeable Misuse of the Unit Personnel must take care...
Open the catalog to page 3
Proprietor Responsibilities For the purposes of the present operating instructions the “proprietor” is defined as any natural or legal person who either uses the unit themselves, or on whose behalf it is used. In special cases (e.g. leasing or renting) the proprietor is considered th e person who, in accordance with existing contractual agreements between the owner and user of the unit, is charged with operational duties. The proprietor must ensure that the unit is used only for the purpose for which it is intended and that there is no danger to life or limb of the user and third parties. Furthermore,...
Open the catalog to page 4
Servicing and repairs All unit parts and consumables are available from STS. The unit must be fitted with original STS parts and consumables unless otherwise stated. Any deviation from non original parts and consumables may result in injury to personnel or damage to the unit and will invalidate the warranty. The operator must never disable, remove or adjust safety mechanisms or switches. The unit should only be serviced and repaired by a competent individual as selected by the company the equipment is intended for use with. Safety devices and warning decals Safety devices, warning decals and...
Open the catalog to page 5
Personal protective equipment (PPE) PPE must be worn at all times. A minimum of safety shoes must be worn while operating the unit. Safety shoes, safety glasses, protective gloves, hearing protection and protective overalls are to be worn when carrying out servicing, repairs and maintenance. When operating overhead loads, a hard hat must be worn. End user health and safety procedures and best practices should be followed in addition to the above recommendations. Consumables and Parts Environmental hazards Parts and oils must be disposed of in accordance with the relevant environmental protection...
Open the catalog to page 6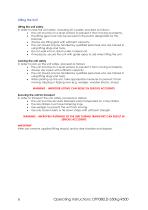
In order to raise the unit safely, including off a pallet, proceed as follows: • The unit must be on a level surface to prevent it from moving accidently. • The lifting gear must only be secured to the points designated for this purpose. • Always use lifting gear with sufficient capacity. • The unit should only be handled by qualified personnel who are trained in using lifting slings and tools. • Do not walk into or stand under a raised unit. • If necessary, secure the unit with guide ropes to aid when lifting the unit. In order to jack up the unit safely, proceed as follows: • The unit must...
Open the catalog to page 7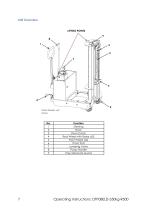
Unit Overview
Open the catalog to page 8
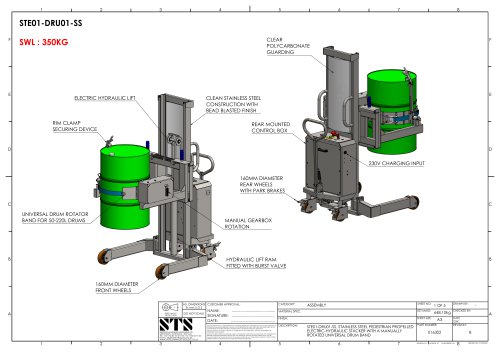
Section II – Unit Description The drum lifter is designed for lifting, lowering and transporting drums around the workplace as well as on and off of pallets. The instructions in this manual should be adhered to at all times, failure to do so could result in minor or serious injury to the operator and/or other personnel. The unit has an electric power drive and electric-hydraulic powered lift and lower. The unit incorporates enclosed, smooth geometry with rounded edges to ensure safe handling of the unit. The unit is fitted with a fully enclosed ram, which is operated from the rear of the unit...
Open the catalog to page 9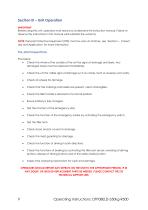
Before using this unit, operators must read and understand this instruction manual. Failure to observe the instructions in this manual will invalidate the warranty. NOTE: Personal Protective Equipment (PPE) must be worn at all times, see ‘Section I - Correct Use and Application' for more information. • Check the whole of the outside of the unit for signs of damage and leaks. Any damaged hoses must be replaced immediately. • Check the unit for visible signs of damage such as cracks, bent or severely worn parts. • Check all wheels for damage. • Check that the markings and labels are present, clean...
Open the catalog to page 10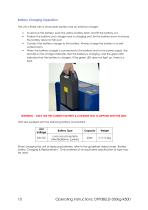
The unit is fitted with a removable battery and an external charger. • To remove the battery, push the yellow battery latch and lift the battery out. • Position the battery and charger near a charging port, lie the battery down to ensure the battery does not fall over • Connect the battery charger to the battery. Always charge the battery in a well vented room. • When the battery charger is connected to the battery and to the power supply, the red LED on the charger indicates that the battery is charging, and the green LED indicates that the battery is charged. If the green LED does not light...
Open the catalog to page 11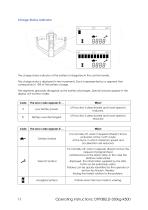
The charge status indicator of the battery is integrated in the control handle. The charge status is displayed in ten increments. Each is represented by a segment that corresponds to 10% of the battery charge. The segments gradually disappear as the battery discharges. Special statuses appear in the display unit as error codes.
Open the catalog to page 12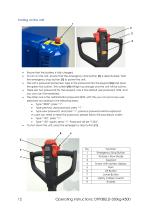
• Ensure that the battery is fully charged. • To turn on the unit, ensure that the emergency stop button (1) is deactivated. Twist the emergency stop button (1) to power the unit. • The unit is password protected, type in the password into the keypad (3) and press the green tick button. The screen (4) will light up orange and the unit will be active. • There are two passwords for the keypad, one is the default user password 1234, and you can use it immediately. • The other one is the administrator password 3232; with this you can set a new user password according to the following steps: • Type...
Open the catalog to page 13All STS - Bespoke Handling Equipment catalogs and technical brochures

- Dynamic agitator
- Batch agitator
- Metal cart
- Transport trolley
- Liquid homogenizer
- Agitator for the food industry
- Stacker truck
- Lifting system
- Vertical homogenizer
- Homogenizer for the chemical industry
- Stainless steel homogenizer
- Handling cart
- Electric stacker truck
- Materials handling manipulator
- In-line mixer
- Solid mixer
- Solid/liquid agitator
- Walk-behind stacker truck
- Manipulator for industrial applications
- Powder kneader