- Catalogs
- SHAREBOT SRL
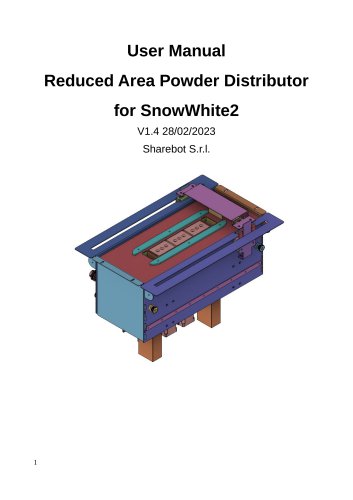
- User Manual Reducer Area Kit Metalone
User Manual Reducer Area Kit Metalone
1 /8Pages
User Manual Reducer Area Kit Metalone
1 /8Pages
Catalog excerpts

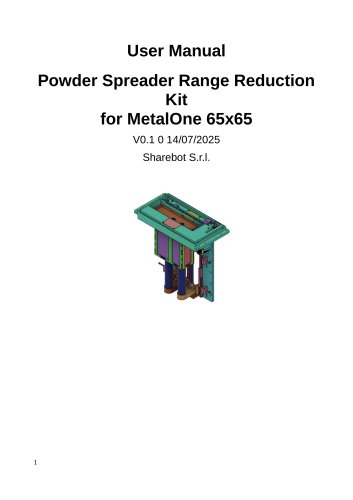
User Manual Powder Spreader Range Reduction Kit for MetalOne 65x65 V0.1 0 14/07/2025 Sharebot S.r.l.
Open the catalog to page 1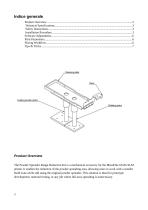
Product Overview The Powder Spreader Range Reduction Kit is a mechanical accessory for the MetalOne 65x65 SLM printer. It enables the reduction of the powder spreading area, allowing users to work with a smaller build zone while still using the original powder spreader. This solution is ideal for prototype development, material testing, or any job where full-area spreading is unnecessary.
Open the catalog to page 2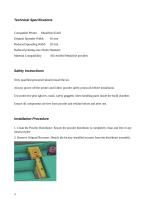
Compatible Printer MetalOne 65x65 Original Spreader Width 65 mm Reduced Spreading Width 20 mm Reduced printing area 10mm Diameter Material Compatibility All certified MetalOne powders Only qualified personnel should install the kit. Always power off the printer and follow powder safety protocols before installation. Use protective gear (gloves, mask, safety goggles) when handling parts inside the build chamber. Ensure all components are free from powder and residue before and after use. 1. Clean the Powder Distributor: Ensure the powder distributor is completely clean and free of any metal powder....
Open the catalog to page 3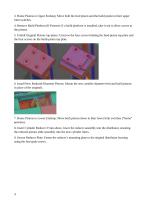
3. Home Pistons to Upper Endstop: Move both the feed piston and the build piston to their upper limit switches. 4. Remove Build Platform (If Present): If a build platform is installed, take it out to allow access to the pistons. 5. Unbolt Original Pistons top plates: Unscrew the four screws holding the feed-piston top plate and the four screws on the build-piston top plate. 6. Install New Reduced-Diameter Pistons: Mount the new, smaller-diameter feed and build pistons in place of the originals. 7. Home Pistons to Lower Endstop: Move both pistons down to their lower limit switches (“home” position)....
Open the catalog to page 4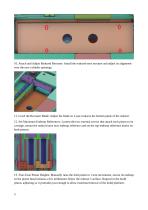
10. Attach and Adjust Reduced Recoater: Install the reduced-area recoater and adjust its alignment over the new cylinder openings. 11. Level the Recoater Blade: Adjust the blade so it just contacts the bottom plane of the reducer. 12. Set Maximum Endstop References: Loosen the two external screws that attach each piston to its carriage, mount the reduced area max endstop reference and set the top-endstop reference marks on both pistons. 13. Fine-Tune Piston Heights: Manually raise the feed piston in 1 mm increments, secure its endstop so the piston head remains a few millimeters below the reducer’s...
Open the catalog to page 5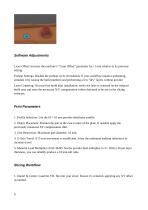
Laser Offset: Increase the machine’s “Laser Offset” parameter by +1 mm relative to its previous setting. Preheat Settings: Disable the preheat cycle (if enabled). If your workflow requires preheating, simulate it by raising the build platform and performing a few “dry” layers without powder. Laser Centering: On your first build after installation, verify the laser is centered on the reduced build area and store the necessary X/Y compensation values that need to be use in the slicing software. 1. Profile Selection: Use the 65 x 65 mm powder-distributor profile. 2. Object Placement: Position the...
Open the catalog to page 6
2. Apply Profile: Select the 65 × 65 mm powder-distributor profile with layer ayer thickness as required. 4. Generate Slices: Slice the model and export to the machine’s build format. Tips & Tricks Powder Cleanliness: Regularly inspect and clean the reducer’s cylinders to prevent clogging and ensure smooth piston travel. Endstop Calibration: Periodically re-check the piston endstop positions after several builds to account for any mechanical drift. Build Plate Mounting: Screw the sacrifical plate to the build plate support. Than move the piston to the max endstop and insert the support to the...
Open the catalog to page 7All SHAREBOT SRL catalogs and technical brochures
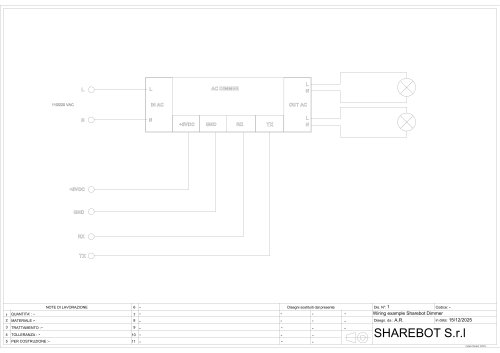 Dimmer wiring diagram
1 Page
 SDS Finishxpert Filler
30 Pages
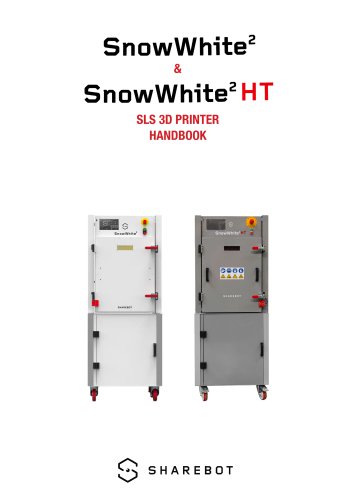 Snowwhite2 Handbook
40 Pages
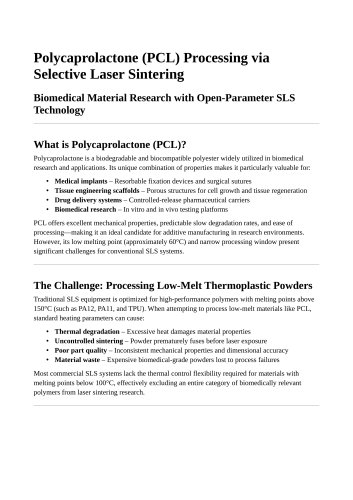 Snowwhite2 PCL
4 Pages
 Snowwhite2 enduser patent report
25 Pages
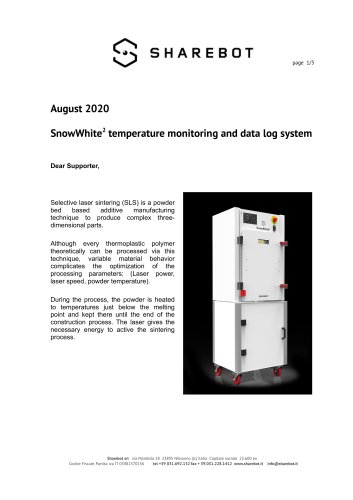 Snowwhite2 Temperature LOG
3 Pages
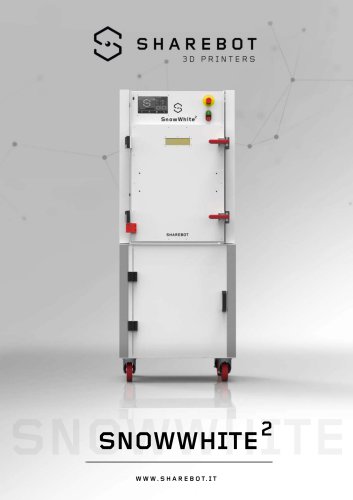 Snowwhite2 brochure
2 Pages
 Snowwhite2 User Manual
49 Pages
 Metalone custom development
2 Pages
 Metalone User Manual
73 Pages
 Metalone brochure
2 Pages
 Metalone Handbook
28 Pages
 User Manual Snowwhite2HT
44 Pages
 Brochure Snowwhite2HT
2 Pages
- Additive manufacturing machine
- Automatic test kit
- Industrial 3D printer
- Plastic additive manufacturing machine
- High-performance 3D printer
- Prototyping 3D printing machine
- FDM 3D printer
- Laboratory test kit
- High-speed 3D printer
- Metal 3D printing machine
- Plastic spray
- Large-format 3D printer
- ABS 3D printer
- PLA 3D printer
- Polyester sealant
- Desktop 3D printer
- Medical 3D printing machine
- Dental 3D printing machine
- 3D printer for the aerospace industry
- PA 3D printer