- Company
- Products
- Catalogs
- News & Trends
- Exhibitions
SERVOTOUGH SpectraExact 2500 Series Quick Start Manual 02500003E_0 en
1 /33Pages

SERVOTOUGH SpectraExact 2500 Series Quick Start Manual 02500003E_0 en
1 /33Pages
Catalog excerpts

QUICK START MANUAL Part Number: Revision: Language:
Open the catalog to page 1
Servomex 2500 Quick Start Manual 2500 Series - Configuration and Operation 02500/003E/0
Open the catalog to page 2
Servomex 2500 Quick Start Manual 2500 Series - Configuration and Operation 02500/003E/0
Open the catalog to page 3
Servomex 2500 Quick Start Manual 2500 Series - Configuration and Operation 02500/003E/0
Open the catalog to page 4
Servomex 2500 Quick Start Manual 2500 Series - Configuration and Operation 02500/003E/0
Open the catalog to page 5
Servomex 2500 Quick Start Manual 1.1 Warnings, Cautions and Notes This publication includes WARNINGS, CAUTIONS and NOTE which provide information relating to the following: WARNINGS Hazards which could result in personal injury or death. CAUTIONS Hazards which could result in equipment or property damage. NOTES Alert the user to pertinent facts and conditions. 1.2 About this manual This manual covers software configuration and operation for the 2500, 2520 and 2550 range of analysers. Further copies of this manual may be ordered (part number 02500/003E). Addresses for technical assistance and...
Open the catalog to page 6
Servomex 2500 Quick Start Manual KEY TO FIGURES Figure A Analyser Front View 1. 16 Character 2 line VF Display 2. Hard key to select Measurement Display 3. Hard key to select Menu Display 4. Hard key to exit to the previous menu level 5. Fault warning LED 6. Alarm warning LED 7. Hard key to enter data or accept highlighted option within Menu 8. Up/Down/Left/Right Cursor keys to select Menu options and increase/decrease numerical values Figure B Analyser Menu Map Figure C Auto calibration Examples Schematic 1. Autozero 2. Autozero and Span 2500 Series - Configuration and Operation 02500/003E/0
Open the catalog to page 7
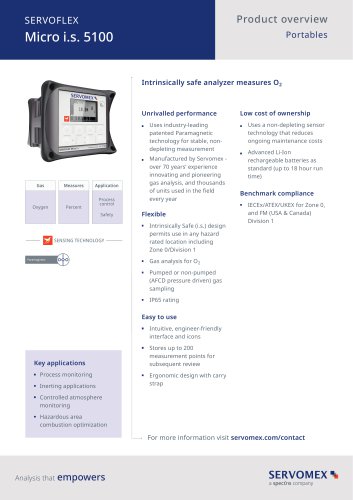
Servomex 2500 Quick Start Manual 1.3 Introduction to the user interface See Figure A. The keypad and display used on the 2500 series analysers have been designed to be easy to operate and have a minimum number of keys. There are only 4 single-function (‘hard’) keys: MEASURE; MENU; ENTER; EXIT. There are also 4 cursor (directional) keys: Up; Down; Left; Right; these are arrow-head shapes. All keys require only a modest pressure to operate them, and give tactile feedback. Information is displayed on a 2-line, 16-character vacuum fluorescent display which ensures good visibility under all conditions....
Open the catalog to page 8
Servomex 2500 Quick Start Manual INITIAL CONFIGURATION 2.1 Power up procedure WARNING Ensure that the instrument variant is properly installed before proceeding. Confirm that all electrical and plumbing connections have been correctly made as described in the installation manual. Follow the Power up procedure as detailed in the installation manual. The normal measurement display will then appear and the 2500 will be operational. NOTE • The measurement will not be valid at this point since process sample is not yet flowing. • If a heated cell is fitted, it will not yet be up to temperature and...
Open the catalog to page 9
Servomex 2500 Quick Start Manual will often be necessary to enter the password. NOTE The factory-default password for the 2500 series is ‘2000’ - this must be entered. Alternatively, if a keyswitch has been fitted this should now be closed. Failure to close the keyswitch is interpreted as an invalid password, and this should prompt the user to operate the keyswitch at this point. NOTE The ‘up arrow’ (↑) appears at the lower right of the display. This arrow is used throughout the 2500 software to indicate that more information, or further items for selection, are available and can be viewed by...
Open the catalog to page 10
Servomex 2500 Quick Start Manual Go via MENU/SET UP/UTILITY/UTILITY 1 to NEW PASS - Press ENTER At display screen SUPERVISOR OPERATOR Select required password and press ‘ENTER’ Use the cursor keys to set the new password, then press ‘ENTER’ NEW PASS IS NNNN ACCEPT YES/NO To confirm new password, press ‘ENTER’ SUPERVISOR OPERATOR Select required password and press ‘ENTER’, or press ‘EXIT’ to finish 2.4 Setting time and date The 2500 is equipped with a real-time clock and this is capacitor-backed to retain the time setting for up to 2 days without power. At this stage, it should be set to the correct...
Open the catalog to page 11
Servomex 2500 Quick Start Manual MAIN CONFIGURATION 3.1 Alarms There are 4 concentration alarms for each measured component on the 2500 series, and these are called ‘AL1’, ‘AL2’, ‘AL3’ and ‘AL4’. These must now be set up to suit the measurement and control needs of the particular installation. Factory default settings are 70%, 80%, 90% and 100% fsd respectively, and HIGH activation. Each enabled alarm has four parameters which need to be set up: i) FREEZE to prevent alarms during calibration, or FOLLOW so that alarms may be activated by calibration gases. HIGH concentration alarm or LOW concentration...
Open the catalog to page 12
Servomex 2500 Quick Start Manual 3.2 Allocation of relays Each standard 2500 series analyser has 3 relay outputs, which can now be assigned to various functions. These relay outputs are given software identity numbers which relate physically to the particular PCB from which they are provided. The hardware locations and terminal strip identifiers are given in the installation manual. Each relay output may be assigned to any combination of the following functions: i) Any of the concentration alarms for any of the measured components, in any combination. Any existing relay allocation may be edited...
Open the catalog to page 13
Servomex 2500 Quick Start Manual Go via MENU/SET UP/ASSIGN to RELAYS - Press ENTER At display screen SELECT RELAY 1.3 ASSIGNED ↑ or 1.3 UNASSIGNED ↑ Operation Select required relay using cursor keys, then press 'ENTER' RELAY ASSIGNMENT 1.3 EDIT / CLEAR or 1.3 ASSIGn? Y/N Select 'EDIT' to edit allocation, or re-assign a cleared relay or select 'CLEAR' to clear the relay, then press 'ENTER' Select 'Y' to assign this function to this relay or 'N' to clear the function, then press 'ENTER' Select 'Y' to assign this function to this relay or 'N' to clear the function, then press 'ENTER' {Cycle through...
Open the catalog to page 14All SERVOMEX catalogs and technical brochures
 Gas Guide Issue 6
74 Pages
 Product Guide Issue 10
14 Pages
 Service Guide Issue 5
12 Pages
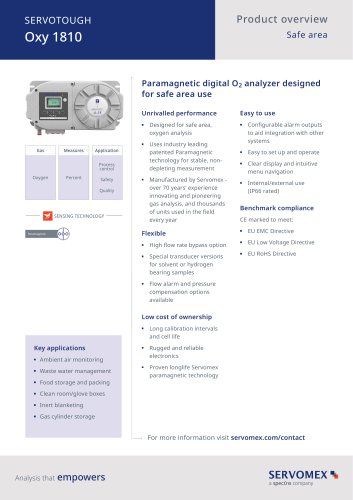 SERVOTOUGH Oxy 1810
9 Pages
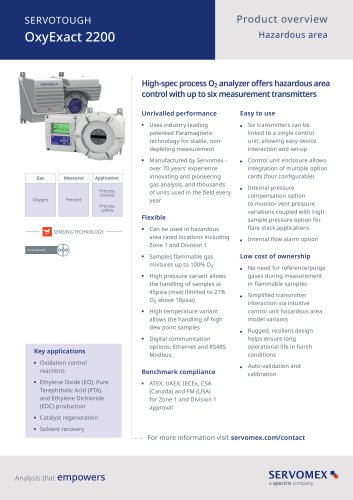 SERVOTOUGH OxyExact 2200
16 Pages
 SERVOPRO 4900 Multigas
10 Pages
 SERVOPRO PureGas
4 Pages
 DF560E Operator Manual
144 Pages
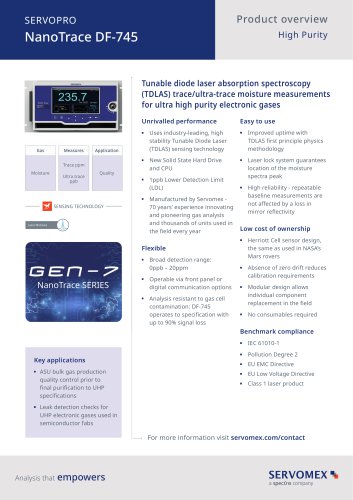
 DF-745 Operator Manual
112 Pages
 ES 39 Sustainability
11 Pages
 ES 38 Korea Special
19 Pages
 ES 37 Clean Air part II
11 Pages
 ES 36 Purity & Specialty
11 Pages
 ES 35 Photometric Analysis
11 Pages
 ES 34 70th Anniversary
15 Pages
 ES30 Air Separation Units
11 Pages
 ES 29 Clean Air
11 Pages
 ES 28 Gas Analysis Applications
11 Pages
 Sensing Technologies
13 Pages
 DF760E Operator Manual
182 Pages
 DF750 Operator Manual
112 Pages
 DF745SGMax Operator Manual
90 Pages
 DF-740 Operator Manual
87 Pages
 DF-730 Operator Manual
82 Pages
 DF560E Operator Manual 082616
146 Pages
 DF550E Operator Manual 082616
134 Pages


Archived catalogs
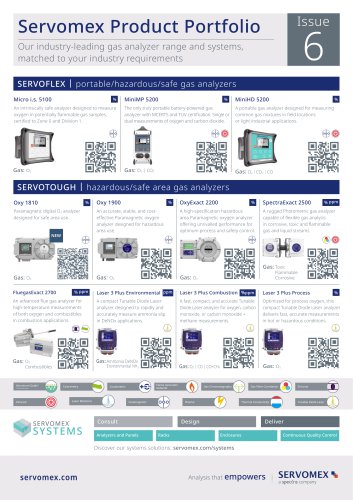
 Servomex Product Portfolio
2 Pages
 SERVOFLEX MiniMP 5200
7 Pages
 Servomex Product Guide - Issue 8
15 Pages
 Servomex Service Guide - Issue 3
13 Pages
 Servomex Gas Guide - Issue 4
76 Pages
 SERVOPRO HFID
4 Pages
 SERVOPRO NOx
4 Pages
 Servomex Product Guide Issue 7
13 Pages
 Servomex Service Guide Issue 2
11 Pages
 Servomex GAS GUIDE issue 3
77 Pages
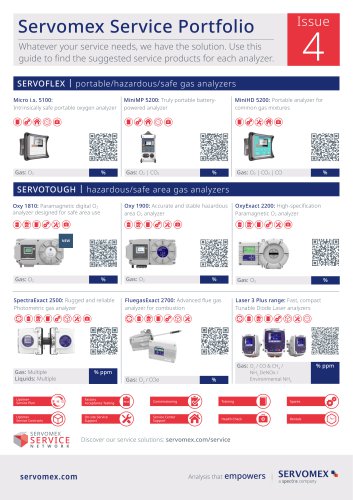
 Servomex Service Portfolio
2 Pages
 SERVOTOUGH H2 Scan
2 Pages
 SERVOTOUGH SpectraScan 2400
2 Pages
 Servomex Gas Guide 2022
65 Pages


- SERVOMEX gas analyzer
- SERVOMEX concentration analyzer
- SERVOMEX monitoring analyzer
- Liquids analyzer
- Automatic analyser
- SERVOMEX benchtop analyzer
- Solids analyser
- SERVOMEX process analyzer
- SERVOMEX portable analyzer
- Continuous analyzer
- Real-time analyzer
- SERVOMEX integration analyzer
- Laboratory analyzer
- SERVOMEX oxygen analyzer
- SERVOMEX digital analyzer
- SERVOMEX compact analyzer
- Infrared analyser
- Calibration analyzer
- Waterproof analyzer
- Temperature analyzer