
- Catalogs
- QAWRUMS Ltd.
- SVLD1

- Company
- Products
- Catalogs
- News & Trends
- Exhibitions
SVLD1
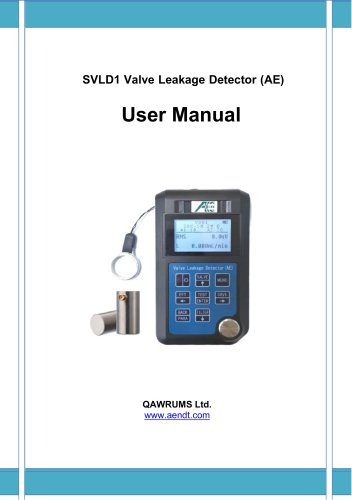
SVLD1
The manual provides guidance for the SVLD1 Valve Leakage Detector, utilizing acoustic emission technology for valve leakage detection. It includes technical parameters, operation instructions, and maintenance guidelines.
The SVLD1 model supports sampling frequencies from 4MHz to 20KHz with 16-bit precision. It operates in temperatures from -10℃ to 50℃ and humidity from 20% to 90% RH. Powered by two AA batteries, it offers up to 100 hours of operation with the backlight on.
The detector features one-key operations, supports up to 200 valve types with multiple calibration curves, and includes FFT spectrum analysis, selectable analog filters, and dual alarm modes. It has a data storage capacity of up to 50,000 groups and a USB interface for data export.
The package includes the SVLD1 machine, AE sensor, USB cable, PC software, user manual, warranty card, and conformity card.
Users should have NDT knowledge and avoid using the device in strong magnetic or corrosive environments. Battery replacement is necessary when power is low.
Connect the sensor, press 'start' to begin testing, and use buttons for functions like 'Test', 'FFT', 'Save', and 'Filter'. Calibration involves adding new valves, selecting filters, and generating calibration values.
The menu includes options for valve management, calibration, data saving, and settings. Basic settings cover date/time, sound, backlight, and language preferences. Alarm settings allow configuration of alarm limits and modes.
Regular maintenance includes checking for faults and avoiding self-repair. Contact the company for any issues.
Guidance is provided on identifying and resolving common issues.
The manual briefly mentions the use of PC software for data processing.
- Test Procedures: Testing can be done without prior calibration, showing zero leakage. Post-calibration, both parameters and leakage reference values are displayed. Proper sensor coupling is essential.
- FFT Spectrum Analysis: Post-testing, FFT spectrum analysis can be performed, showing peak values and frequency boundaries, though results cannot be saved.
- Calibration Process: Calibration allows for quantitative leakage display using a flow meter, generating calibration curves by measuring parameters at different flow rates. Up to 8 calibration lines can be created.
- Application Notice: Avoid exposure to strong chemicals, sharp objects on the display, and liquid contact at probe and USB interfaces. Handle the sensor cable carefully.
- Daily Maintenance: Clean the instrument regularly with a semi-wet cloth and neutral detergent. Remove the battery if not in use for extended periods.
- Measurement Deviation: Ensure proper sensor coupling and contact. Replace the sensor or restore factory settings if issues persist.
- Device Inoperability: Check battery installation. Contact support if unresolved.
- Measurement Accuracy Degradation: Re-calibrate probe zeros and material sound velocity.
- Connect the device to a computer via USB to download and save leakage data. Use PC software to display and analyze saved data.
Catalog excerpts
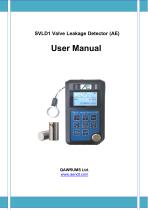
SVLD1 Valve Leakage Detector (AE) User Manual
Open the catalog to page 1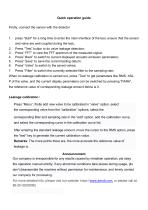
Quick operation guide Firstly, connect the sensor with the detector press "start" for a long time to enter the main interface of the test, ensure that the sensor and valve are well coupled during the test。 Press “Test” button to do valve leakage detection; Press” FFT” to view the FFT spectrum of the measured signal; Press” Back” to switch to current displayed acoustic emission parameters; Press” Save” to save the current testing datum; Press” Valve” to switch to the saved valves; Press “Filter” to switch the currently selected filter to the sampling rate; When no leakage calibration is carried...
Open the catalog to page 2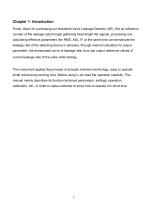
Chapter 1: Introduction Firstly, thank for purchasing our Handheld Valve Leakage Detector (AE). Set up reference number of the leakage rate through gathering fixed length AE signals, processing and calculating effective parameters like RMS, ASL, P; at the same time can demarcate the leakage rate of the detecting device in advance, through internal calculation to output parameter- the demarcated curve of leakage rate, thus can output reference values of current leakage rate of the valve while testing。 This instrument applies the principle of acoustic emission technology, easy to operate small...
Open the catalog to page 4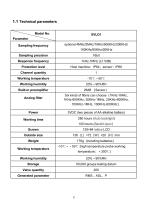
1.1 Technical parameters Model No. Parameter Sampling frequency Sampling precision Response frequency Protection level Channel quantity Working temperature Working humidity Built-in preamplifier Analog filter Six kinds of filters can choose(1KHz-1MHz, 1KHz-600KHz, 20KHz-1MHz, 20KHz-600KHz, 100KHz-1MHz, 100KHz-600KHz) 3VDC (two pieces of AA alkaline battery) 280 hours (Auto backlight) Working time 100 hours (Backlit open) Screen Outside size Working temperature -10℃~﹢50℃ (high temperature probe working temperature:<300℃) Working humidity
Open the catalog to page 5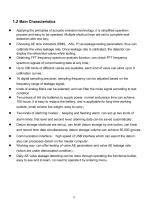
• Applying the principles of acoustic emission technology, it is simplified operation process and easy to be operated. Multiple shortcut keys are set to complete leak detection with one key; • Choosing AE time indicators (RMS, ASL, P) as leakage testing parameters, thus can calibrate the valve leakage rate. Once leakage rate is calibrated, the detector can display the referential values while testing; • Obtaining FFT frequency spectrum analysis function, can check FFT frequency spectrum signals of current testing data at any time; • Up to 200 kinds of different valves are available, each kind...
Open the catalog to page 6
• In order to make sure safe operation, the person who use this instrument should know related NDT Knowledge firstly; • This instrument should be used under permissive condition, especially cannot be used in strong magnetic field and under strong corrosive environment; • During the operating process, please obey the instruction to use correctly, make sure safe operation, thus to avoid unnecessary loss; • During testing process, if the instrument indicates that the power is too low, please replace the battery in time to avoid the measurement error caused by the voltage is too low; • If the device...
Open the catalog to page 8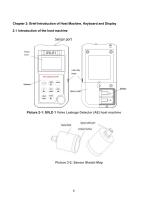
Chapter 2: Brief Introduction of Host Machine, Keyboard and Display 2.1 Introduction of the host machine Picture 2-1: SVLD 1 Valve Leakage Detector (AE) host machine Picture 2-2: Sensor Sketch Map
Open the catalog to page 9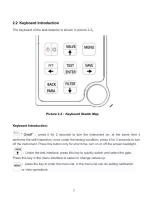
2.2 Keyboard introduction The keyboard of the leak detector is shown in picture 2-3。 Keyboard Introduction: :” On/off” ,press it for 2 seconds to turn the instrument on, at the same time it performs the self-inspection; once under the testing condition, press it for 2 seconds to turn off the instrument. Press this button only for short time, turn on or off the screen backlight. :Under the test interface, press this key to quickly switch and select the gate. Press this key in the menu interface to select or change values up. :press the key to enter the menu list, in the menu list can do setting...
Open the catalog to page 10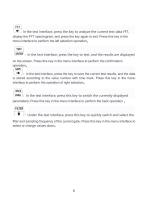
:In the test interface, press the key to analyze the current test data FFT, display the FFT spectrogram, and press the key again to exit. Press this key in the menu interface to perform the left selection operation。 :In the test interface, press the key to test, and the results are displayed on the screen. Press this key in the menu interface to perform the confirmation operation。 :In the test interface, press the key to save the current test results, and the data is stored according to the valve number with time mark. Press this key in the menu interface to perform the operation of right selection。...
Open the catalog to page 11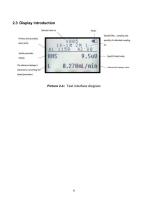
Primary and secondary alarm limits tested parameter display The reference leakage is obtaned by converting the tested parameters Sleeted filter, samplng rate quantity of calibrated samplng no Spedfic tested value - FWtMaMltitll M*kjW Picture 2-4: Test interface diagram
Open the catalog to page 12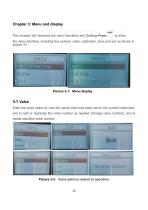
Chapter 3: Menu and display This chapter will introduce the menu functions and Settings Press the menu interface, including four options: valve, calibration, save and set, as shown in picture 3-1. 3.1 Valve Enter the valve option to view the valves that have been set for the current instrument, and to add or duplicate the valve number as needed (change valve number), and to delete specified valve number. Picture 3-2:Valve options related to operation
Open the catalog to page 13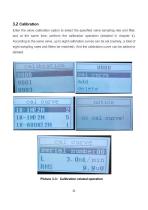
3.2 Calibration Enter the valve calibration option to select the specified valve sampling rate and filter, and at the same time, perform the calibration operation (detailed in chapter 4). According to the same valve, up to eight calibration curves can be set (namely, a total of eight sampling rates and filters be matched). And the calibration curve can be added or deleted. Picture 3-3:Calibration related operation
Open the catalog to page 14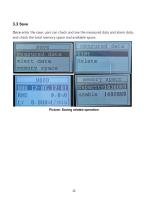
3.3 Save Once enter the save, user can check and see the measured data and alarm data, and check the total memory space and available space. Picture: Saving related operation
Open the catalog to page 15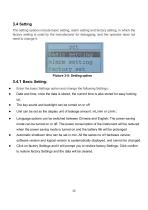
The setting options include basic setting, alarm setting and factory setting, in which the factory setting is used by the manufacturer for debugging, and the operator does not need to change it. • Enter the basic Settings option and change the following Settings: • Date and time, once the data is stored, the current time is also stored for easy looking up; • The key sound and backlight can be turned on or off • Unit can be set as the display unit of leakage amount: mL/min or L/min; • Language options can be switched between Chinese and English; The power-saving mode can be turned on or off. The...
Open the catalog to page 16All QAWRUMS Ltd. catalogs and technical brochures
 WI800
WI8001 Page
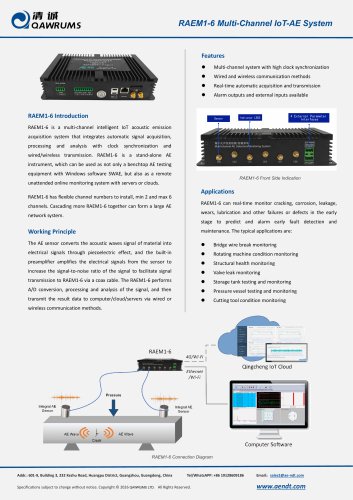 RAEM1-6 Data Sheet
2 Pages
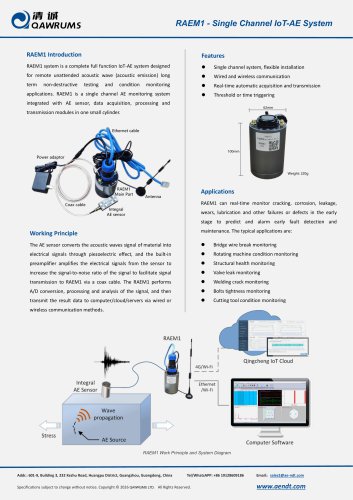 RAEM1 Datasheet
2 Pages
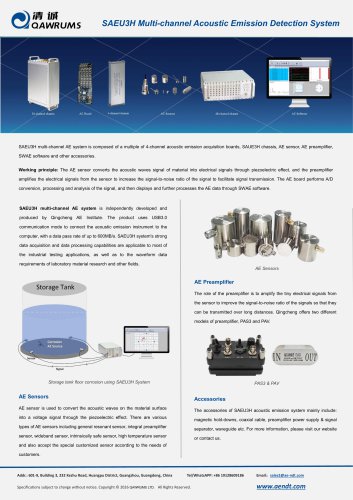 SAEU3H Datasheet
2 Pages
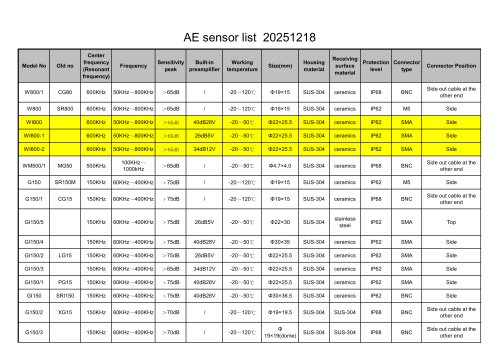 Sensor Selection List
4 Pages
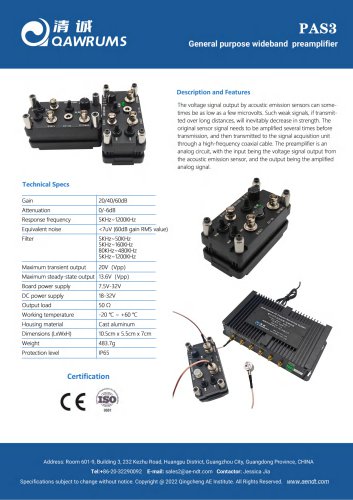 PAS3
PAS32 Pages
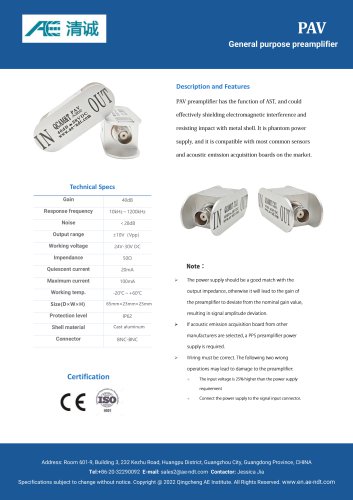 PAV datasheet
1 Page
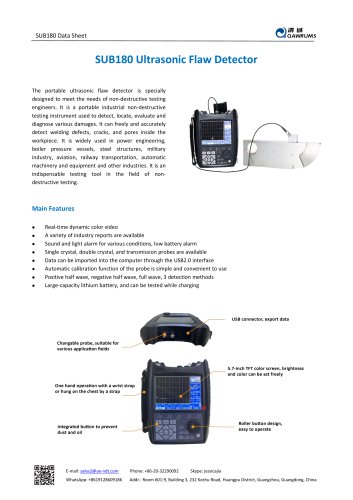 SUB180 Data sheet
3 Pages
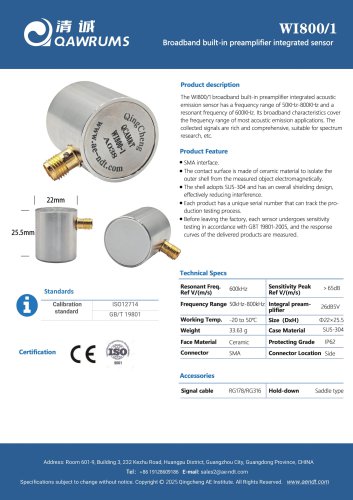 WI800-1
1 Page
 GM150-1
1 Page
 GM150
GM1501 Page
 WM500-1
1 Page
 GIS35
GIS351 Page
 GI150-4
1 Page
 GI150-3
1 Page
 GI150-2
1 Page
 GI150-1
1 Page
 GI150
GI1501 Page
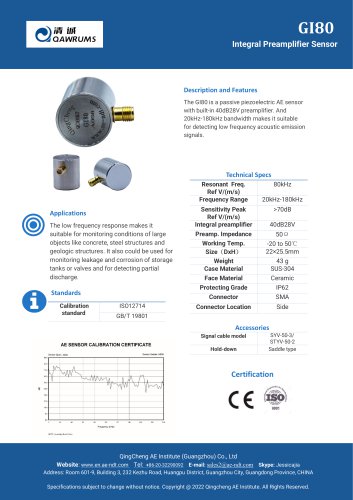 GI80
GI801 Page
 GI40-2
1 Page
 GI40
GI401 Page
 GI35-2
1 Page
 GI35-1
1 Page
 GI35
GI351 Page
 GI10-1
1 Page
 GI10
GI101 Page
 GH150-2
1 Page
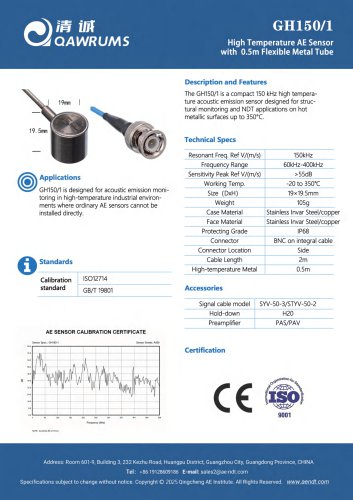 GH150-1
1 Page
 GH150
GH1501 Page
 G150-2
1 Page
 G150-1
1 Page
 G150
G1501 Page
 G80-1
G80-11 Page
 G80
G801 Page
 G40
G401 Page
 G10-1
G10-11 Page
 G10
G101 Page
 GD150
GD1501 Page
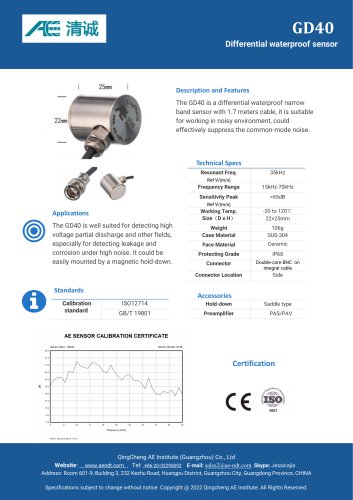 GD14
GD141 Page
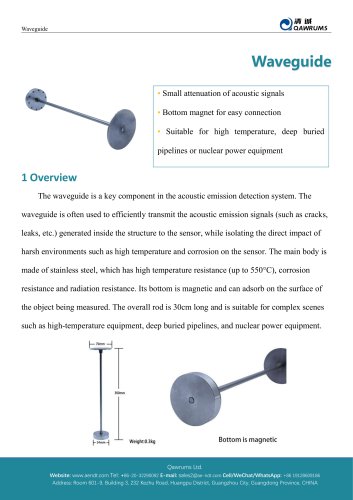 Waveguide
2 Pages
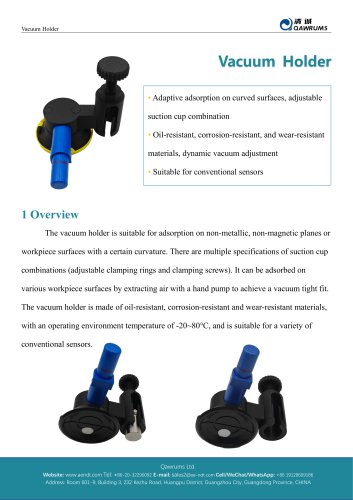 Vacuum Holder
2 Pages
Archived catalogs
 RAEM2 Datasheet
3 Pages


- Power supply unit
- DC power supply
- Electrical cable
- Copper cable
- Automation software solution
- Copper electrical cable
- Analysis software solution
- Power cable
- Process software
- Real-time software
- Windows software
- Calibration system
- Cloud-based software
- Insulated cable
- Insulated electrical cable
- Multi-strand cable
- Multi-wire electrical cable
- Single-output power supply
- Portable tester
- Electrical data cable