Catalog excerpts

Reprint from the journal Mikroproduktion 3/2005 Berthold Michelt and Jochen Schulze The spectral colours of nanometers Precitec Optronik GmbH Raiffeisenstraße 5 D-63110 Rodgau Phone: +49 (0) 6106 8290-14 Fax: +49 (0) 6106 8290-26 E-Mail: info@precitec-optronik.de Internet: www.precitec-optronik.de Reprint from the journal Mikroproduktion 3/2005
Open the catalog to page 1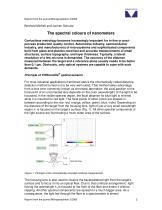
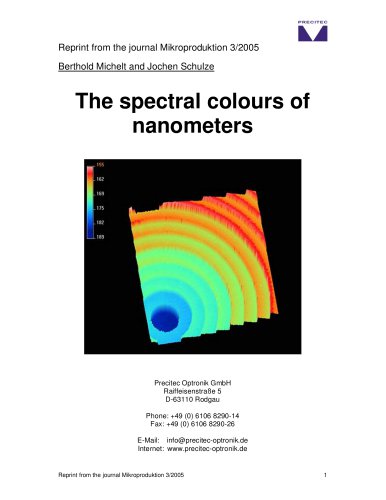
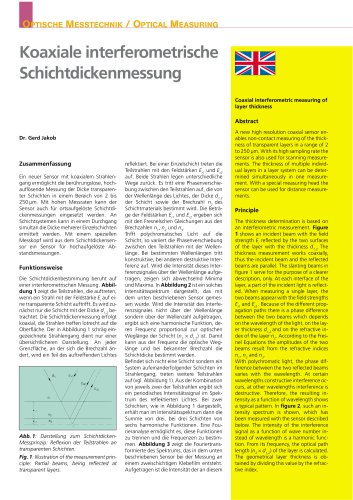
Reprint from the journal Mikroproduktion 3/2005 Berthold Michelt and Jochen Schulze The spectral colours of nanometers Contactless metrology becomes increasingly important for in-line or postprocess production quality control. Automotive industry, semiconductor industry, and manufacturers) of microsystems and sophisticated components built from glass and plastics need fast and accurate measurements of small structures, surface topography, and layer thickness. Typically, a lateral resolution of a few microns is demanded. The accuracy of the distance measured between the target and a...
Open the catalog to page 2
monochromatic, it´s wavelength 1 being a chromatic code about the axial position of the backscattering surface of the target. Therefore, the wavelength scale of the spectrometer can be calibrated vs. the distance to the scattering surface. Using optical probes with a high numeric aperture allows for measuring polished, rough, highly reflective or opaque surfaces, at a slope of up to e.g. 30° to the probe’s optical axis (limited by the numerical aperture Na=sin α). As the measurement is carried out by using only the perfectly focused part of the reflected light, the effective measuring spot...
Open the catalog to page 3
Lens production systems need accurate information on the central lens thickness. Chromatically coded systems (Fig. 3) are perfectly suited to generate the required accuracy. Figure 3. Measurement setup for measuring the central thickness of lenses The thickness of transparent layers can be measured interferometically with an uncertainty of less than 10 nm. The thickness of multilayers can also be analyzed. High resolution dimensional control is mandatory for microproduction systems. As an example, Fig. 4 displays the topography of a microlens array. CHR systems are also suited for...
Open the catalog to page 4
Contact: Dr.-Ing. Jochen Schulze Precitec Optronik GmbH Raiffeisenstraße 5 D-63110 Rodgau Phone: +49 (0) 6106 8290-14 Fax: +49 (0) 6106 8290-26 E-Mail: j.schulze@precitec-optronik.de Internet: www.precitec-optronik.de Reprint from the journal Mikroproduktion 3/2005
Open the catalog to page 5All PRECITEC OPTRONIK catalogs and technical brochures
-
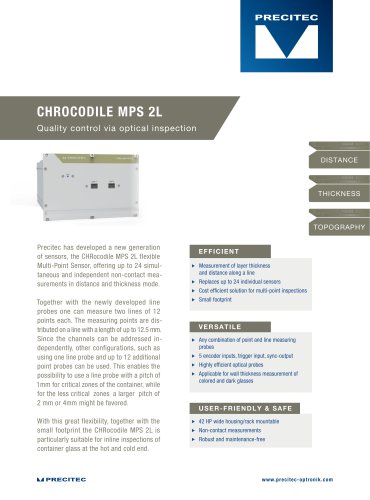
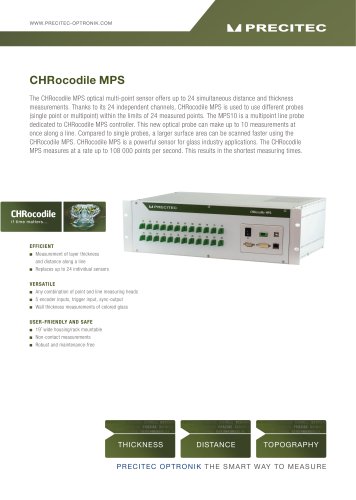
CHRocodile MPS 2 L
2 Pages
-
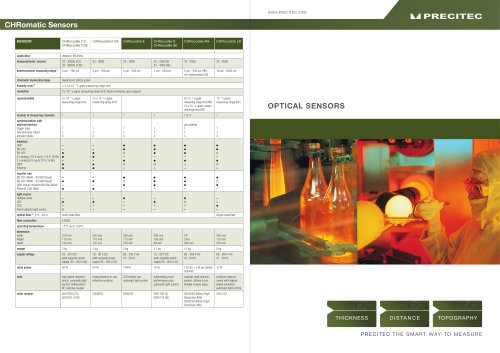
CHRomatic Sensors
2 Pages
-
Heads
2 Pages
-
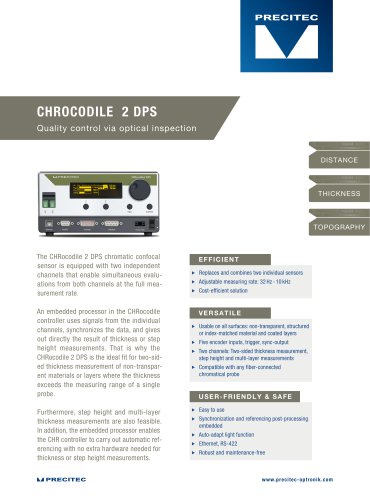
CHRocodile 2 DPS
2 Pages
-
CHRomatic Vision Camera
2 Pages
-
CHRocodile C Extension Box
1 Pages
-
Flying Spot Scanner
2 Pages
-
Measuring Sensors
2 Pages
-
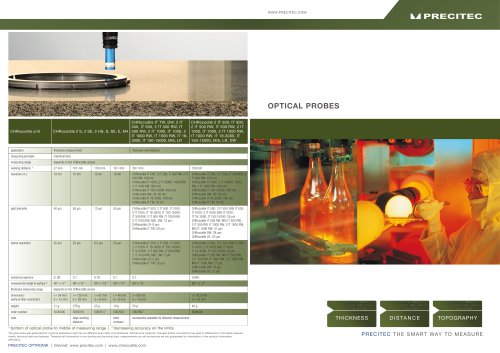
Optical Probes
2 Pages

