
- Catalogs
- PHC Europe B.V. / PHCbi
- MCO Cleaning Brochure


- Company
- Products
- Catalogs
- News & Trends
- Exhibitions
MCO Cleaning Brochure
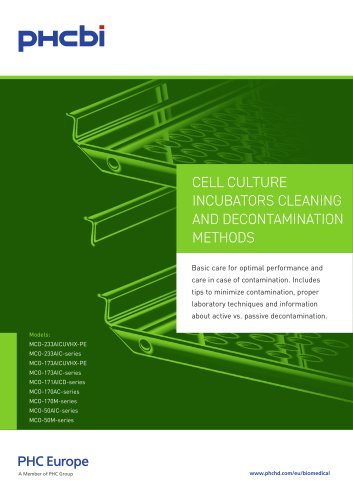
MCO Cleaning Brochure
Cell culture incubators are essential for maintaining a controlled environment at 37°C with regulated CO2 and O2 levels to ensure optimal pH and humidity for cell cultures. Contamination risks from bacteria, molds, and viruses necessitate strict control of environmental parameters.
Incubators should be installed in low-traffic, clean areas away from windows and HVAC systems to minimize contamination. Elevating the incubator reduces exposure to airborne bacteria, and it should be kept away from vibration and heat sources.
Regular cleaning with ethanol solutions is recommended. Sterilization cycles such as dry heat or hydrogen peroxide vapor can be used. All equipment and labware should be sterilized before use. Special attention should be given to the inner door gasket to prevent air leaks.
Proper laboratory techniques and equipment placement can reduce contamination risks. Using a biological safety cabinet correctly and maintaining positive pressure in the lab are crucial.
Methods include 24-hour UV, H2O2, heat sterilization, and UV-LED disinfection, each with specific procedures and effectiveness depending on the contaminant type.
Adhering to best practices, such as using sterilized labware and maintaining clean equipment, is essential for preventing contamination and ensuring optimal cell culture conditions.
- Inner Door Gasket: Ensure proper placement to maintain chamber humidity and prevent condensation.
- Disinfection: Use ethanol for cleaning interior surfaces, avoiding sensitive areas like the CO2 density measurement port.
- Component Replacement: Follow a specific order for removing and replacing components such as the fan, humidifying tray, and shelves.
- Humidifying Water Tank: Instructions for removing, draining, and cleaning the humidifying water tank and supply tube are provided.
- Regular Cleaning: Clean the humidifying tray weekly with neutral detergent and ethanol.
- UV Decontamination: A 24-hour UV sterilization process is recommended for certain models.
- Precautions: Use rubber gloves, avoid harsh chemicals, and ensure thorough drying before restarting the incubator.
- Contamination Prevention: Increase cleaning frequency, use Biocidal ZF spray, and maintain aseptic conditions.
- Environmental Considerations: Place incubators in clean, low-traffic areas, and avoid exposure to drafts and air conditioning.
UV Lamp Activation: Activate the UV lamp for 24 hours to decontaminate chambers. If the outer door is opened, the procedure must be restarted.
H2O2 Decontamination: Involves using hydrogen peroxide vapor for a 6 log reduction of contaminants.
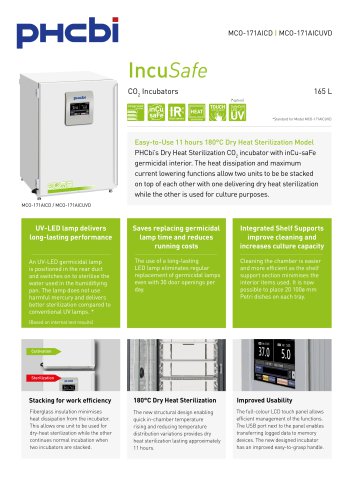
Heat Sterilization: For the MCO-171AICD series, involves heating the chamber to 180°C for sterilization.
UV-LED Disinfection: Used for sterilizing water in the humidifying tray.
Discusses the removal of the CO2 sensor and highlights the use of hydrogen peroxide vapor for decontamination, which is safe and environmentally friendly.
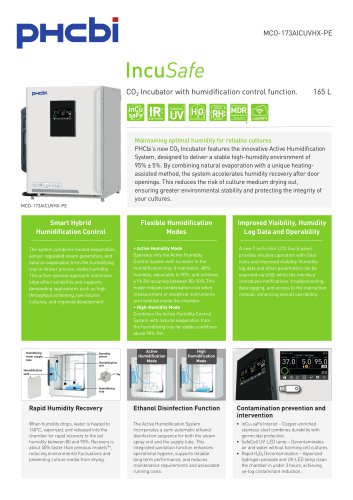
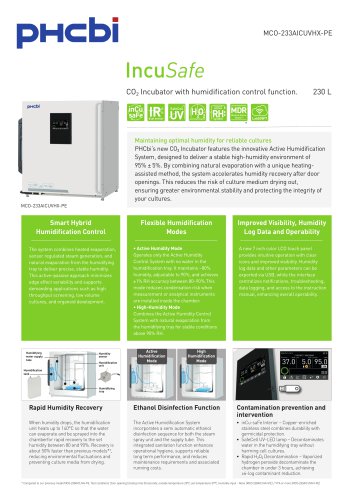
Features a humidity regulation function through heat evaporation, maintaining levels between 80-90% to protect cultures from drying out.
Uses Copper Enriched Stainless Steel, known as inCu-saFe®, which is a germicidal barrier preventing organism growth.
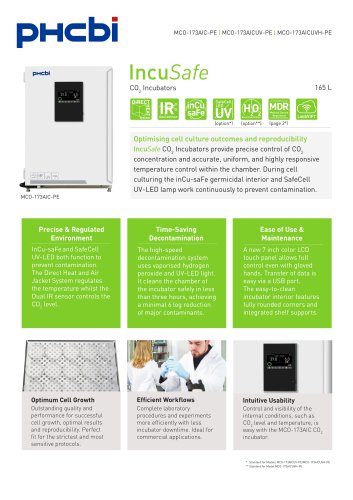
SafeCell UV™ technology uses UV-C light to destroy DNA of contaminants, operating automatically with door events.
Emphasizes both active and passive decontamination methods, including manual cleaning and design features that inhibit contaminants.
Regular cleaning and maintenance schedules are recommended to prevent contamination and ensure compliance. Aseptic techniques and personal hygiene are crucial.
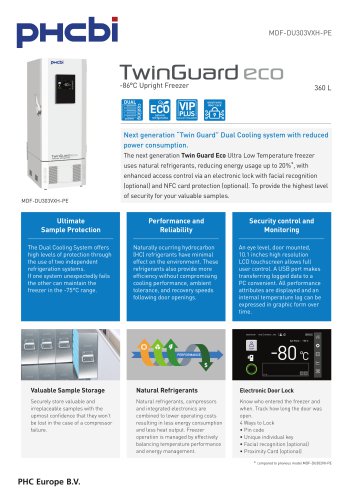
Mentions ULT and cryogenic refrigeration, integrated shelves, and other technical specifications for advanced laboratory use.
Catalog excerpts
CELL CULTURE INCUBATORS CLEANING AND DECONTAMINATION METHODS Basic care for optimal performance and care in case of contamination. Includes tips to minimize contamination, proper laboratory techniques and information about active vs. passive decontamination. PHC Europe A Member of PHC Group www.phchd.com/eu/biomedical
Open the catalog to page 1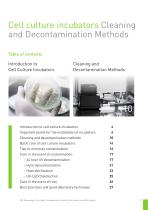
Decontamination Methods Introduction toCell Culture Incubators Introduction to cell culture incubators 4 Important points for the installation of incubators 6 Cleaning and decontamination methods 10 Basic care of cell culture incubators 14 Tips to minimize contamination 16 Care in the event of contamination 17 Care in the event of rust 26 Best practices and good laboratory technique 27 NB: Depending on the model, the appearance of parts in the manual may differ slightly.
Open the catalog to page 3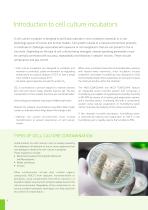
A cell culture incubator is designed to artificially replicate in vitro conditions essential to in vivo physiology typical of human and animal models. Cell growth outside of a natural environment presents a multitude of challenges associated with exposure to microorganisms that are not present in the in vivo state. Depending on the type of cell cultures being managed, several operating parameters must be carefully controlled with accuracy, repeatability and flexibility in setpoint choices. These include temperature and gas control. • Cell culture incubators are designed to establish and maintain...
Open the catalog to page 4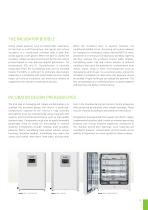
THE INCUBATOR BUBBLE Unlike closed systems, such as hollow-fiber substrates, stirred tank or airlift bioreactors, the typical cell culture incubator is a conditioned chamber with a door that closes against a soft gasket. When the door is closed, the incubator creates an ideal environment for the cell culture process based on user defined setpoint parameters for temperature, CO2 and O2. Humidification is naturally evaporative from the humidifying tray, and an elevated relative humidity is sufficient to eliminate desiccation, especially in microplates with small media volumes. Some larger cell...
Open the catalog to page 5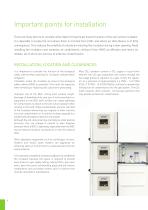
Important points for installation There are many factors to consider when determining the permanent location of the cell culture incubator. It is desirable to locate the unit where there is minimal foot traffic and where air disturbance is of little consequence. This reduces the volatility of outside air entering the incubator during a door opening. Avoid installing the incubator near windows, air conditioners, ceiling or floor HVAC air diffusers and return air intakes, all of which are sources of airborne contamination. INSTALLATION, LOCATION AND CLEARANCES It is important to consider the function...
Open the catalog to page 6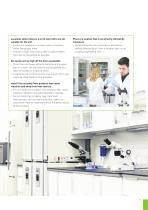
• Locate the incubator in a clean room or location where few people enter • Choose a clean room that is safe or a place where there are as few people as possible. • Since there are fewer airborne bacteria in the upper part of a room, the incubator should be placed on a laboratory table or a special stand. • If stacking two or three units on top of each other, use a special roller base for that purpose. vibration and away from heat sources • Do not install the incubator near products that cause vibration. Vibration may adversely affect cultures. • Do not install the incubator near significant...
Open the catalog to page 7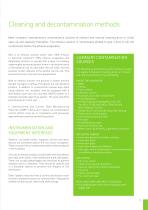
Most incubator manufacturers recommend a solution of ethanol and manual cleaning prior to initial start-up and regularly thereafter. The ethanol solution is intentionally diluted to give it time to kill the contaminant before the ethanol evaporates. Why is an ethanol solution better than 100% ethanol in bacterial inhibition? 100% ethanol coagulates and dehydrates proteins so quickly that a layer of relatively impermeable denatured protein forms in the exterior parts of the bacterial cell (in and under the cell wall), and this prevents further diffusion of the alcohol into the cell. This protects...
Open the catalog to page 9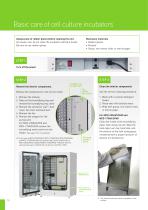
Basic care of cell culture incubators Always puts on rubber gloves before cleaning the unit. As a basic rule, do not clean the incubator with bare hands. Be sure to use rubber gloves. Necessary materials • Rubber gloves • Ethanol • Gauze, non-woven cloth, or sterile paper STEP 1 Turn off the power STEP 2 Remove the interior components. Stopper for access port Remove the components in the correct order. Clean the interior components Fan (under fan cover) Use the correct cleaning procedure. 1. Wash with a neutral detergent (soap). 2. Rinse well with distilled water. 3. Wipe with gauze, non-woven...
Open the catalog to page 10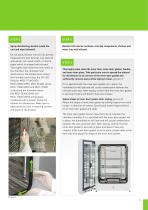
Spray disinfecting alcohol inside the unit and wipe (ethanol). Disinfect all interior surfaces, internal components, shelves and water tray with ethanol. Do not spray ethanol into the CO2 density measurement port directly! Just wipe off with gauze, non-woven cloth, or sterile paper which is sprayed with ethanol. Thoroughly wipe clean the inner walls of the chamber, the removed inner attachments, the temperature sensor, the humidity control bar, the UV-LED (Only for MCO-171AICUVD/ MCO-233AICUVHX, MCO-233AIC series, MCO-173AICUVHX and MCO-173AIC series) and the humidity sensor (for MCO-233AICUVHX...
Open the catalog to page 11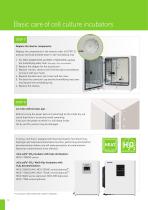
Basic care of cell culture incubators STEP 7 Replace the interior components. Replace the components in the reverse order of [STEP 2], and put sterilised distilled water in the humidifying tray. 1. For MCO-233AICUVHX and MCO-173AICUVHX,compressor replace the humidifying water tank. (See page 13 for more details) 2. Replace the stopper for the access port. 3. Replace the fan, check to see if the fan spins smoothly by turning it with your hand. 4. Replace the back duct, duct cover and fan cover. 58345 5. Put back the connector cap and the humidifying tray cover and replace the humidifying tray....
Open the catalog to page 12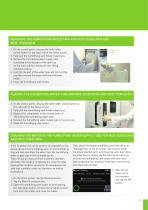
1. On the control panel, tong tap the tank holder unlock button on the right side of the Home screen. 2. Fully pull the humidifying tank holder toward you. 3. Remove the humidifying water supply tube connected to the top part of the tank cap on the front side by rotating the luer fitting counterclockwise. 4. Hold the top part of the water tank and tilt it a little, and then remove the water tank from the tank holder. 5. Close the humidifying tank holder. 1. On the control panel, long tap the tank holder unlock button on the right side of the Home screen. 2. Fully pull the humidifying tank holder...
Open the catalog to page 13All PHC Europe B.V. / PHCbi catalogs and technical brochures
 MPR Brochure
20 Pages
 Racks Brochure
16 Pages
 Cold Chain Brochure
16 Pages
 MIR Brochure
6 Pages
 Incusafe Brochure
36 Pages
 ULT Brochure
56 Pages
 CUR-CRFCB-01 - FACSCOPE® B
2 Pages
 MCO-173AICUVHX-PE
3 Pages
 MCO-233AICUVHX-PE
2 Pages
 PATHFAST™ TYPE E
2 Pages
 MCO-173AIC(UV)H)-PE
2 Pages
 PHCbi_MDF-DU303VXH-PE
2 Pages
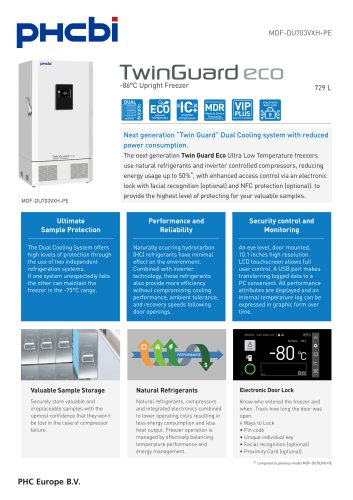 MDF-703VXH-PE Productsheet
2 Pages
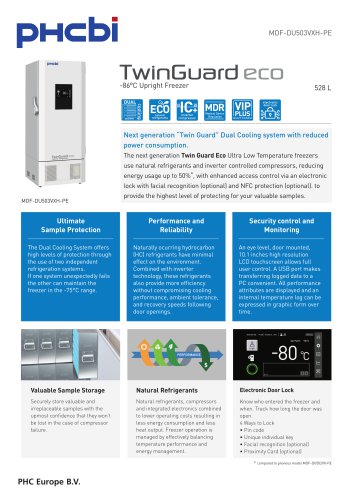 MDF-DU503VXH-PE Productsheet
2 Pages
 ProteoSave™ Brochure
2 Pages
 STEMFULL™ Brochure
2 Pages
 Cryogenic Vials Brochure
2 Pages
 MCO-50AIC-PE CO2 Incubators
2 Pages
 MCO-50M-PE CO2 Incubators
2 Pages
 Cleanroom Classification
4 Pages
 MIR-554-PE Cooled Inucbator
2 Pages
 MPR-514(R)-PE
2 Pages
 MPR-S150H-PE & MPR-S300H-PE
2 Pages
 MPR-N450FHD-PE
2 Pages
 Commitment to PHC Quality
32 Pages
 PRIMESURFACE®
4 Pages
 MPR-1014R-PE
2 Pages
 MDF-U731M-PE -30°C Freezer
2 Pages
 MLR-352-PE Climate Chamber
2 Pages
 MIR-554 Cooled Incubator
2 Pages
 MCO-170AC-PE CO2 Incubators
2 Pages
 MCO-230AIC-PE CO2 Incubators
2 Pages
 MCO-80IC-PE CO2 Incubator
2 Pages
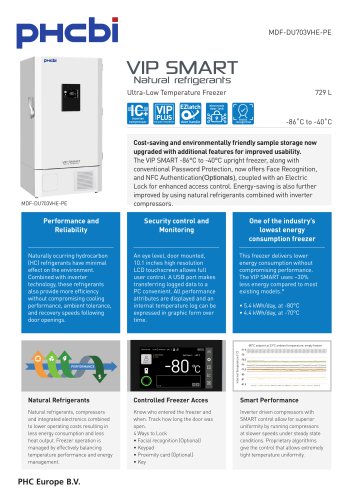
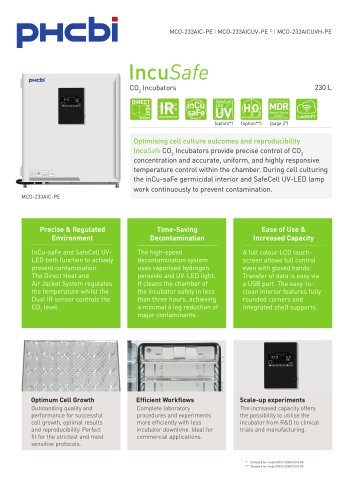


Archived catalogs
 Vaccine Storage E-Book
14 Pages
 General Catalogue
60 Pages
 MCO-50AICL-PE Co2 Incubator
2 Pages
 MCO-5AC-PE CO2 Incubators
2 Pages
 MPR PHARMACEUTICAL REFRIGERATORS
12 Pages
 ULTRA LOW TEMPERATURE FREEZERS
16 Pages
 ULT VIP
12 Pages
 MIR-H163-H263
2 Pages
 Racking systems brochure
7 Pages
 Bloodbank Refrigerators
4 Pages
 MIR Cooled Incubators
4 Pages
 Storage Solutions
7 Pages
 TwinGuard ULT Freezers Brochure
12 Pages
 MDF-DU302VX-PE
2 Pages
 Cryopreservation brochure
28 Pages
 MCO-19AIC(UV)-PE
6 Pages
 MCO19-AIC/M Incubators
16 Pages
 MDF-U4186S-PE
2 Pages
 MBR-705GR
2 Pages
 KM-DU34H1E Flyer
2 Pages
 MPR-215F-PE & MPR-414F(S)-PE
2 Pages
 MDF-U7386S-PE
2 Pages
 MDF-C8V1-PE
2 Pages
 Autoclaven MLS-2420/3020
2 Pages
 MDF-U731M
2 Pages
 MDF-U5386S-PE
2 Pages
 MDF-U3386S-PE
2 Pages
 MDF-U33V
2 Pages
 MDF-U4186S
2 Pages
 MDF-U55V-PE
2 Pages
 MDF-U74V
2 Pages
 MDF-U500VX
2 Pages
 MDF-U700VX-PE
2 Pages
 Eco VIP Freezer
2 Pages
 Twin Guard Series
12 Pages
 Twinguard
12 Pages
 CHS promotional
2 Pages
 CardioHealth Station Patient
2 Pages
 CardioHealth Station
6 Pages
 Freezer storage systems
8 Pages





- Test cabinet
- Storage vessel
- Automatic analyser
- Temperature test chamber
- Metal tank
- Benchtop analyser
- Work safety gloves
- Climatic test cabinet
- Stainless steel vessel
- Industrial safety gloves
- Humidity test cabinet
- Continuous analyzer
- Environmental test chamber
- Real-time analyzer
- Laboratory analyzer
- PHC Europe laboratory incubator
- Thermal protection safety gloves
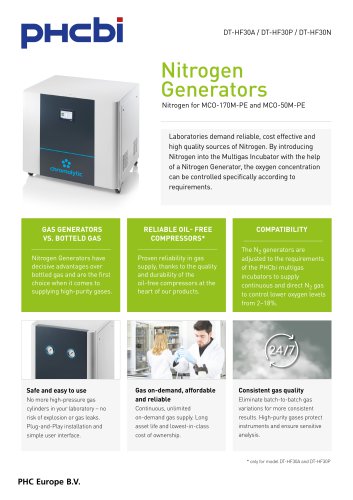
- Nitrogen generator