- Catalogs
- Messagemaker Displays
- MINI UNIT QUICK ASSEMBLY GUIDE


MINI UNIT QUICK ASSEMBLY GUIDE

MINI UNIT QUICK ASSEMBLY GUIDE
Website: www.messagemaker.co.uk
Phone: 01737 774747
Email: [email protected], [email protected]
- Prepare the mini unit base.
- Insert the mast holding the solar panel into the base, ensuring the backplate faces forward.
- Secure the mast to the base with bolts.
- Position the speed sign onto the backplate, aligning bolts with holes on the sign and hooks on the backplate.
- Attach the sign to the backplate using the provided black nuts and rubber washers.
- Insert and secure batteries inside the sign, then connect them.
- Connect the solar cable.
- The VAS should be mounted on a post 2 meters above ground for optimal accuracy, with the front raised by approximately 10 cm.
- For additional stability, place a weight, such as a sandbag, inside the base of the mini unit.
Catalog excerpts

Insert the mast holding the solar panel into the base with the backplate facing forward 3. Bolt the mast tightly to the base Lift the speed sign onto the backplate making sure the bolts line up with the holes on the back of the sign and the holes on the bottom of the sign line up with the hooks on the bottom of the backplate. SUPPORT CONTACT DETAILS [email protected] [email protected]
Open the catalog to page 1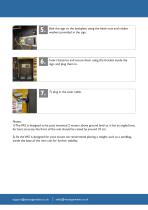
Bolt the sign to the backplate using the black nuts and rubber washers provided in the sign. Insert batteries and secure them using the bracket inside the sign, and plug them in. 7) plug in the solar cable. Notes: 1)The VAS is designed to be post mounted 2 meters above ground level as it has an angled lens, for best accuracy the front of the unit should be raised by around 10 cm. 2) As the VAS is designed for post mount we recommend placing a weight, such as a sandbag, inside the base of the mini unit for further stability.
Open the catalog to page 2All Messagemaker Displays catalogs and technical brochures
 MINI UNIT
4 Pages
 TOWER UNIT
2 Pages
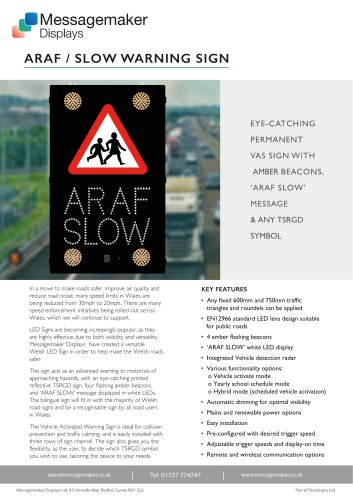 ARAF-SLOW-Warning-Sign
2 Pages
 VAS-Data
1 Page
 RCS
RCS1 Page
 LED Car Park Signs Parking
3 Pages
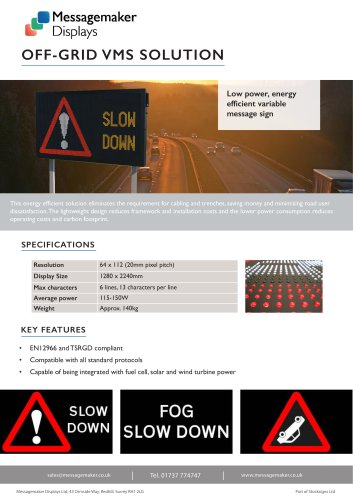 OFF-GRID VMS SOLUTION
1 Page
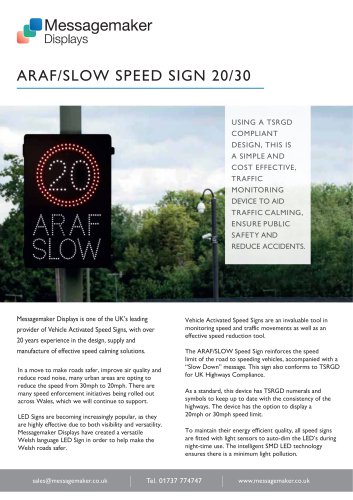 ARAF/SLOW SPEED SIGN 20/30
2 Pages
 HIGHWAY APPROVED VAS
2 Pages
 LED SCHOOL WARNING SIGNS
2 Pages
 URBAN VMS
2 Pages
 LANE CONTROL SIGN
2 Pages
 MS1
MS11 Page
 HIGH SPEED SIGNAGE
1 Page
 LANE CONTROL SIGN
2 Pages
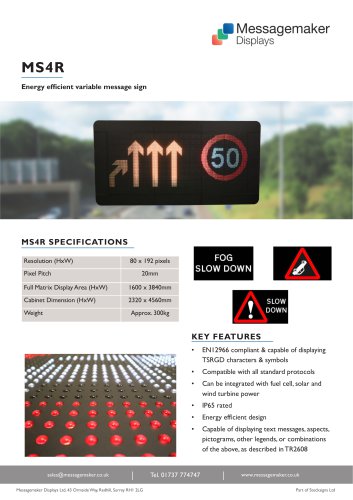 MS4R
MS4R2 Pages