Catalog excerpts

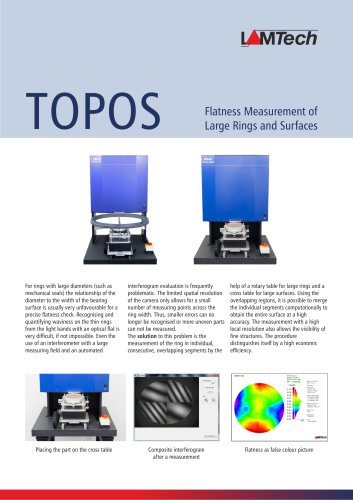
Flatness Measurement of Large Rings and Surfaces For rings with large diameters (such as mechanical seals) the relationship of the diameter to the width of the bearing surface is usually very unfavourable for a precise flatness check. Recognising and quantifying waviness on the thin rings from the light bands with an optical flat is very difficult, if not impossible. Even the use of an interferometer with a large measuring field and an automated interferogram evaluation is frequently problematic. The limited spatial resolution of the camera only allows for a small number of measuring points across the ring width. Thus, smaller errors can no longer be recognised or more uneven parts can not be measured. The solution to this problem is the measurement of the ring in individual, consecutive, overlapping segments by the help of a rotary table for large rings and a cross table for large surfaces. Using the overlapping regions, it is possible to merge the individual segments computationally to obtain the entire surface at a high accuracy. The measurement with a high local resolution also allows the visibility of fine structures. The procedure distinguishes itself by a high economic efficiency. Placing the part on the cross table Composite interferogram after a measurement Flatness as false colour picture
Open the catalog to page 1
The TOPOS Interferometers are based on a non contact measurement principal. This is the basis for a measurement with a cross or rotary table. Thus, there is no limit to the size of the measurable piece in reference to the measuring field of the interferometer. The measurement of large rings is based on the measurement of overlapping ring segments, which are then stitched computationally to an entire ring. The rotation under the measuring field of the TOPOS 100 results from a precision rotary table. With this rotary table an outer diameter of 420 mm with a maximum ring width of 80 mm can be...
Open the catalog to page 2
