- Products
- Catalogs
- News & Trends
- Exhibitions
Melter 10 kg
1 /20Pages
Melter 10 kg
1 /20Pages
Catalog excerpts
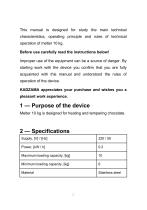
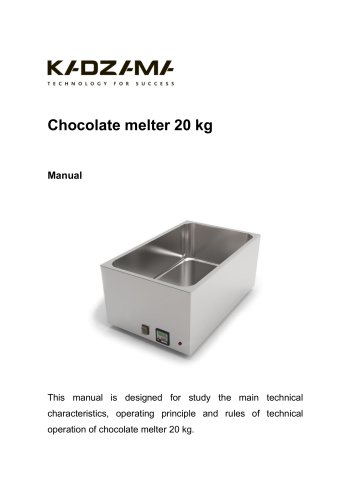
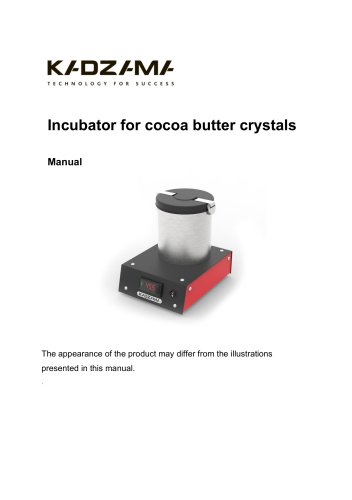
This manual is designed for study the main technical characteristics, operating principle and rules of technical operation of melter 10 kg. Improper use of the equipment can be a source of danger. By starting work with the device you confirm that you are fully acquainted with this manual and understood the rules of operation of the device. Melter 10 kg is designed for heating and tempering chocolate.
Open the catalog to page 2
4.1. Melter 10 kg is an electric appliance with a certain danger potential. When connecting the device to the electric grid, take all necessary precautions to avoid electric shock. 4.2. Melter must be connected to the power supply and operated only by trained personnel. 4.3. It is not allowed to operate the melter in the absence of electrical grounding («E» wire). 4.4. Melter should be used only for its intended purpose.
Open the catalog to page 3
4.5. Use and store the melter in a place out of reach of children 4.6. Do not leave the melter switched on without supervision for a long time. 4.7. Do not operate the melter with wet hands. 4.8. Do not allow liquids inside the melter through the ventilation. 4.9. Do not use the melter at ambient temperatures below 10°C and above 40°C, and relative humidity above 80%. 4.10. When transporting the melter at sub zero temperatures, prior to first use it should be kept at room temperature for at least 1 hour. 4.11. Any maintenance should be carried out when the melter is disconnected from the power...
Open the catalog to page 4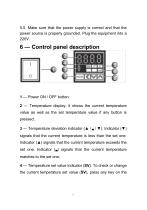
5.5. Make sure that the power supply is correct and that the power source is properly grounded. Plug the equipment into a 220V. 2 — Temperature display: it shows the current temperature value as well as the set temperature value if any button is pressed; 3 — Temperature deviation indicator (▲ I B I ▼). Indicator (▼) signals that the current temperature is less than the set one. Indicator (▲) signals that the current temperature exceeds the set one. Indicator (B) signals that the current temperature matches to the set one; 4 — Temperature set value indicator (SV). To check or change the current...
Open the catalog to page 5
front panel once, while the set value indicator (SV) is on and the set value blinks; 5 — Unit of measurement indicator (C° I F°); 6 — Control output indicator (OUT). The indicator lights up when the heating elements are activated; 7 — The (MODE) key is used to enter / exit adjustable parameters mode and save the set values; 8 — Settings keys (< v A) are used to change setting values.
Open the catalog to page 6
IMPORTANT! For correct equipment operation it is necessary to maintain a room temperature from 18°C to 25°C. Otherwise, the heating system will show a result higher, than the permissible one (we also draw your attention to the fact that deviation from temperature standards in the room can affect the quality of the product, since in most cases its properties also depend on the environment). 7.1. Turn on the tempering bowl with the ON / OFF button. The controller display must light up. 7.2. Temper the chocolate. There are many methods of tempering the chocolate with a steam table. The easiest tempering...
Open the catalog to page 7
— Mix well until the pieces are completely dissolved. The pieces should melt completely at the moment the set working temperature is reached; IMPORTANT! If the pieces are dissolved at a temperature of 34°C and above, then there is a big chance that the chocolate won’t contain the required quantity of stable crystals. If the set temperature is reached, and the pieces are not melted, then cover the container with a lid and repeat stirring after 10-15 minutes until the pieces are completely dissolved. — Collect the probe and check the quality of the tempering; — Upon finishing the work, set the...
Open the catalog to page 8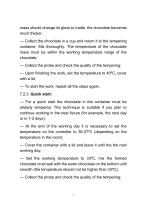
mass should change its gloss to matte, the chocolate becomes much thicker. — Collect the chocolate in a cup and return it to the tempering container. Mix thoroughly. The temperature of the chocolate mass must be within the working temperature range of the chocolate; — Collect the probe and check the quality of the tempering; — Upon finishing the work, set the temperature to 40°C, cover with a lid; — To start the work, repeat all the steps again. — For a quick start the chocolate in the container must be already tempered. This technique is suitable if you plan to continue working in the near future...
Open the catalog to page 9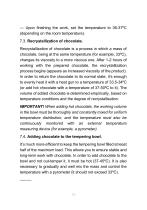
— Upon finishing the work, set the temperature to 36-37ºC (depending on the room temperature). 7.3. Recrystallization of chocolate. Recrystallization of chocolate is a process in which a mass of chocolate, being at the same temperature (for example, 33ºC), changes its viscosity to a more viscous one. After 1-2 hours of working with the prepared chocolate, the recrystallization process begins (appears as increased viscosity of the product). In order to return the chocolate to its normal state, it’s enough to evenly heat it with a heat gun to a temperature of 33.5-34ºC (or add hot chocolate with...
Open the catalog to page 10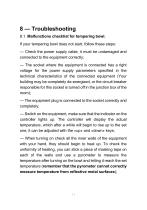
8.1. Malfunctions checklist for tempering bowl. If your tempering bowl does not start, follow these steps: — Check the power supply cable, it must be undamaged and connected to the equipment correctly; — The socket where the equipment is connected has a right voltage for the power supply parameters specified in the technical characteristics of the connected equipment (Your building may be completely de-energized, or the circuit breaker responsible for this socket is turned off in the junction box of the room); — The equipment plug is connected to the socket correctly and completely; — Switch...
Open the catalog to page 11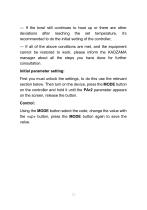
— If the bowl still continues to heat up or there are other deviations after reaching the set temperature, it’s recommended to do the initial setting of the controller; — If all of the above conditions are met, and the equipment cannot be restored to work, please inform the KADZAMA manager about all the steps you have done for further consultation. Initial parameter setting: First you must unlock the settings, to do this use the relevant section below. Then turn on the device, press the MODE button on the controller and hold it until the PAr2 parameter appears on the screen, release the button....
Open the catalog to page 12All Kadzama catalogs and technical brochures
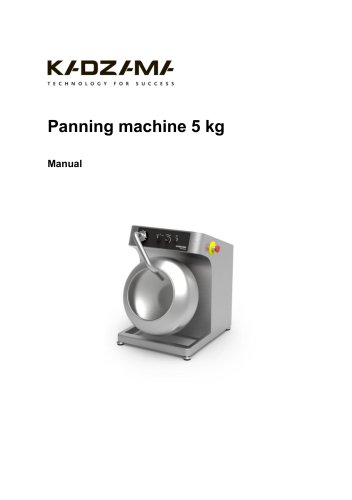 Panning machine 5 kg
9 Pages
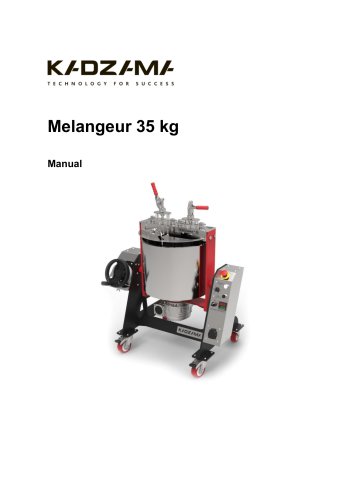 Melangeur 35 kg
12 Pages
 Melanger 85 kg
11 Pages
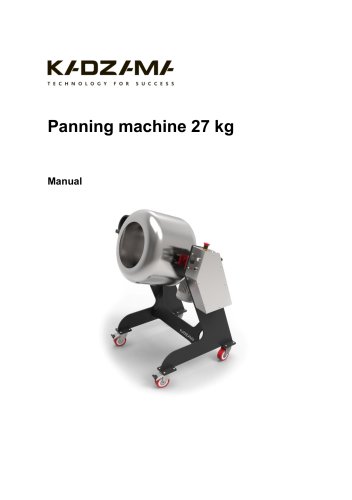 Panning machine 27 kg
10 Pages
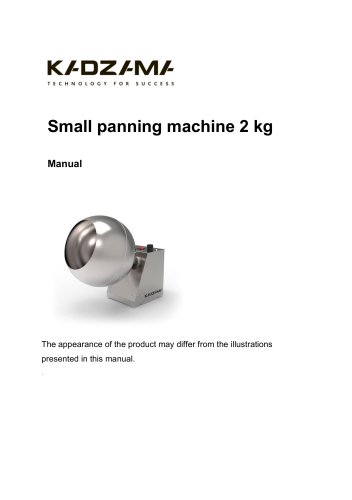 Small panning machine 2 kg
10 Pages
 Chocolate melter 20 kg
22 Pages
 Wheeled mixer for chocolate
9 Pages
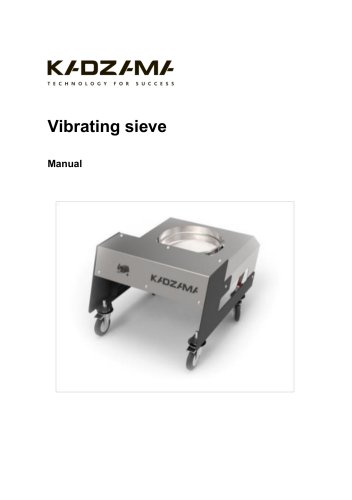 Vibrating sieve
9 Pages
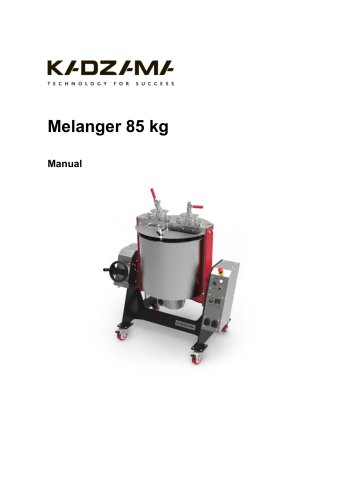 Melanger 85 kg
11 Pages
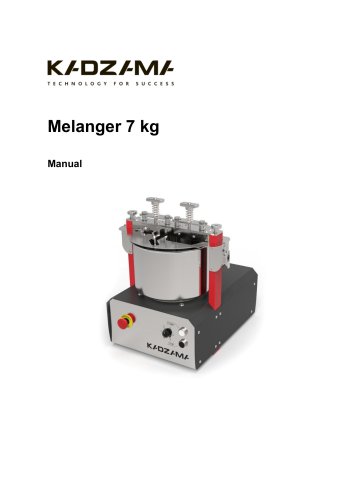 Melanger 7 kg
14 Pages
 Painting Spray Cabin
12 Pages
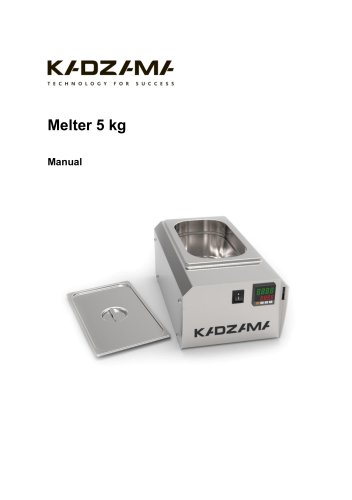 Melter 5 kg
20 Pages
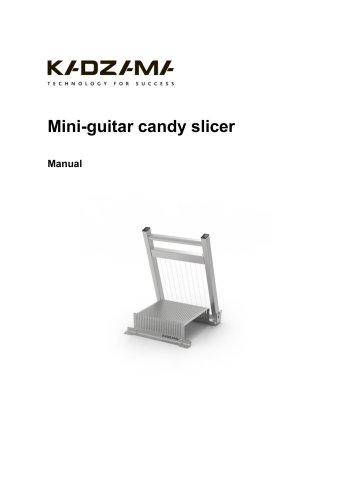 Mini-guitar candy slicer
9 Pages
 Guitar candy slicer
9 Pages
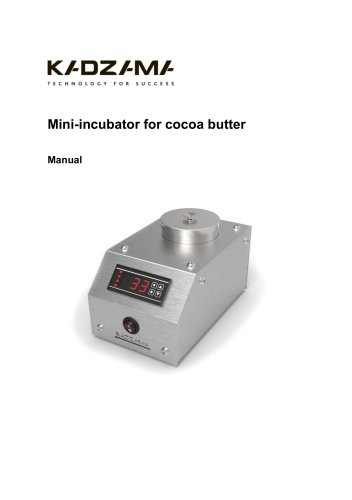 Mini-incubator for cocoa butter
10 Pages
- Metal cart
- Transport trolley
- Incubator
- Metal stand
- Industrial slicing machine
- Natural convection incubator
- Steel bracket
- Stainless steel cart
- Stainless steel bracket
- Stainless steel slicing machine
- Adjustable stand
- Food coating machine
- Programmable incubator
- Metal container
- Heating incubator
- Storage container
- Vibrating table
- Dragée enrober