MEMS MICROPHONE ON BREAKOUTBOARD
1 /7Pages
MEMS MICROPHONE ON BREAKOUTBOARD
1 /7Pages
Catalog excerpts
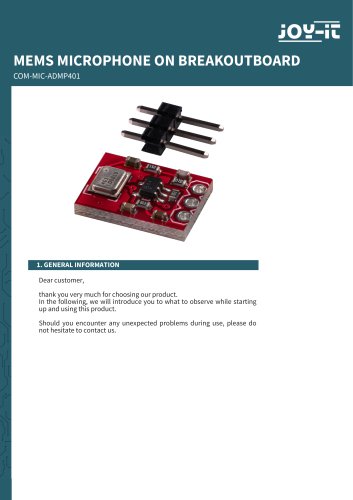
MEMS MICROPHONE ON BREAKOUTBOARD COM-MIC-ADMP401 1. GENERAL INFORMATION Dear customer, thank you very much for choosing our product. In the following, we will introduce you to what to observe while starting up and using this product. Should you encounter any unexpected problems during use, please do not hesitate to contact us.
Open the catalog to page 1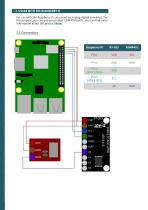
2. USAGE WITH THE RASPBERRY PI For use with the Raspberry Pi, you need an analog-digital converter. For this purpose, you can use our product COM-KY053ADC. You can find more information about this product here.
Open the catalog to page 2
For the following code example, you need a operating system with graphical user interface. We recommend Raspberry Pi OS with desktop and recommended software. First, enable I2C on your Raspberry Pi. To open the configuration, enter sudo raspi-config There, select 3 Interface Options → P5 I2C. There, you get the question Would you like the ARM I2C Interface to be enabled? Confirm this with Yes. You have now successfully activated I2C. The analog-digital converter is now accessible under the I2C address 0x48. We use the Adafruit_Python_ADS1x15 library for our code example, which is released under...
Open the catalog to page 3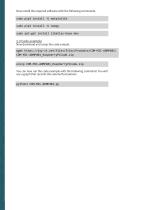
Now install the required software with the following commands. sudo pip3 install -U matplotlib sudo pip3 install -U numpy sudo apt-get install libatlas-base-dev Now download and unzip the code sample. wget https://joy-it.net/files/files/Produkte/COM-MIC-ADMP401/ COM-MIC-ADMP401_RaspberryPiCode.zip unzip COM-MIC-ADMP401_RaspberryPiCode.zip You can now run the code example with the following command. You will see a graph that records the volume fluctuations. python3 COM-MIC-ADMP401.py
Open the catalog to page 4
3. USAGE WITH THE ARDUINO
Open the catalog to page 5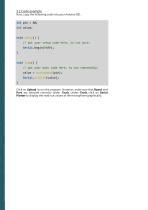
Now, copy the following code into your Arduino IDE. int pin = A0; int value; void setup() { // put your setup code here, to run once: Serial.begin(9600); } void loop() { // put your main code here, to run repeatedly: value = analogRead(pin); Serial.println(value); } Click on Upload to run the program. However, make sure that Board and Port are selected correctly under Tools. Under Tools, click on Serial Plotter to display the read-out values of the microphone graphically.
Open the catalog to page 6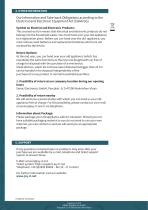
Our Information and Take-back Obligations according to the Electrical and Electronic Equipment Act (ElektroG) Symbol on Electrial and Electronic Products: This crossed-out bin means that electrical and electronic products do not belong into the household waste. You must hand over your old appliance to a registration place. Before you can hand over the old appliance, you must remove used batteries and replacement batteries which are not enclosed by the device. Return Options: As the end user, you can hand over your old appliance (which has essentially the same functions as the new one bought with...
Open the catalog to page 7All Joy-It catalogs and technical brochures
 ARD_R3DIP
2 Pages
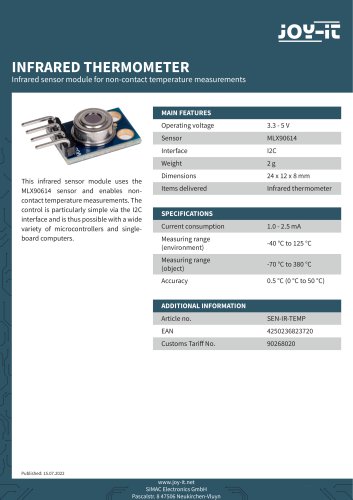 SEN-IR-TEMP
1 Page
 BUTTON-22C-L-GR
2 Pages
 Button22C-L-RD
2 Pages
 Button22C-M-GR
2 Pages
 Button22C-M-RD
2 Pages
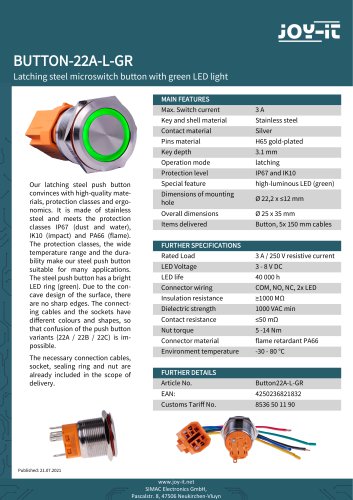 Button22A-L-GR
2 Pages
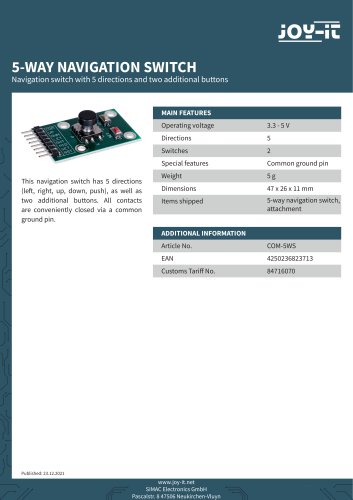 COM-5WS
1 Page
 COM-DAC01
1 Page
 COM-MIC
1 Page
 JOYSTICK MODUL
1 Page
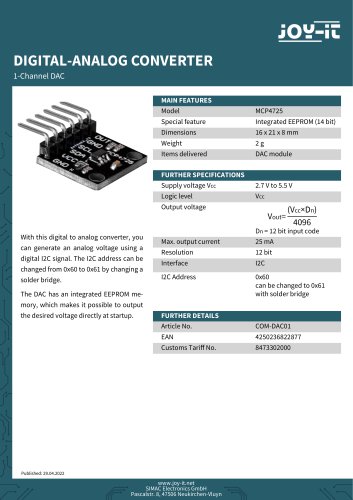
 DIGITAL-ANALOG CONVERTER
1 Page
 COM-MOSFET
1 Page

- Electromotor
- Power supply unit
- DC power supply
- Electrical cable
- AC/DC power supply
- Rectangular housing
- Multipole motor
- LCD display panel
- Industrial display panel
- Power cable
- Electromotor for industrial applications
- Monitoring camera system
- Wall-mount box
- TFT display module
- Acceleration sensor
- Push-button switch
- Switching power supply
- 2-pole motor
- Color display panel