
- Catalogs
- Integrated Visual Data Technology Inc
- Automatic Load Weight Verification for Rough Terrain Lift Trucks

Automatic Load Weight Verification for Rough Terrain Lift Trucks

Automatic Load Weight Verification for Rough Terrain Lift Trucks
This guide provides comprehensive instructions for the installation, calibration, testing, and operation of the ED2-2X Series SkidWeigh system, designed for lift trucks. For further assistance, users are encouraged to contact customer support via email or visit the official website.
Safety Precautions
Before installation, disconnect the vehicle battery. Ensure all components are securely mounted and do not interfere with vehicle controls. Installation should be conducted by a qualified technician. Use soldering or crimp connectors for wire connections, ensuring proper insulation. The system connects directly to the vehicle's ignition switch, operating between 12 to 55 V DC.
Electro-Magnetic Compatibility
The system adheres to CE directives for EMC, ensuring stability against interference and compliance with emission standards.
Components Overview
The system comprises a digital indicator, a hydraulic pressure transducer, and an installation manual. The pressure transducer is installed in the vehicle's hydraulic circuit to measure load weight.
Pressure Transducer Installation
Install the transducer in the lifting hydraulic line, ensuring the circuit is pressure-free before installation. Use thread seal for a secure fit and ensure the transducer does not contact moving parts.
Digital Indicator Mounting
Mount the indicator on the vehicle dashboard or side railing for optimal visibility and accessibility for the operator.
Electrical Connections
The system operates from 12 to 55 V DC. Connect the digital indicator and pressure transducer cables as specified. The system includes internal short circuit protection.
Quick Test for Electrical Connections
After connecting the system, perform a quick test by lowering the forks, turning on the ignition, and checking the LED display for correct operation.
Calibration Procedure
The system is calibrated by lifting empty and loaded forks. Use a known load weight for calibration, ensuring it is 30-50% of the lift truck's maximum capacity. The digital indicator has two keys for calibration, accessed through small holes on the cover.
Calibration Example
For standard forks, lower them to the ground, turn on the ignition, and follow the procedure to calibrate the weighing channel. Lift the empty forks just above the ground to initiate calibration.
This document provides detailed instructions for calibrating and using the ED2-2X Series SkidWeigh Systems for weighing loads using a lift truck. The procedures cover both weighing channels, Mode 8 and Mode 82, for different configurations of forks or attachments.
Calibration Procedure
- Automatic Zeroing: The system automatically zeroes itself when the LED display shows Mode digit 1 and a default value, which may vary if previous calibrations were done with different load weights.
- Calibration of Loaded Forks (Mode 8): Drive the vehicle into a skid load with a known weight (e.g., 4000 kg) and lower the forks to the ground. Enter the known load weight into the digital indicator using the arrow up button and the 'M' button to increment digits. Ensure the 5th digit is set to '0'. Lift the forks slightly above the ground to display the known load weight.
- Calibration for Different Forks (Mode 82): For configurations like paper clamps or longer forks, ensure no hydraulic pressure is in the lift circuit. Turn on the ignition, set the LED display to Mode 82, and follow the same calibration steps as Mode 8.
Standard Weighing Procedure
- Weighing Channel One (Mode 8): Insert forks into the pallet load, lower them to the ground, and ensure the LED shows Mode 8. Lift the load slightly above the ground to display the weight. Ensure quick activation of the lift control lever for accurate weighing.
- Weighing Channel Two (Mode 82): Similar to Mode 8, but ensure the LED shows Mode 82. Follow the same steps for weighing accuracy.
Accuracy and Recommendations
Check that the weighing accuracy is within +/- 0.1 to 1% of the lift truck's maximum lifting capacity. Always ensure the correct mode is displayed before initiating the weighing cycle and activate the lift control lever quickly to avoid errors.
Catalog excerpts
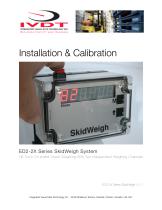
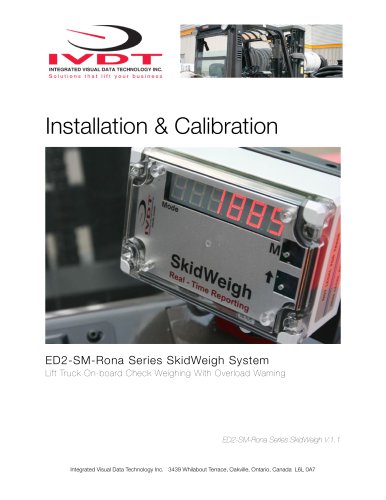
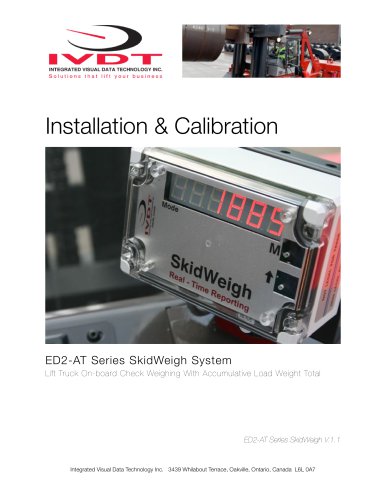
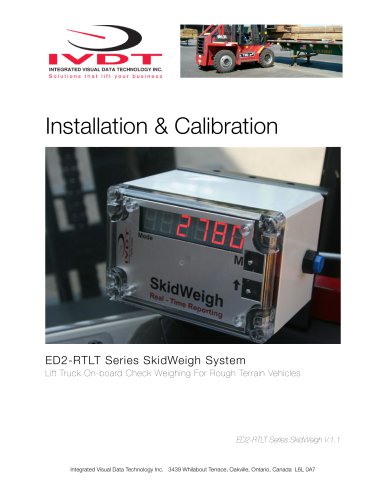
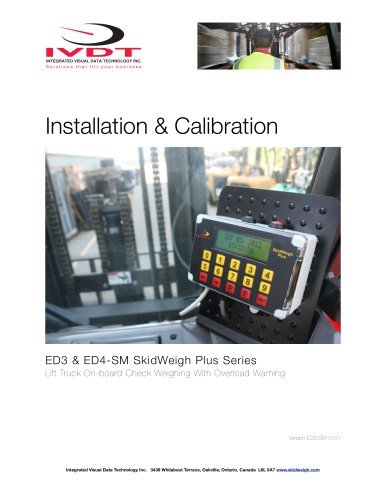
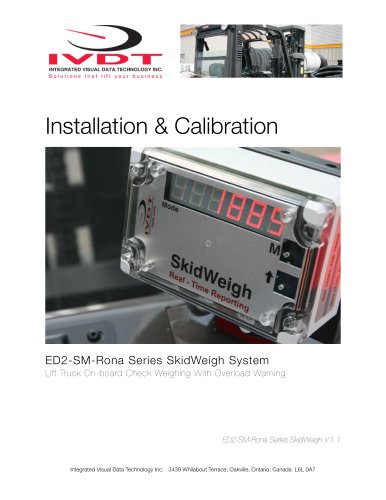
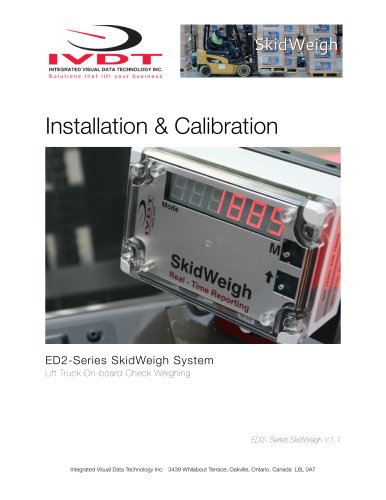
Installation & Calibration ED2-2X Series SkidWeigh System Lift Truck On-board Check Weighing With Two Independent Weighing Channels Integrated Visual Data Technology Inc. 3439 Whilabout Terrace, Oakville, Ontario, Canada L6L 0A7
Open the catalog to page 1
General Installation Guide This ED2-2X Series SkidWeigh system installation & calibration guide describes how to install, calibrate, test and use your on-board check weighing unit. Following the instructions in this guide will enable you to get your system operating quickly and easily. In the event that you require additional assistance, please contact customer support via e-mail at [email protected] or visit www.skidweigh.com or contact us at the address or contact number below: Integrated Visual Data Technology Inc. 3439 Whilabout Terrace, Oakville, ON, Canada, L6L 0A7 Phone: 905-469-0985,...
Open the catalog to page 2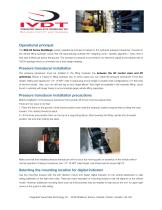
Operational principal The ED2-2X Series SkidWeigh system operational principal is based on the hydraulic pressure transducer mounted in the vehicle lifting hydraulic circuit that will automatically activate the “weighing cycle / specic algorithm ” every time a skid load is lifted just above the ground. The increase in pressure is converted in an electronic signal at the sample rate of 16000 readings which is converted into a load weight reading. Pressure transducer installation The pressure transducer must be installed in the lifting hydraulic line between the lift control valve and lift cylinder(s)....
Open the catalog to page 3
Choose the correct location and make sure that: - Indicator is visible and within reach of the operator - Location so that operator does not hit a head Compact size All of the SkidWeigh systems are compact size, housing dimension of only 120 x 80 x 55 mm. Electrical Connections All SkidWeigh systems operate from 12 to 55 V DC. Digital indicator with seven wires single cable - Orange Wire (+) Ignition switch On position - Brown Wire (-) Battery negative - Red Wire, connect to RED wire of the pressure transducer cable - Black Wire, connect to BLACK wire of the pressure transducer cable - White...
Open the catalog to page 4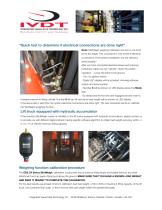
“Quick test to determine if electrical connections are done right” Note: SkidWeigh weighing calibration function is not done yet at this stage. This procedure is only to test if electrical connections of the system installation into the vehicle is done properly! After you have connected electrical power and pressure transducer cable you can “quickly” check the system operation. - Lower the forks to the ground - Turn On ignition switch - Digital LED display will be activated, showing software version and serial number - Number 8 will be shown on LED display above the Mode sign. -Go ahead and lift...
Open the catalog to page 5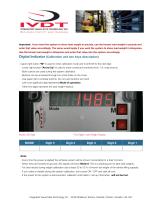
Important: If you want the system to show load weight in pounds, use the known load weight in pounds and enter that value accordingly. The same would apply if you want the system to show load weight in kilograms. Use the known load weight in kilograms and enter that value into the system accordingly. Digital Indicator (Calibration and two keys description) - Upper right button “M” is used to enter calibration mode and to shift left to the next digit. - Lower right button “Arrow Up” is used to enter numerical increments from 1-9, wrap around. - Both buttons are used during the system calibration....
Open the catalog to page 6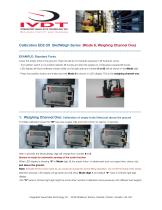
Calibration ED2-2X SkidWeigh Series (Mode 8, Weighing Channel One) --------------------------------------------------------------------------------------EXAMPLE: Standard Forks Lower the empty forks to the ground. There should be no hydraulic pressure in lift hydraulic circuit. - Turn ignition switch to on position (electric lift trucks) and start the engine on combustion powered lift trucks - LED display will show software version briey on the right side and number 8 or 82 will be shown in the Mode digit. - Press two position button and make sure that Mode 8 is shown on LED display. This is...
Open the catalog to page 7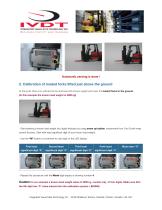
Automatic zeroing is done ! 2. Calibration of loaded forks lifted just above the ground At this point drive your vehicle into the skid load with known weight and lower the loaded forks to the ground. (In this example the known load weight is 4000 kg) - Start entering a known load weight into digital indicator by using arrow up button (increments from 0 to 9) with wrap around function. Start with least signicant digit of your known load weight. - Use the “M” button to increment to next digit on the LED display. First least Second least Third least Forth least - Repeat this procedure until the...
Open the catalog to page 8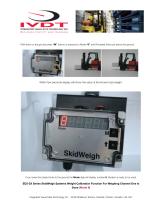
- With forks on the ground press “M” button to advance to Mode “6” and lift loaded forks just above the ground. Within few seconds display will show the value of the known load weight. If you lower the loaded forks to the ground the Mode digit will display number 8. System is ready to be used. ED2-2X Series SkidWeigh Systems Weight Calibration Function For Weighing Channel One Is Done (Mode 8) Integrated Visual Data Technology Inc. 3439 Whilabout Terrace, Oakville, Ontario, Canada L6L 0A7
Open the catalog to page 9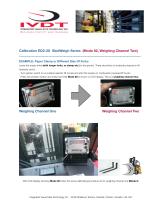
Calibration ED2-2X SkidWeigh Series (Mode 82, Weighing Channel Two) --------------------------------------------------------------------------------------EXAMPLE: Paper Clamp or Different Size Of Forks Lower the empty forks (with longer forks, or clamp etc.) to the ground. There should be no hydraulic pressure in lift hydraulic circuit. - Turn ignition switch to on position (electric lift trucks) and start the engine on combustion powered lift trucks - Press two position button and make sure that Mode 82 is shown on LED display. This is a weighing channel two. With LED display showing Mode 82...
Open the catalog to page 10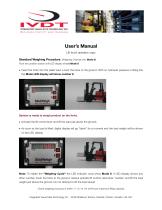
User’s Manual Lift truck operator copy Standard Weighing Procedure (Weighing Channel one, Mode 8) Push two position button until LED display shows Mode 8. • Insert the forks into the pallet load. Lower the forks to the ground. With no hydraulic pressure in lifting line the Mode LED display will show number 8. System is ready to weigh product on the forks. • Activate the lift control lever and lift the load just above the ground. • As soon as the load is lifted, digital display will go “blank” for a moment and the load weight will be shown on the LED display. Note: To initiate the “Weighing Cycle”...
Open the catalog to page 11All Integrated Visual Data Technology Inc catalogs and technical brochures
 IM2-Defender Series
2 Pages
 Installation & Calibration
12 Pages
 ED3 SkidWeigh Plus Series
2 Pages
 SkidWeigh ED2
2 Pages
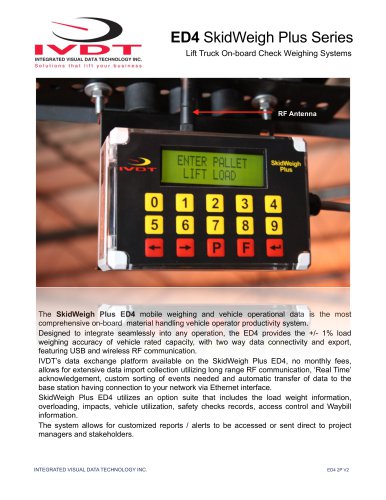 ED4 SkidWeigh Plus Series
2 Pages
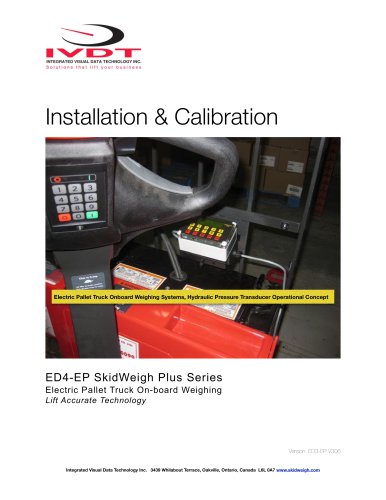 ED4 SkidWeigh
10 Pages
 ED4 SkidWeigh
14 Pages
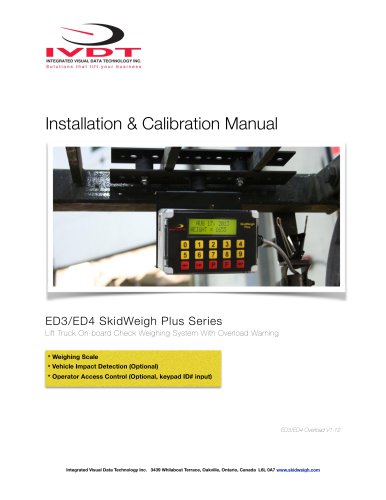 Forklift Impacts detection
14 Pages
 ED3
ED314 Pages
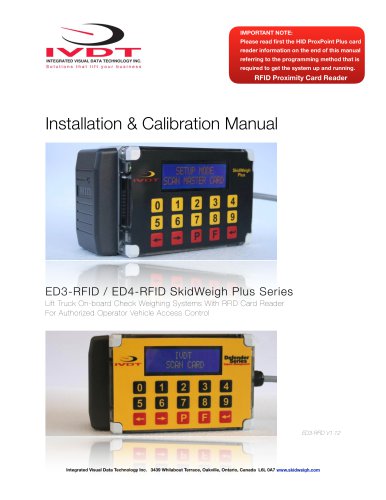 SkidWeigh ED3
23 Pages
 SkidWeigh Forklift Scale
10 Pages
 SidWeigh OL Series
11 Pages
 ED2-EP SkidWeigh
2 Pages
 Usage SkidWeigh
2 Pages
 ED3- SkidWeigh Plus-Print
9 Pages
 ED2-SkidWeigh
2 Pages
 SkidWeigh printers
4 Pages
 SP-1000 Series
11 Pages







- Measuring machine
- Waterproof scale
- Balance with separate indicator
- IP67 scale
- Access control system
- Management system
- Visual measurement system
- RFID access control system
- Communication controller
- Impact monitoring system
- Forklift truck scale
- Dimensioning system
- Hydraulic scale
- Overload indicator
- Forklift truck management system
- Digital overload indicator
- Forklift truck monitoring system
- Data communication controller