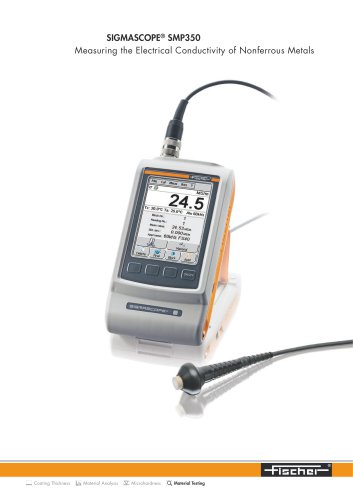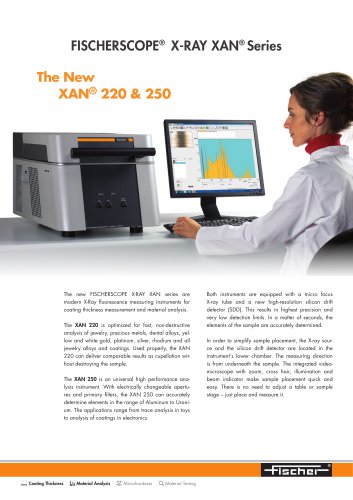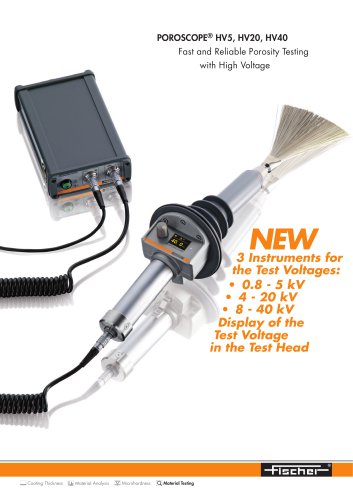
Catalog excerpts
Product Overview Innovative, Top Quality Measurement Technology Coating Thickness Material Analysis Microhardness Material Testing
Open the catalog to page 1
Coating Thickness 2 Material Analysis Microhardness Product Overview
Open the catalog to page 2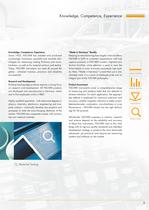
Knowledge, Competence, Experience Knowledge, Competence, Experience Since 1953, FISCHER has created and produced increasingly innovative, powerful and versatile technologies for measuring coating thickness and microhardness, as well as for material analysis and testing. Today, FISCHER instruments are used all around the globe – wherever trueness, precision and reliability are essential. Research and Development Building leading-edge products requires a strong focus on research and development. All FISCHER products are developed and manufactured in Germany, where one in five employees works...
Open the catalog to page 3
Coating Thickness Measurement and Material Analysis Whether the coating is painted or electroplated, onto magnetic or non-magnetic materials – you will find the right tool for precise, mobile thickness measurement in FISCHER’s wide assortment of powerful hand-held instruments. For extra versatility, FISCHER’s stationary multi-measurement systems with network capabilities and modular design can perform material analyses in addition to measuring coating thickness. Whatever your measurement application needs, and across a wide variety of substrates: With the appropriate FISCHER instruments and...
Open the catalog to page 4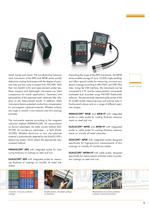
Small, handy and robust: The non-destructive measure- ment instruments of the MPO and MPOR series quickly determine coating thicknesses with the degree of preci- sion that one has come to expect from FISCHER. With their two backlit LCDs and wear-resistant probe tips, these compact and lightweight instruments are ideal companions for onsite applications. Geometry and permeability of the specimen exert relatively little influ- ence on the measurement results. In addition, these instruments feature patented conductivity compensation for non-magnetic substrate materials. Whether surfaces are...
Open the catalog to page 5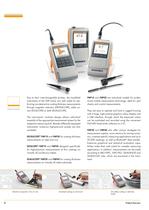
COATING THICKNESS Due to their interchangeable probes, the handheld instruments of the FMP family are well suited for per- forming non-destructive coating thickness measurements through magnetic induction (DELTASCOPE), eddy cur- rent (ISOSCOPE) or both (DUALSCOPE). The instruments' modular design allows individual assembly of the appropriate measurement system for the respective measuring task. Besides differently equipped instruments, numerous high-precision probes are also DELTASCOPE® FMP10 and FMP30 for coating thickness measurements on steel and iron. ISOSCOPE® FMP10 and FMP30 designed...
Open the catalog to page 6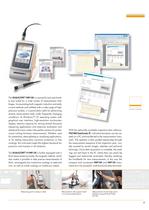
The DUALSCOPE® FMP100 is a powerful and user-friendly tool suited for a wide variety of measurement challenges. Incorporating both magnetic induction and eddy current methods and outfitted with a wide range of highprecision probes, it is particularly useful for performing diverse measurement tasks under frequently changing conditions. Its Windows™ CE operating system with graphical user interface, high-resolution touchscreen display, memory capacity for storing several thousand measuring applications and extensive evaluation and statistical functions make it the perfect solution for...
Open the catalog to page 7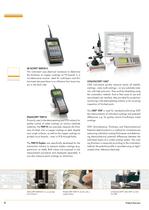
COATING THICKNESS SR-SCOPE® RMP30-S This instrument uses electrical resistance to determine the thickness of copper coatings on PC-boards in a non-destructive manner: ideal for multi-layers and thin laminates because there is no influence from lower layers or the back side. PHASCOPE® PMP10 Primarily used in the electroplating and PCB industry for quality control of metal coatings on various substrate materials, the PMP10 can precisely measure the thickness of nickel, zinc or copper coatings on steel, despite very rough surfaces, as well as the copper coatings on printed circuit boards –...
Open the catalog to page 8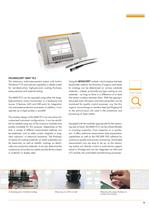
FISCHERSCOPE® MMS® PC2 The stationary multi-measurement system with built-in Windows™ CE and network capability is ideally suited for non-destructive, high-precision coating thickness measurements and material testing. The MMS PC2 can be operated using either the large, high-resolution colour touchscreen or a keyboard and mouse. It features LAN and USB ports for integration into automated production processes. In addition, it can operate up to eight probes in parallel. The modular design of the MMS PC2 not only allows for customised instrument configurations, it can be retrofitted as needed...
Open the catalog to page 9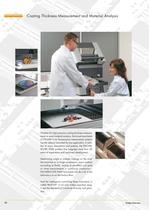
Coating Thickness Measurement and Material Analysis Whether for high-precision coating thickness measure- ments or exact material analysis, the broad assortment of FISCHER X-ray fluorescence measurement systems has the optimal instrument for any application. In addi- tion to many innovations and patents, the FISCHER- SCOPE X-RAY product line integrates more than 30 years of experience and continued development. Determining single or multiple coatings on the smal- lest structures or on large components, trace analysis according to RoHS, testing of jewellery and gold or inline measurements in...
Open the catalog to page 10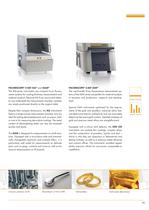
FISCHERSCOPE® X-RAY XUL® and XULM® The XUL-series instruments are compact X-ray fluorescence systems for coating thickness measurements and material analysis. Because the X-ray source and detector are underneath the measurement chamber, samples are simply positioned directly on the support table. Despite their compact dimensions, the XUL instruments feature a large-volume measurement chamber and are ideal for testing electroplated parts such as screws, bolts or nuts or for measuring decorative coatings. The metal content of electroplating baths can also be analysed quickly and easily. The...
Open the catalog to page 11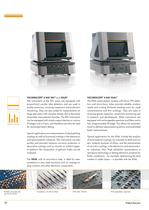
COATING THICKNESS MATERIAL ANALYSIS FISCHERSCOPE® X-RAY XDL® and XDLM® The instruments of the XDL series are equipped with proportional counter tube detectors and are used in quality assurance, incoming inspections and production monitoring. They are also suited for measurements on large specimens with complex shapes due to the easily accessible measurement chamber. The XDL instruments can be equipped with simple support devices or various XY-stages and a Z-axis, and therefore can also be used for automated batch testing. Typical applications are measurements of electroplating coatings as...
Open the catalog to page 12All HELMUT FISCHER GMBH - INSTITUT FÜR ELEKTRONIK UND catalogs and technical brochures
-
MMS® Inspection
8 Pages
-
MMS® Inspection DFT
6 Pages
-
FISCHERSCOPE ® X-RAY SERIES
48 Pages
-
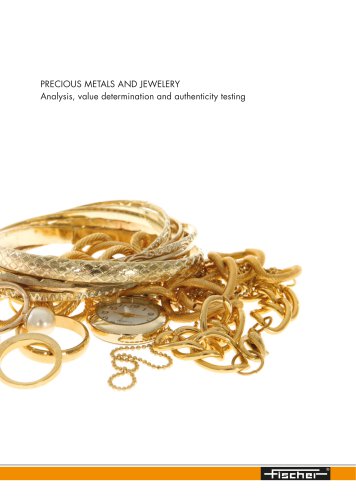
PRECIOUS METALS AND JEWELERY
4 Pages
-
Automated Measurement Solutions
28 Pages
-
FISCHERSCOPE® X-RAY XAN® 500
4 Pages
-
FISCHERSCOPE® ST200
4 Pages
-
MMS-PC2
16 Pages
-
SIGMASCOPE GOLD
4 Pages
-
XAN250-252
4 Pages
-
XAN220-222
4 Pages
-
Inline Measuring Systems
8 Pages
-
XAN Series
36 Pages
-
GOLDSCOPE Series
8 Pages
-
PMP10 Duplex
4 Pages
-
FMP100/150
8 Pages
-
MP0/MP0R Series
8 Pages
-
Brochure DUALSCOPE® FMP100
8 Pages
-
FISCHERSCOPE X-RAY XDV-SDD
2 Pages
-
FISCHERSCOPE X-RAY XDAL
2 Pages
-
PHASCOPE PMP10 DUPLEX
4 Pages
-
Probe catalogue
12 Pages
-
FISCHERSCOPE MMS PC2
16 Pages
-
FISCHERSCOPE X-RAY
36 Pages


