
- Catalogs
- Gentec Electro-Optics
- TECHNICAL NOTE


TECHNICAL NOTE
TECHNICAL NOTE
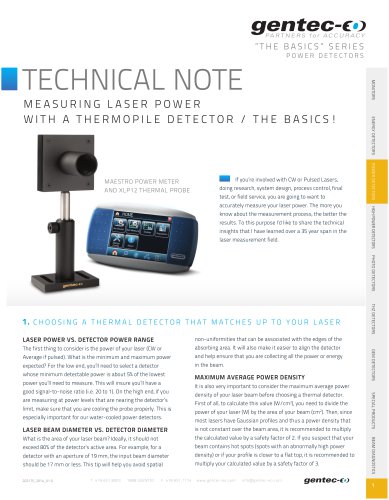
This technical note is part of 'The Basics' series, focusing on power detectors for laser measurement. It provides insights into selecting and using thermal detectors for accurate laser power measurement, particularly for CW and pulsed lasers.
Choosing a Thermal Detector
- Laser Power vs. Detector Power Range: Select a detector with a minimum detectable power about 5% of the lowest power you need to measure, ensuring a good signal-to-noise ratio. Ensure proper cooling for high power levels.
- Laser Beam Diameter vs. Detector Diameter: The laser beam should not exceed 80% of the detector's active area to avoid spatial non-uniformities and ensure complete power collection.
- Maximum Average Power Density: Calculate the power density (W/cm²) and apply a safety factor of 2 or 3, depending on the beam profile, to avoid damage.
- Maximum Pulse Energy Density: Consider laser wavelength, pulse width, repetition rate, and spatial distribution. Ensure energy density is below the detector's specified limits.
Thermal Environment Considerations
Allow thermal detectors to reach equilibrium after handling. Minimize interference from other heat sources and consider using filters or enclosures to stabilize measurements in environments with high background radiation or air movement.
Aligning the Detector
Proper alignment is crucial for accurate measurements. Center the detector in the laser beam's path to ensure measurement consistency and collect the entire laser output.
Laser Beam Size vs. Detector Area
Ideally, the laser beam should cover 60% to 80% of the detector area. For smaller beams, consider a smaller detector or use a diverging lens, accounting for optical losses.
Power Measurement Steps
- Align the detector with the laser source.
- Connect the detector to the power monitor.
- Power up the laser and center the detector on the beam.
- Adjust the monitor to the correct power range and enter the laser wavelength.
- Allow the detector to reach thermal equilibrium and zero out background noise.
- Unblock the laser and allow the power reading to stabilize.
Conclusion
This guide provides essential steps and considerations for accurate laser power measurement using thermal detectors. For further assistance, contact Gentec-EO representatives.
Catalog excerpts
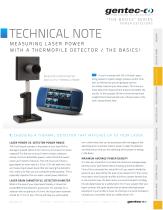
If you’re involved with CW or Pulsed Lasers, doing research, system design, process control, final test, or field service, you are going to want to know about the measurement process, the better the results. To this purpose I’d like to share the technical insights that I have learned over a 35 year span in the laser measurement field. HIGH POWER DETECTORS accurately measure your laser power. The more you POWER DETECTORS MAESTRO POWER METER AND XLP12 THERMAL PROBE ENERGY DETECTORS MEASURING LASER POWER WITH A THERMOPILE DETECTOR / THE BASICS! TECHNICAL NOTE POWER DETECTORS PHOTO DETECTORS non-uniformities that can be associated with the edges of the LASER POWER VS. DETECTOR POWER RANGE absorbing area. It will also make it easier to align the detector Average if pulsed). What is the minimum and maximum power and help ensure that you are collecting all the power or energy expected? For the low end, you’ll need to select a detector whose minimum detectable power is about 5% of the lowest MAXIMUM AVERAGE POWER DENSITY power you’ll need to measure. This will insure you’ll have a are measuring at power levels that are nearing the detector’s limit, make sure that you are cooling the probe properly. This is especially important for our water-cooled power detectors. LASER BEAM DIAMETER VS. DETECTOR DIAMETER It is also very important to consider the maximum average power density of your laser beam before choosing a thermal detector. First of all, to calculate this value (W/cm2), you need to divide the power of your laser (W) by the area of your beam (cm2). Then, since most lasers have Gaussian profiles and thus a power density that is not constant over the beam area, it is recommended to multiply the calculated value by a safety factor of 2. If you suspect that your exceed 80% of the detector’s active area. For example, for a beam contains hot spots (spots with an abnormally high power detector with an aperture of 19 mm, the input beam diameter density) or if your profile is closer to a flat top, it is recommended to should be 17 mm or less. This tip will help you avoid spatial multiply your calculated value by a safety factor of 3. BEAM DIAGNOSTICS What is the area of your laser beam? Ideally, it should not SPECIAL PRODUCTS good signal-to-noise ratio (i.e. 20 to 1). On the high end, if you The first thing to consider is the power of your laser (CW or
Open the catalog to page 1
If you are trying to measure the average power of a pulsed detector you are considering. Be careful to choose the laser, then you have to also look at the maximum energy threshold that is closest to your laser parameters in terms density and compare it to the detector’s specified limits. of wavelength and pulse duration. A graphic of damage This tends to be a bit more complex than the previous steps. threshold vs. beam power can be found in the user manual Maximum energy density depends on the laser wavelength, of the detector. It is important to note that the threshold pulse width, repetition...
Open the catalog to page 2
Ideally, you’d like the laser beam diameter to be about 60% to lens to your optical set up, to spread the beam on the 80% of the detector area. There are a couple of reasons for this. detector, but of course you’ll have to account for the optical First, this is the size of the beam we use when calibrating the losses associated with it. detector, and second, the larger beam effectively averages out surface. If you are measuring a much smaller beam, say 10% or less of the detector area, then you’ll want to consider selecting a smaller detector. You could also add a diverging If you have to measure...
Open the catalog to page 3All Gentec Electro-Optics catalogs and technical brochures
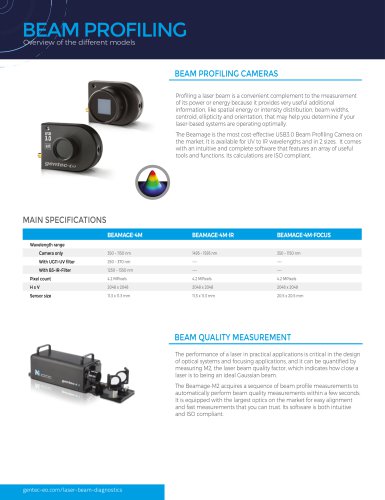 BEAM PROFILING
2 Pages
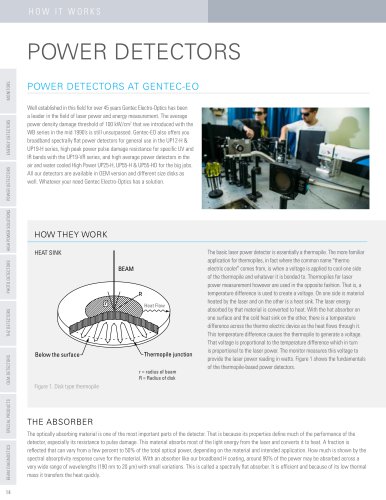 POWER DETECTORS
4 Pages
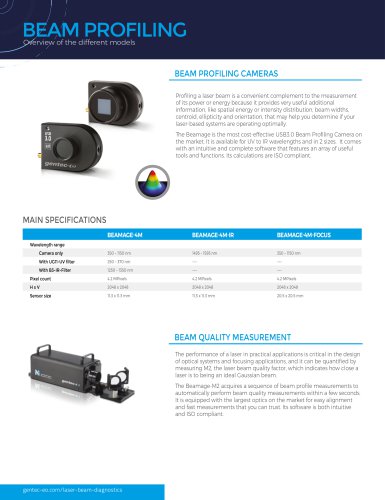 BEAM PROFILING
2 Pages
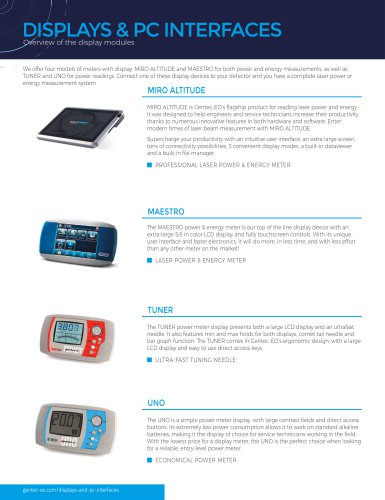 DISPLAYS & PC INTERFACES
4 Pages
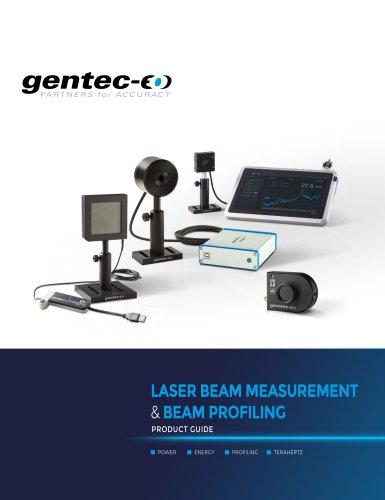 Product catalog 2026
172 Pages
 DISPLAYS & PC INTERFACES
4 Pages
 PRODUCT GUIDE 2023
195 Pages

- Display module
- LCD display panel
- Color display panel
- Touch screen display panel
- Position transducer
- Temperature controller
- Linear position transmitter
- Custom display panel
- Analog position transducer
- RS-232 display panel
- No-contact position sensor
- Gentec-e interface module
- Portable display
- Analog detector
- 10" display
- Digital power meter
- High-resolution display panel
- Power module
- 5" display