
- Catalogs
- Cubic Sensor and Instrument Co.,Ltd
- Dual Beam NDIR CO2 Sensor Module-CM1107N

- Company
- Products
- Catalogs
- News & Trends
- Exhibitions
Dual Beam NDIR CO2 Sensor Module-CM1107N

Dual Beam NDIR CO2 Sensor Module-CM1107N
Catalog excerpts

Product Name: Dual Beam NDIR CO2 Sensor Module Item No.: CM1107N Version: V0.4 Date: 6th Jan.2020
Open the catalog to page 1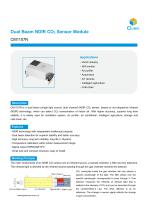
Dual Beam NDIR CO2 Sensor Module CM1107N Applications ▪ HVAC industry ▪ IAQ monitor ▪ Air purifier ▪ Automotive ▪ IoT devices ▪ Intelligent agriculture ▪ Cold-chain Description CM1107N is a dual beam (single light source, dual channel) NDIR CO2 sensor, based on non-dispersive infrared (NDIR) technology, which can detect CO2 concentration of indoor air. With higher accuracy, superior long term stability, it is widely used for ventilation system, air purifier, air conditioner, intelligent agriculture, storage and cold-chain, etc. Features ▪ NDIR technology with independent intellectual property...
Open the catalog to page 3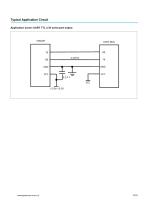
Typical Application Circuit Application scene: UART TTL 3.3V serial port output
Open the catalog to page 6
1. Auto calibration ( Closed default, if open please refer to the protocol) Rough installing, non-correct soldering and transportation might result in a reducing of sensor reading accuracy and zero drift. Therefore, the sensor can corrects the drift by a built-in auto-calibration algorithm. When the sensor power-on time is accumulated for 7 days, the minimum CO2 concentration detection value is stored and recorded, and the sensor automatically performs the calibration algorithm. Put the sensor in the environment where the CO2 concentration level can reach 400ppm Note:For more detailed information...
Open the catalog to page 7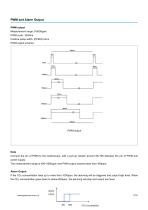
PWM and Alarm Output PWM output Measurement range: 0-5000ppm PWM cycle: 1004ms Positive pulse width: (PPM/5)+2ms PWM output schema: Note Connect the pin of PWM to the oscilloscope. Add a pull-up resistor around 5K-10K between the pin of PWM and power supply. The measurement range is 400~5000ppm and PWM output schema start from 400ppm. Alarm Output If the CO2 concentration rises up to more than 1000ppm, the alarming will be triggered and output high level. When the CO2 concentration goes down to below 800ppm, the alarming will stop and output low level.
Open the catalog to page 8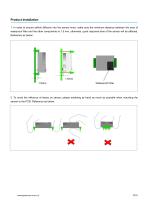
Product Installation 1. In order to ensure airflow diffusion into the sensor inner, make sure the minimum distance between the area of waterproof filter and the other components is 1.5 mm, otherwise, quick response time of the sensor will be affected. Reference as below: Waterproof Filter 2 .To avoid the influence of stress on sensor, please soldering by hand as much as possible when mounting the sensor to the PCB. Reference as below:
Open the catalog to page 9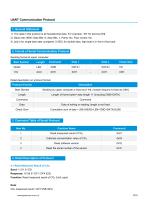
UART Communication Protocol 1. General Statement 1). The data in this protocol is all hexadecimal data. For example, “46” for decimal [70]. 2). Baud rate: 9600, Data Bits: 8, Stop Bits: 1, Parity: No, Flow control: No. 3). [xx] is for single-byte data (unsigned, 0-255); for double data, high byte is in front of low byte. 2. Format of Serial Communication Protocol Sending format of upper computer: Start Symbol Detail description on protocol format: Protocol Format Start Symbol Sending by upper computer is fixed as [11H], module respond is fixed as [16H] Length of frame bytes= data length +1 (including...
Open the catalog to page 10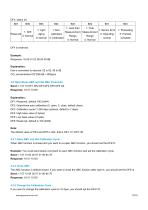
4.2 Open/Close ABC and Set ABC Parameter Send: 11 07 10 DF1 DF2 DF3 DF4 DF5 DF6 CS Response: 16 01 10 D9 Explanation: DF1: Reserved, default 100 (0x64) DF2: Open/close auto calibration (0: open; 2: close, default close) DF3: Calibration cycle (1-255 days optional, default is 7 days) DF4: High base value (2 bytes) DF5: Low base value (2 bytes) DF6: Reserved, default is 100 (0x64) Note: The default value of DF4 and DF5 is 400, that is DF4: 01; DF5: 90 4.2.1 Open ABC and Set Calibration Cycle When ABC function is closed and you want to re-open ABC function, you should set the DF2=0. Example: You...
Open the catalog to page 11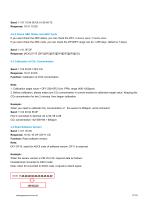
Send: 11 07 10 64 00 0A 01 90 64 75 Response: 16 01 10 D9 4.2.4 Check ABC Status and ABC Cycle If you want check the ABC status, you can check the DF2, 0 means open; 2 means close If you want check the ABC cycle, you can check the DF3(DF3 range can be 1-255 days, default is 7 days) Send: 11 01 0F DF Response: [ACK] 07 0F [DF1][DF2][DF3][DF4][DF5][DF6][CS] 4.3 Calibration of CO2 Concentration Send: 11 03 03 DF1 DF2 CS Response: 16 01 03 E6 Function: Calibration of CO2 concentration Note: 1. Calibration target value = DF1*256+DF2 Unit: PPM, range (400-1500ppm) 2. Before calibration, please make...
Open the catalog to page 12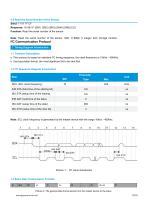
4.5 Read the Serial Number of the Sensor Send: 11 01 1F CF Response: 16 0B 1F (SN1) (SN2) (SN3) (SN4) (SN5) [CS] Function: Read the serial number of the sensor Note: Read the serial number of the sensor. SNn: 0~9999, 5 integer form 20-digit number. I2C Communication Protocol 1. Timing Diagram Introduction 1.1 Common Description a. This protocol is based on standard I2C timing sequence, the clock frequency is 10kHz~400kHz. b. Use big-endian format, the most significant bit to be sent first. 1.2 I2C Sequence Diagram Introduction Parameter fSCL (SCL clock frequency) tHD.STA (hold time of the starting...
Open the catalog to page 13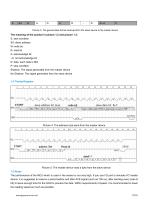
Picture 3: The general data format received from the slave device to the master device The meaning of the symbol in picture 1.2 and picture 1.3: S: start condition SA: slave address W: write bit R: read bit A: acknowledge bit ~A: not acknowledge bit D: data, each data is 8bit P: stop condition Shadow: The signal generated from the master device No Shadow: The signal generated from the slave device 1.5 Notes The performance of the MCU which is used in the sensor is not very high. If you use I/O port to simulate IIC master device, it is suggested to reserve a period before and after ACK signal...
Open the catalog to page 14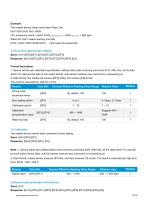
Example: The master device reads some data: Read 3 bit. 0x01 0x03 0x20 0x01 0xDB CO2 measuring result = (0x03 0x20) hexadecimal = (800) decimal = 800 ppm Status bit: 0x01 means working normally [CS]= -(0x01+0x03+0x20+0x01) Only keep the lowest bite. 2.3 Auto Zero Specification Setting Send: 0x10 [DF0] [DF1] [DF2] [DF3] [DF4] [DF5] Response: [0x10] [DF0] [DF1] [DF2] [DF3] [DF4] [DF5] [CS] Format description: 1. Sensor will be auto calibration specification setting status after receiving command 0x10. After this, all the data which I2C read are the data in this status format, until sensor receives...
Open the catalog to page 16All Cubic Sensor and Instrument Co.,Ltd catalogs and technical brochures
 Portable Particle Counter
2 Pages
 Cubic TDLAS CH4 Sensor
4 Pages
 Gasboard-7500H-OPC
13 Pages
 NDIR CO2 Sensor Module-CM1106LS
18 Pages
 Laser Particle Sensor-PM2008M-M
22 Pages
 Laser Particle Sensor-PM2012
19 Pages
 Test Instruction of AM4100-I
7 Pages
 Test Instruction of AM1008W
7 Pages
 Test Instruction of PM5000
7 Pages
 Test Instruction of PM1006
8 Pages
 Test Instruction of CM1107T
7 Pages
 Test Instruction of CM1107BN
8 Pages
 Test Instruction of PM3006T
7 Pages
 Test Instruction of PM2009
8 Pages
 Test Instruction of CM1106SH
8 Pages
 Test Instruction of CM1107
8 Pages
 Test Instruction of CM1106S
8 Pages
 Test Instruction of CM1106LS
8 Pages
 Laser Particle Sensor-PM2008
21 Pages
 Laser Particle Sensor-PM2009
20 Pages
 Laser Particle Sensor-PM2105-M
20 Pages
 NDIR CO2 Sensor Module-CM1106S
18 Pages
 Gas Sensor Line-up
1 Page
 About Cubic
1 Page
 CEMS Solution - Gasboard 9050
22 Pages
 NDIR CO2 Sensor Modules
7 Pages
 Gasboard-7020
4 Pages
 Gasboard-7500
7 Pages
 Mainstream ETC02 module
5 Pages
 Gasboard 3400P
5 Pages
 Analyzer Gasboard 3800P
6 Pages
 LANDFILL APPLICATIONS
8 Pages





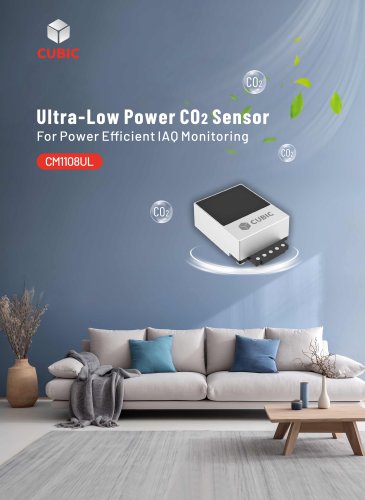
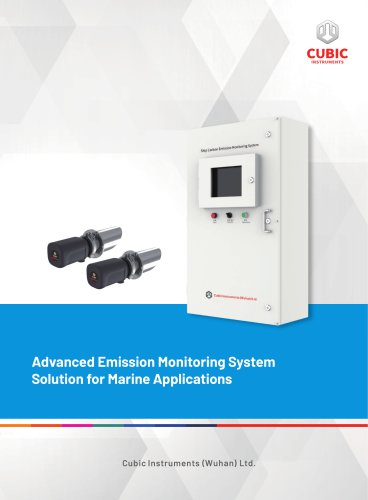
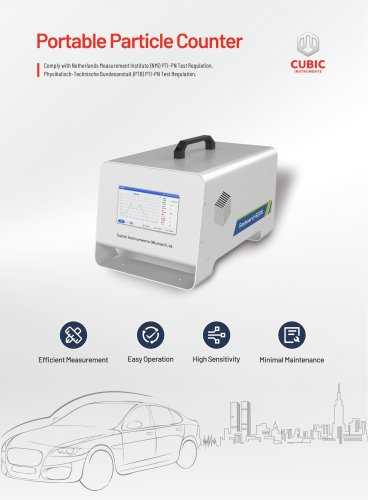
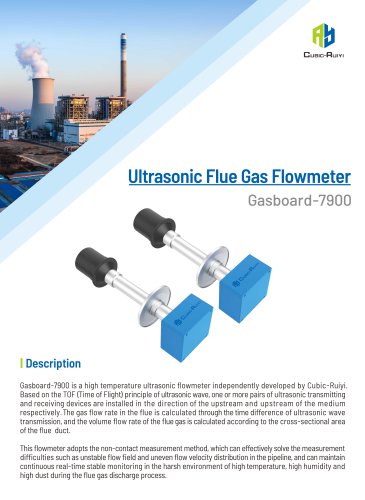
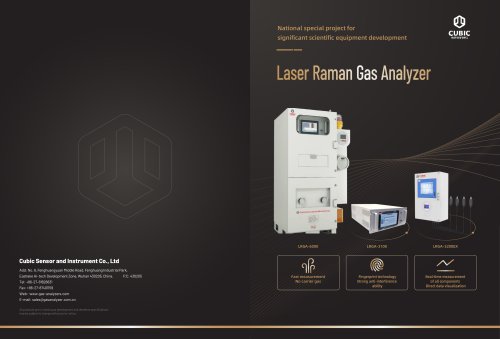
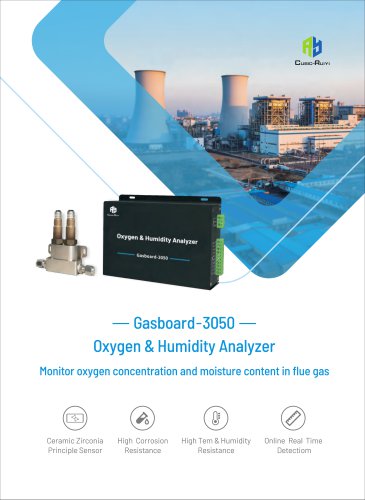
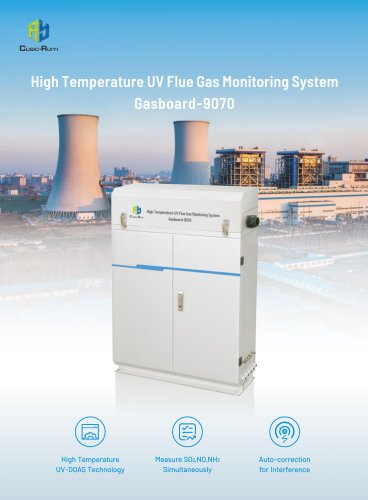
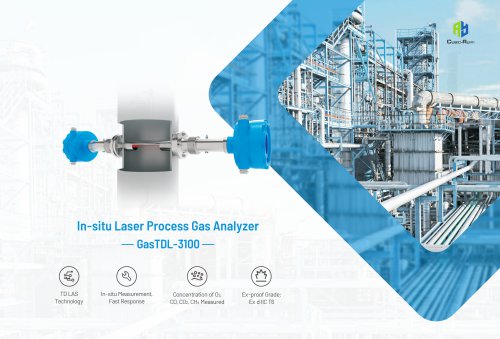
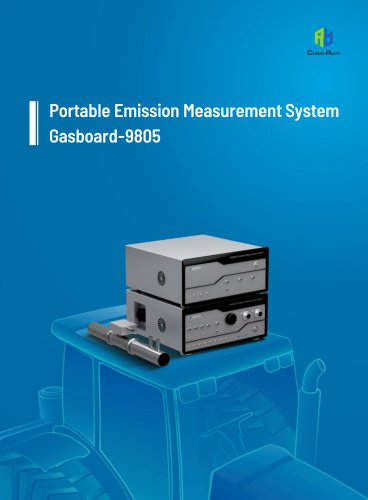



Archived catalogs
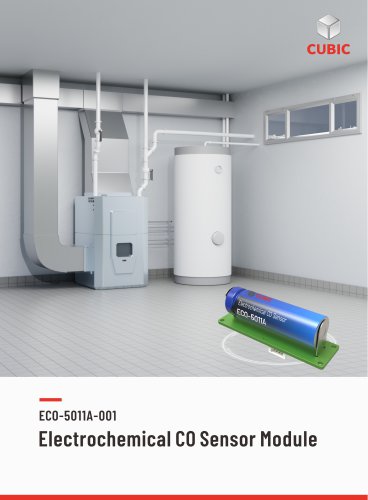
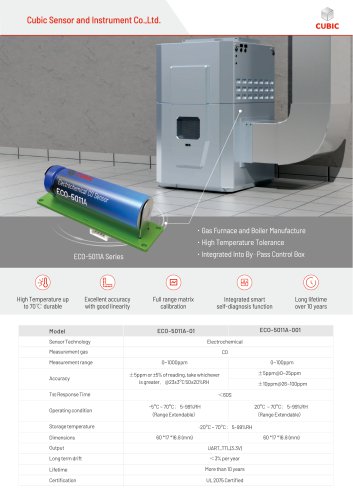 Cubic CO Sensor Brochure
2 Pages
 Air quality monitor AM7000
11 Pages
 RHB Series
8 Pages
 Syngas portable analyzers
4 Pages
 Opacity meter
1 Page
 Infrared Methane gas sensor
3 Pages


- Cubic flow meter
- Cubic volume flow meter
- Liquid flow monitor
- Cubic gas analyzer
- Cubic concentration analyzer
- Cubic monitoring analyzer
- Cubic liquids analyzer
- Measuring machine
- Cubic automatic analyzer
- Calibration system
- Cubic waterproof flow meter
- Cubic gas flow meter
- Benchtop analyser
- Cubic solids analyzer
- Stainless steel flow monitor
- Air blower
- Industrial flow monitor
- Cubic process analyzer
- Gas detector
- Pressure probe