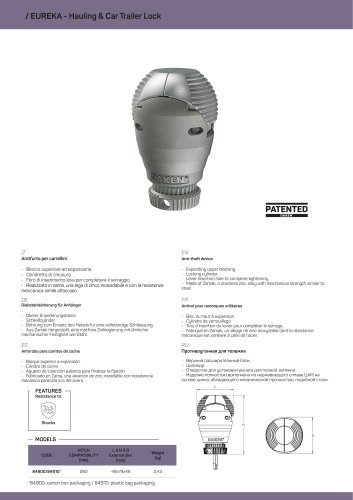
Assembly instructions

Assembly instructions
- Warnings and Positioning: Ensure doors are aligned and free of impurities. Avoid irregular surfaces and check for internal obstacles before drilling. Follow specific instructions for your van model.
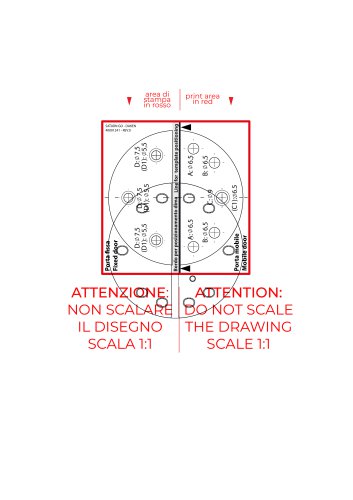
- Drilling: Use the drill template to mark points. Choose between standard and extra kit drilling options. Clean and treat drilled surfaces with rust preventive paint.
- Product Mounting: Install the lock on the movable door using steel shims. Use the sleeve and M6 screws for installation, or fix the lock from inside without the sleeve.
Catalog excerpts

ISTRUZIONI DI MONTAGGIO MOUNTING INSTRUCTIONS NOTICES DE MONTAGE INSTRUCCIONES DE MONTAJE MONTAGEANLEITUNG ИНСТРУКЦИЯ П
Open the catalog to page 1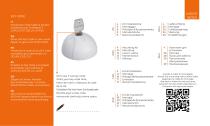
INDICE INDEX Kit installazione Montaggio Principio di funzionamento Manutenzione Raccomandazioni Mounting kit Mounting How it works Maintenance Advices EN Show the Key Code to your usual dealer to get a KEY DUPLICATE. FR Présentez le code de la clé à votre revendeur pour demander un DOUBLE DE CLÉ. ES Enseñar el Key Code a su propio revendedor para solicitar el DUPLICADO DE LA LLAVE. Scrivi qui il tuo key code. Write your key code here. Merci de noter ci-dessous le code de la clé. Schreiben Sie hier Ihren Schlüsselcode. Escriba aquí su key code. напишите свой код ключа здесь. RU Для получения...
Open the catalog to page 2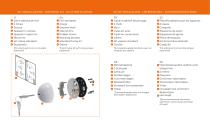
IT Dima adesiva per fori 2 Chiavi Scocca Spessori in acciaio Spessori in gomma Riscontro Kit viteria standard Bussolotto *Kit viteria extra con viti lunghe (optional) EN Drill template 2 Keys External shell Steel shims Rubber shims Blocking bracket Standard fixing kit Sleeve *Extra fixing kit with long screws (optional) DE Bohrschablone 2 Schlüssel Gehäuse Stahleinlagen Gummieinlagen Blockierhalter Standard Schraubensatz Hülse *Zusatzschraubensatz mit langen Schrauben (Optional) *Kit visserie supplémentaire avec vis longues (en option) FR Gabarit adhésif de perçage 2 Clefs Boul Cales en acier...
Open the catalog to page 3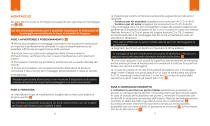
MONTAGGIO Da pag. 30 trovi tutte le immagini di supporto per ogni fase di montaggio, da 0a2. • Prima di procedere al montaggio accertarsi che le portiere siano prive di impurita e perfettamente allineate. In caso di disallineamento, se possibile, effettuare la registrazione delle portiere. • Evitare zone con particolari piegature della lamiera esterna. Prima di forare, verificare che non ci siano interferenze o altri elementi interni. • Puo essere montato sul portellone posteriore e/o su quello laterale del veicolo. • Prima di procedere con il posizionamento della dima di foratura, consultare...
Open the catalog to page 4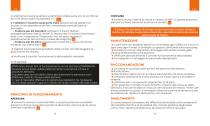
In alternativa: fissare la serratura dall'interno della porta con le viti M6 nei fori A+B senza usare il bussolotto in • Installare il riscontro sulla porta fissa: posizionare gli spessori di acciaio in corrispondenza dei fori, rimuovendo eventuali parti di pre-taglio. • Foratura per kit standard: utilizzare i 3 inserti filettati precedentemente inseriti nei fori D. Posizionare il riscontro servendosi delle 3 viti in dotazione. Sfruttando i fori ad asola, regolare il posizionamento del riscontro in base alle esigenzejHH • Foratura per kit extra: posizionare il riscontro e usare i fori DI per...
Open the catalog to page 5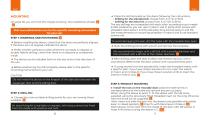
MOUNTING On page 30, you can find the images showing the installation phases a • Before installing the device, check that the doors are perfectly aligned. If the doors are not aligned, calibrate the doors. • Prefer smooth surfaces to areas where the van body is irregular or double. Before drilling, check that there is no obstacle or component inside. • The device can be installed both on the rear and on the side door of the van. • Before positioning the drill template, please refer to the specific mounting instructions for your van. Do not install the device on the forepart of the side door between...
Open the catalog to page 6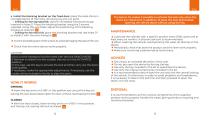
• Install the blocking bracket on the fixed door: place the steel shims in correspondence of the holes, removing any pre-cut parts. • Drilling for the standard kit: use the 3 threaded inserts previously inserted in holes D. Place the blocking bracket using the 3 screws supplied. Using the oval holes, adjust the positioning of the blocking bracket as required.|Hll • Drilling for the extra kit: place the blocking bracket and use holes D1 to install it with the extra fixing kit.|H2l • Cut the exceeding part of the screws to avoid damaging the seal of the van. • Check that the entire device works...
Open the catalog to page 7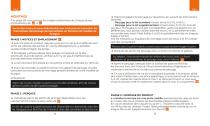
MONTAGE À la page 30, vous trouvez les images explicatives de chaque phase d’installation, de A à I2 . Sur le site Internet www.dakenlocks.com vous pouvez consulter les instructions demontage personnalisées en fonction du modèle de fourgon. PHASE 1: NOTICES ET EMPLACEMENT A Avant la pose du produit, assurez-vous qu’il n’y ait aucun affleurement entre les surfaces des portes. En cas de désalignement, si possible, veuillez d’abord régler les portes. Privilégiez surfaces planes sans pliages complexes sur la tôle extérieure. Avant de percer, vérifiez qu’il n’y ait pas d’interférences ou d’autres...
Open the catalog to page 8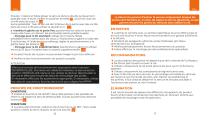
Ensuite : insérez et faites glisser la serrure dans la douille (uniquement possible avec le levier visible, en position fermée) F , puis fixer avec les vis M6 dans les trous A. G1 Autre possibilité : fixez la serrure de l’intérieur de la porte avec des vis M6 dans les trous A+B sans utiliser la douille en C. G2 Installez la gâche sur la porte fixe: positionnez les cales en acier au niveau des trous, en retirant les éventuelles pièces prédécoupées. • Perçage pour le kit standard: utilisez les 3 inserts filetés précédemment insérés dans les trous D. Positionnez la gâche à l’aide des 3 vis fournies....
Open the catalog to page 9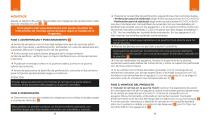
MONTAJE Desde la página 30, están disponibles las imágenes de ayuda para cada fase de instalación, de A a I2 . En la página web www.dakenlocks.com puede visualizar las indicaciones de montaje personalizadas según el modelo de la furgoneta. FASE 1: ADVERTENCIAS Y POSICIONAMIENTO A Antes de empezar con el montaje asegurarse que las puertas estén libres de impurezas y perfectamente alineadas. En caso de desalineación, si posible, efectuar la registración de las puertas. Evitar zonas con particulares pliegues de la chapa exterior. Antes de perforar, verificar que no haya interferencias u otros elementos...
Open the catalog to page 10All Cargoran catalogs and technical brochures
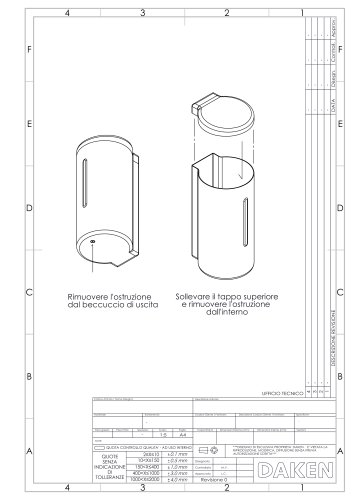 Scheda tecnica
1 Page
 TRAILER COUPLER LOCK
9 Pages
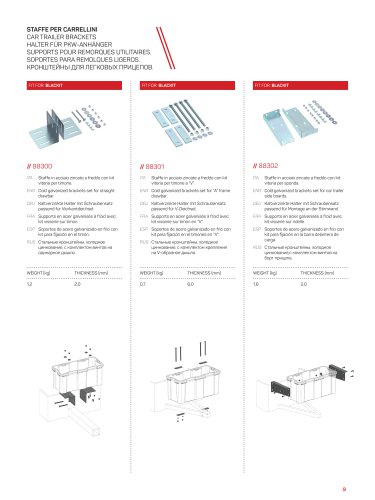 STAFFE PER CARRELLINI
1 Page
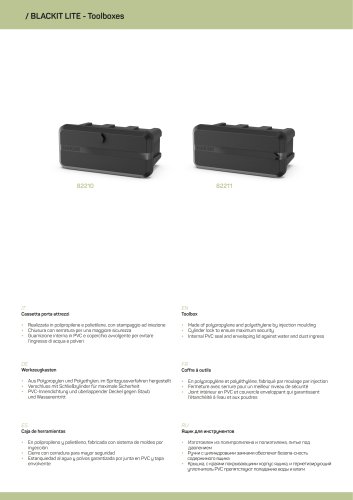 BLACKIT LITE - Toolboxes
3 Pages
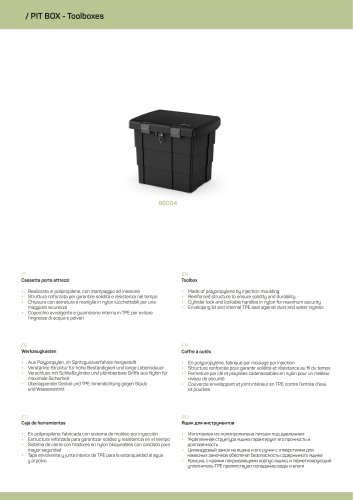 PIT BOX - Toolboxes
2 Pages
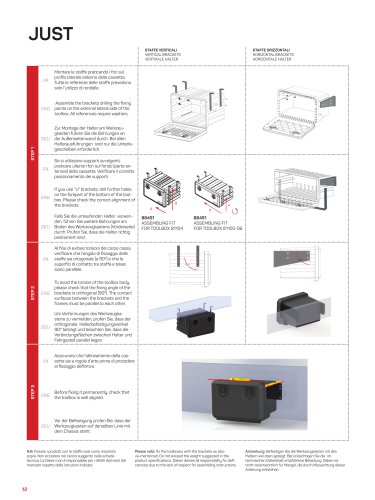 JUST
2 Pages
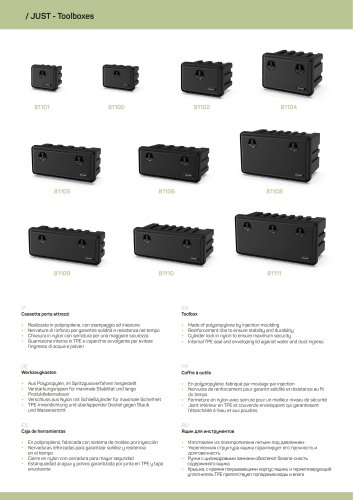 JUST - Toolboxes
4 Pages
 DIMA
1 Page