 Website:
Brooks Instrument
Group: ITW
Catalog excerpts

Data Sheet SolidSense II® Pressure Transducers Pressure Transducers Superior stability and reliability for demanding pressure measurement applications SolidSense II® Pressure Transducers Overview The Brooks® SolidSense II® Pressure Transducers are designed for stable, accurate, and reliable pressure monitoring in high purity and ultra-high purity (UHP) applications. A combination of optimum design and materials improves both signal stability and reliability in numerous pressure measurement applications. Pressure transducers are widely used in high purity and ultra-high purity fluid storage and delivery systems in many industries. Unfortunately, a number of current transducers rely on technologies that have problems with zero and span drift, thermal shift, and case stress. Adjusting the transducer to rectify errors requires ongoing maintenance that increases downtime and cost of ownership. The third generation SolidSense II pressure transducers by Brooks Instrument utilize glassfused strain gauge technology enabling a new level of performance for micro electronics and industrial applications. SolidSense II pressure transducers employ ultra stable, micro machined silicon strain gauges that are matched and fused to the metal diaphragm at high temperature to relieve manufacturing induced stress. The process reduces drift or lack of zero stability commonly associated with competitive products. Consequently, down time for zero adjustment to compensate for drift is significantly reduced. In addition, the unique mechanical design eliminates torque effects during installation. SolidSense II digital architecture enables automated software driven calibration and a wide range of thermal compensation routines, unlike the passive compensation used in competitive devices. This enhances measurement repeatability regardless of changes to the operational environment. SolidSense II devices feature 316L stainless steel wetted surfaces electropolished to 5- and 10-micro in. (5- and 10-Ra) to maintain the purity of the measured fluid.
Open the catalog to page 1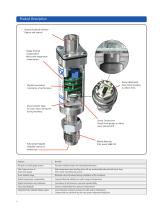
Product Description Industry Standard Interface Options and outputs Digital Thermal Compensation Multi-point temperature compensation Sensor Attachment Glass fusion bonding to relieve stress Digital Linearization Consistency of performance Stress Isolation Stage To reduce stress introduced during mounting Sensor Construction Paired strain gauges to reduce stress induced drift Wetted Materials 316L meets SEMI F20 Fully Swept Flowpath Complete removal of residual gas Features Two pairs of strain gauge sensors Precision matched sensors for improved performance Glass fusion process to bond...
Open the catalog to page 2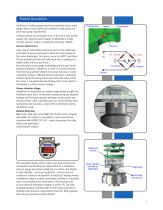
Product Description SolidSense II utilizes proprietary micro machined silicon strain gauges that are ultra stable and suitable for high purity and ultra-high purity requirements. A design feature for controlling stress is the use of dual paired gauges. By using two paired gauges in Wheatstone bridge circuitry, pressure signal is maximized enhancing stability. Sensor Attachment A key step for eliminating machining stress in the diaphragm is the glass fusion process used to bond the strain gauges to the sensor diaphragm. This process occurs at 600OC and drives off any mechanically induced...
Open the catalog to page 3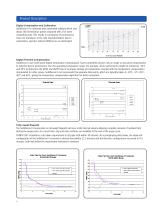
Product Description Digital Linearization and Calibration SolidSense II is calibrated with automated software which uses about 200 linearization points compared with 2 for some competing units. This results in consistency of performance from one transducer to the next (reproducibility). Due to automation, operator induced differences are eliminated. Digital Thermal Compensation SolidSense II uses multi-point digital temperature compensation. Some competitive devices rely on single or two point compensation to optimize device performance over the operating temperature range. For example,...
Open the catalog to page 4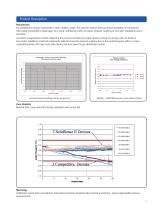
Product Description Robustness The SolidSense II design incorporates a stress isolation stage. This prevents stresses built up during installation of transducers from being transmitted to diaphragm. As a result, SolidSense II will not require frequent resetting of zero after installation and in operation. A number of applications involve subjecting the pressure transducer to rapid pressure cycling in a purge cycle. As shown in test results, SolidSense II will not temporarily indicate inaccurate pressure readings due to the Joule-Thompson effect. In some competitive devices this may cause...
Open the catalog to page 5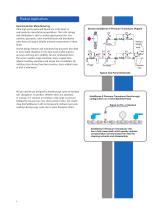
Product Applications Semiconductor Manufacturing Ultra-high purity gases and liquids are at the heart of semiconductor manufacturing operations. Their safe storage and distribution is vital to uninterrupted production. Gas cabinets, gas panels, valve manifold boxes and distribution valve boxes all require reliable pressure measurement of these fluids. Several design features and manufacturing processes described in more detail elsewhere in this data sheet enable superior accuracy and long-term stability. Two are emphasized here: The sensor isolation stage minimizes stress coupled from...
Open the catalog to page 6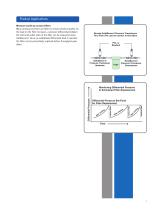
Product Applications Measure build-up across filters Many sanitary processes use filters to ensure product quality. As the load on the filter increases, a pressure differential between the inlet and outlet sides of the filter can be measured using SolidSense II. Once an established differential limit is reached, the filter can be preventively replaced before throughput goes down.
Open the catalog to page 7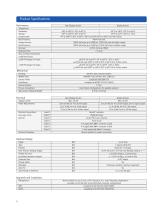
Product Specifications Performance Non-Display Version Display Version Temperature: Operating: -20OF to 180OF (-29OC to 82OC) -20°F to 140°F (-29°C to 60°C) Storage: -40OF to 180OF (-40OC to 82OC) -40°F to 167°F (-40°C to 75°C) Compensated: -4OF to 140OF (-20OC to 60OC) / 68OF to 140OF (20OC to 60OC) 0-10 Vdc version Burst Pressure: 400% full scale Design Pressure: 300% full scale up to 2000 psi, 250% full scale for higher ranges Proof Pressure: 200% full scale up to 2,000 psi, 150% full scale for higher ranges Accuracy: 0.25% full scale (BFSL) Response Time: < 5 msec Zero and Span...
Open the catalog to page 8All Brooks Instrument catalogs and technical brochures
-
Quantim® Series
9 Pages
-
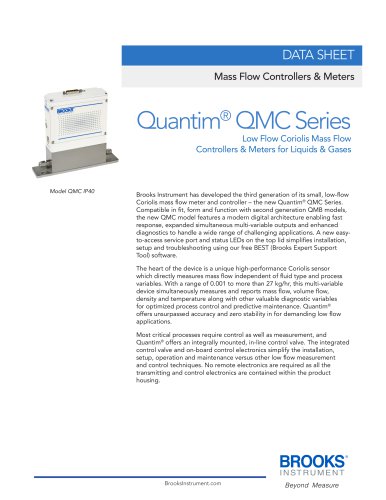
Sho-Rate Series
9 Pages
-
947N
4 Pages
-
NRS™ Series
4 Pages
-
0260 Series
4 Pages
-
0250 Series
8 Pages
-
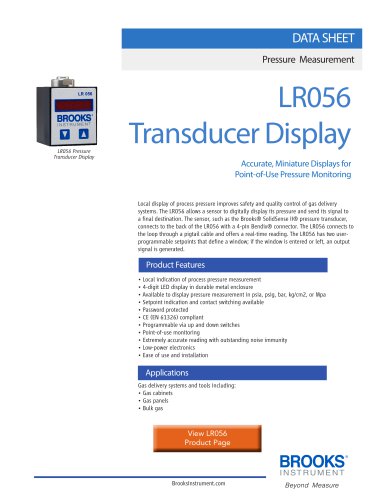
LR-056
4 Pages
-
VDM300
4 Pages
-
XacTorr® Series
8 Pages
-
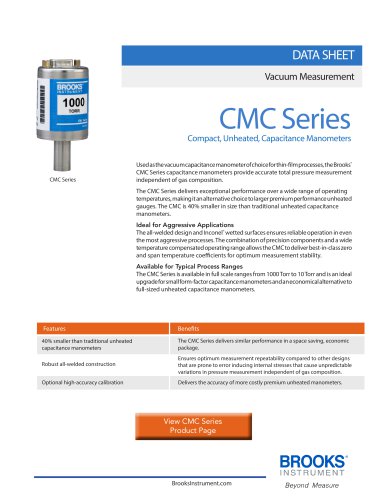
CMC Series
4 Pages
-
PC100 Series
4 Pages
-
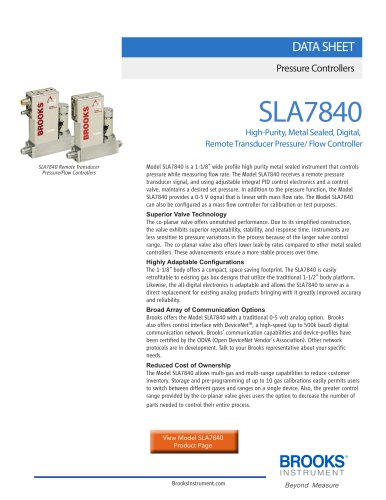
SLA7840
4 Pages
-
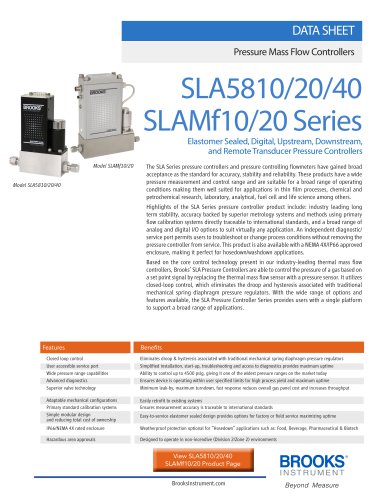
SLA10/20/40 Series
12 Pages
-
5866RT
4 Pages
-
122 Series Pressure Gauges
4 Pages
-
8600 Series
2 Pages
-
MT3809 Series
24 Pages
-
MT3750 Series
13 Pages
-
FC Series
8 Pages
-
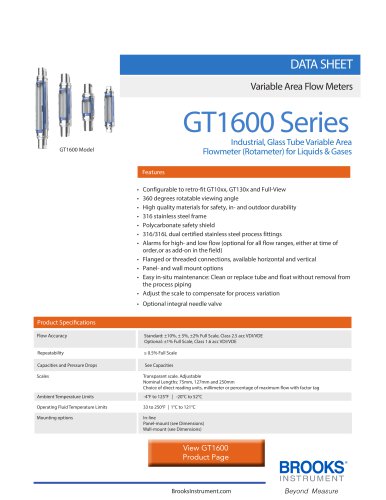
GT1600 Series
11 Pages
-
9861 Series
5 Pages
-
5850EMH Series
5 Pages
-
5850EM Series
7 Pages
-
5850E Series
8 Pages
-
GF80 Series
10 Pages
-
GF100 Series
12 Pages
-
GF100 Series EtherCAT®
9 Pages
-
GF125 Series
12 Pages
-
5700 Series
4 Pages
-
4800 Series
10 Pages
-
SLAMf Series
12 Pages
-
GF40 Series
12 Pages
-
SLA5800 Series
11 Pages


