
- Catalogs
- Beijing Breeze Technology Co.,Ltd
- Breeze TV01 manual control datasheet

Breeze TV01 manual control datasheet
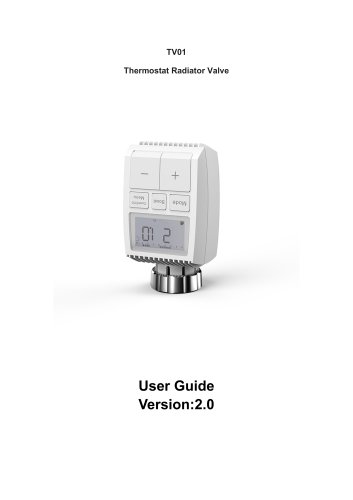
Breeze TV01 manual control datasheet
This section highlights the necessity of thoroughly reading the manual before using the device. It includes essential information about the device's intended use and safety precautions. Users are encouraged to retain the manual for future reference and to pass it on if the device is transferred to others.
The Thermostatic Radiator Valve (TRV) TV01 is a self-regulating valve that controls room temperature by adjusting the hot water flow to the radiator. It allows temperature settings between 5-30℃ and can save over 15% of energy. The device is compatible with common radiator valves and includes a boost function for rapid heating.
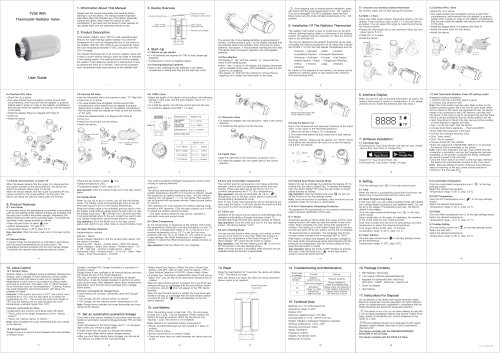
This section provides a visual overview of the device's components and layout.
Before we get started: Requires 2 AA batteries. Temperature is displayed in Celsius.
Inserting(replacing) batteries: Instructions for inserting batteries, noting that alkaline batteries last approximately 2 years. Rechargeable batteries are not supported.
Set date and time: Guidance on setting the date and time after battery insertion, including adaptive installation instructions.
The thermostat is easy to install without special tools or draining the heating system. It fits various valve types, including M30 x 1.5 and Danfoss models, with specific instructions for each type.
Details on the LCD screen display and initial configuration steps.
Auto Mode: Temperature is controlled according to a set heating profile.
Manual Mode: Allows manual temperature control.
Holiday Mode: Activates a preset temperature during absences.
Open Window Detection: Stops heating when a sudden temperature drop is detected.
Offset Temperature: Allows adjustment for temperature distribution discrepancies.
Eco and Comfortable Temperature: Switch between preset comfort and eco temperatures.
Child Lock: Prevents unintended changes to settings.
Anti-Freezing Mode: Ensures indoor temperature does not drop below 8℃.
Heating Stop (Power Saving) Mode: Prolongs battery life by fully closing the valve.
Anti-Calcification (Descaling) Protection: Prevents valve calcification by running weekly.
Boost: Provides rapid heating by fully opening the valve for 5 minutes.
Instructions for configuring date, week programming, open window settings, and temperature preferences.
Indicates when batteries need replacement.
Instructions for resetting the device.
Guidance on resolving common issues and maintaining the device.
Specifications and technical details of the device.
List of items included in the package.
Proper disposal methods for the device and batteries.
To set the desired temperature, use the “+/-” button and confirm with the menu button. The temperature range is 5-30 ℃ with a step of 0.5 ℃. Use the boost button to return to the previous menu.
Press the menu button for 5 seconds to access the configuration menu. Select the offset icon using the “+/-” button and confirm with the menu button. The temperature range for offset is -5 to 5 ℃ with a step of 0.1 ℃. Use the boost button to return.
Access the configuration menu by pressing the menu button for 5 seconds. Select the holiday mode icon and set the start and end dates using the “+/-” button. Confirm each selection with the menu button. The temperature range is 5-30 ℃ with a step of 0.5 ℃. If no operation is performed within one minute, the setting will exit automatically.
When battery power is below 12%, a low power prompt icon will appear. Replace the battery promptly. If the screen displays a specific icon, the device is not available.
Press the “+” and “-” buttons for 5 seconds to enter reset mode, indicated by “FAC” on the screen. Confirm with the menu button and exit with the boost button.
Batteries: 2x 1.5 V LR6/mignon/AA
Battery life: 2 years
Temperature range: 5-30℃
Degree of protection: IP20
Display: LCD with LED
Dimensions: 55.3 x 54 x 98.3 mm
Weight: 190 g (including batteries)
Working temperature: -10℃ to 40℃
Working environment: Indoor
Safety: CE/ROHS certified
Includes a radiator thermostat, two 1.5V mignon/LR6/AA batteries, adapters for various models, a screw for the adapter, and a user manual.
Do not dispose of the device with regular domestic waste. Electronic equipment must be disposed of at local collection points in compliance with the Waste Electrical and Electronic Equipment Directive. Used batteries should be taken to local battery disposal points.
Catalog excerpts
TV01 Thermostat Radiator Valve
Open the catalog to page 1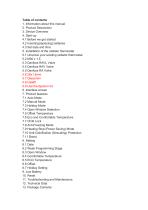
1. Information about this manual 5. Installation of the radiator thermostat 5.1 Unscrew your existing radiator thermostat 5.3 Danfoss RAVL Valve 7.4 Open Window Detection 7.9 Heating Stop (Power Saving) Mode 7.10 Anti-Calcification (Descaling) Protection 8.2 Week Programming Stage
Open the catalog to page 2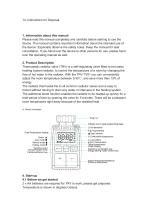
Please read this manual completely and carefully before starting to use the device. The manual contains important information about the intended use of the device. Especially observe the safety notes. Keep the manual for later consultation. If you hand over the device to other persons for use, please hand over the operating manual as well. Thermostatic radiator valve (TRV) is a self-regulating valve fitted to hot water heating system radiator, to control the temperature of a room by changing the flow of hot water to the radiator. With the TRV TV01 you can conveniently adjust the room temperature...
Open the catalog to page 3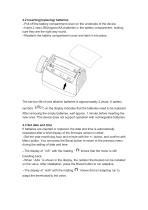
4.2 Inserting(replacing) batteries --Pull off the battery compartment cover on the underside of the device. --Insert 2 new LR6(mignon/AA) batteries in the battery compartment, making sure they are the right way round. --Reattach the battery compartment cover and latch it into place. The service life of new alkaline batteries is approximately 2 years. A battery symbol( ) on the display indicates that the batteries need to be replaced. After removing the empty batteries, wait approx. 1 minute before inserting the new ones. This device does not support operation with rechargeable batteries. 4.3...
Open the catalog to page 4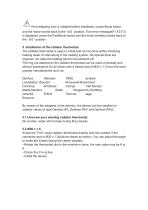
If the adapting runs is initiated before installation, press Boost button and the motor travels back to the ' InS ' position. If an error message(F1,F2,F3) is displayed, press the Pair/Boost button and the motor similarly travels back to the ' InS ' position. The radiator thermostat is easy to install and can be done without draining heating water or intervening in the heating system. No special tools are required, nor does the heating have to be switched off. The ring nut attached to the radiator thermostat can be used universally and without accessories for all valves with a thread size of...
Open the catalog to page 5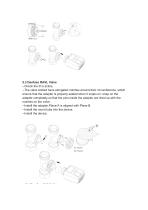
5.3 Danfoss RAVL Valve --Check the © is active. --The valve bodied have elongated notches around their circumference, which ensure that the adapter is properly seated when it snaps on: snap on the adapter completely,so that the pins inside the adapter are lined up with the notches on the valve. --Install the adapter,Plane A is aligned with Plane B. --Install the round tube into the device. --Install the device.
Open the catalog to page 6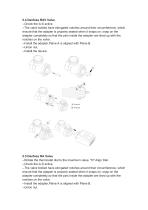
5.4 Danfoss RAV Valve --Check the is © active --The valve bodied have elongated notches around their circumference, which ensure that the adapter is properly seated when it snaps on: snap on the adapter completely,so that the pins inside the adapter are lined up with the notches on the valve. --Install the adapter,Plane A is aligned with Plane B. --Union nut. --Install the device. 5.5 Danfoss RA Valve --Rotate the thermostat dial to the maximum value, "N" Align Dial. --Check the is © active. --The valve bodied have elongated notches around their circumference, which ensure that the adapter is...
Open the catalog to page 7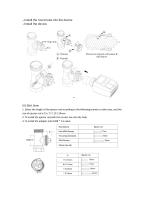
5.6 28x1.5mm 1. Select the length of the ejector rod according to the following brands or valve sizes, and the size of ejector rod is 15 / 17 / 19 / 24mm. 2. To install the ejector rod with the correct size into the hole. 3. To install the adapter onto M28 * 1.5 valve;
Open the catalog to page 8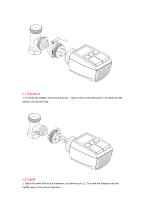
5.7 Giacomini 1. To install the adapter onto the Giacomini valve in the correct direction;2. To install the GIA ejector rod into the hole ; 5.8 Caleffi 1. Open the valve flow to the maximum, as shown in pic 1;2. To install the adapter onto the Caleffi valve in the correct direction ;
Open the catalog to page 9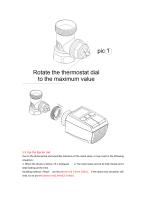
5.9 Use the Ejector rod Due to the dimensional and assembly tolerance of the metal valve, it may result in the following situations: 1. When the device is failure, F2 is displayed 2. The metal valve cannot be fully closed and is kept heating all the time Handling method : Please use the ejector rod 1.6mm (1)first, if the above two situations still exist, try to use the ejector rod2.6mm(2) instead.
Open the catalog to page 10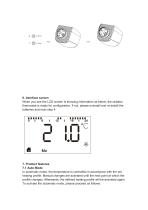
6. Interface screen When you see the LCD screen is showing information as below, the radiator thermostat is ready for configuration. If not, please uninstall and re-install the batteries and redo step 4. 7. Product features 7.1 Auto Mode In automatic mode, the temperature is controlled in accordance with the set heating profile. Manual changes are activated until the next point at which the profile changes. Afterwards, the defined heating profile will be activated again. To activate the automatic mode, please proceed as follows:
Open the catalog to page 11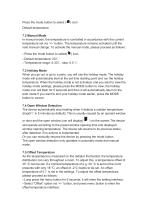
Press the mode button to select ( Default temperature 7.2 Manual Mode In manual mode, the temperature is controlled in accordance with the current temperature set via ‘+/-’ button. The temperature remains activated until the next manual change. To activate the manual mode, please proceed as follows: --Press the mode button to select( --Default temperature: 20℃. --Temperature range: 5-30℃, step: 0.5 ℃. 7.3 Holiday Mode When you go out or go to a party, you will use the holiday mode. The holiday mode will automatically start at the set time starting point and run the holiday temperature. When the...
Open the catalog to page 12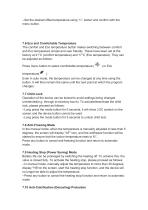
--Set the desired offset temperature using ‘+/-’ button and confirm with the menu button. The comfort and Eco temperature button makes switching between comfort and Eco temperature simple and user friendly. These have been set at the factory at 21°C (comfort temperature) and 17°C (Eco temperature). They can be adjusted as follows: Press menu button to select comfortable temperature (’•' ) or Eco temperature( ^ ). Even in auto mode, the temperature can be changed at any time using the button. It will then remain the same until the next point at which the program changes. Operation of the device...
Open the catalog to page 13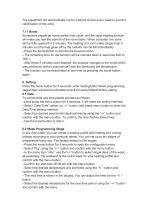
The equipment will automatically run for a period of time every week to prevent calcification of the valve. 7.11 Boost Sometimes people go home earlier than usual, and the rapid heating function will make you feel the warmth of the room faster. When activated, the valve will be fully opened for 5 minutes. The heating of a room takes longer than 5 minutes, but the heat given off by the radiator can be felt immediately. --Press the boost button to activate the boost function. --The remaining time for the function will be counted down in seconds(‘299’ to ‘000’). --After these 5 minutes have elapsed,...
Open the catalog to page 14All Beijing Breeze Technology Co.,Ltd catalogs and technical brochures
 Breeze V1 Datasheet
2 Pages
 Breeze V7-06 Datasheet
2 Pages
 Breeze Valve Datasheet
8 Pages
 Breeze V3-W3D15 Datasheet
2 Pages
 Breeze BC204 Datasheet
3 Pages
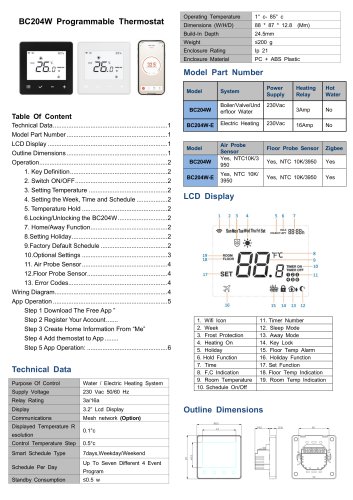 Breeze BC204-E Datasheet
6 Pages
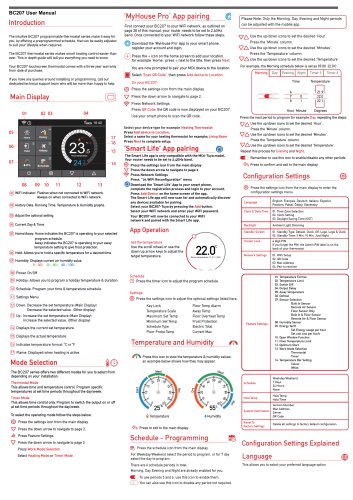 Breeze BC207-E Datasheet
3 Pages
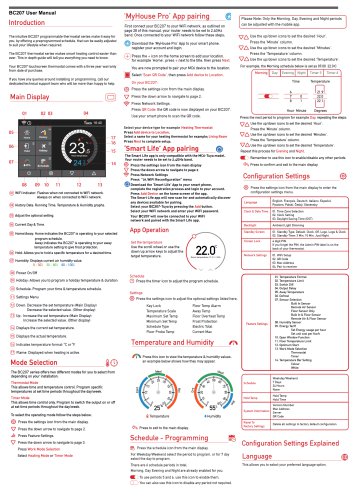 BC207W-T
3 Pages
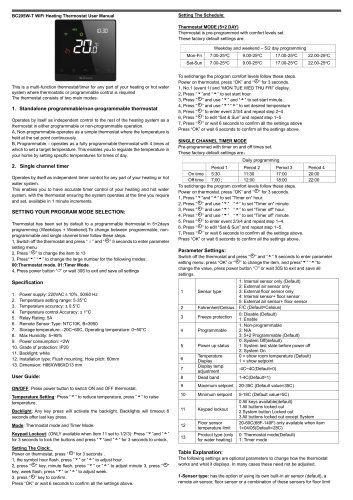 Breeze BC205W-T Datasheet
3 Pages
 BC205-E WIFI Datasheet
3 Pages
 Breeze BC205-E Datasheet
2 Pages
 Breeze BC203-E Datasheet
2 Pages
 Breeze BC203 Datasheet
2 Pages
 Breeze BC35-4 Datasheet
2 Pages
 Breeze BC105W-4D Datasheet
2 Pages
 Breeze BC104W-4 Datasheet
2 Pages
 Breeze BC105-4DM Datasheet
2 Pages
 Breeze BC107-4EDM Datasheet
3 Pages
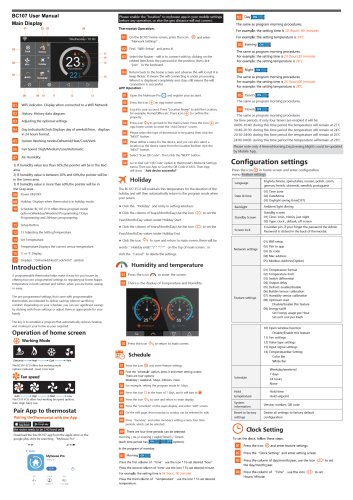 Breeze BC107-2A/4A Datasheet
3 Pages
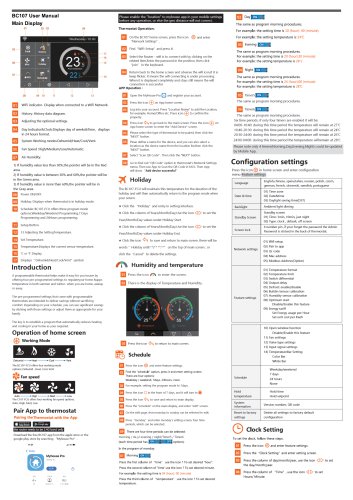 Breeze BC107-4DM Datasheet
3 Pages
 Breeze BC103-4ADM Datasheet
2 Pages
 Breeze BC103-4EDM Datasheet
2 Pages
 Breeze BC103-4DM Datasheet
2 Pages
 Breeze BC105W-4ED datasheet
3 Pages
- Control valve
- Water valve
- Ball valve
- Threaded valve
- Electric valve
- Standard valve
- Chrome-plated brass valve
- 2-channel valve
- Valve actuator
- Rotary valve actuator
- 3-way valve
- Flow control valve
- Heating valve
- Electric valve actuator
- Flow-control valve
- Pipeline valve
- Adjustable thermostat
- Waterproof thermostat
- HVAC valve