
- Catalogs
- Anlidar Industrial - MyTorq
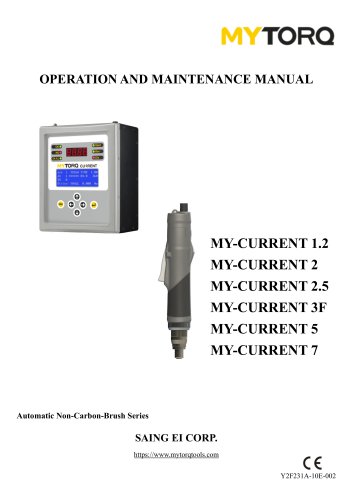
- OPERATION AND MAINTENANCE MANUAL


OPERATION AND MAINTENANCE MANUAL
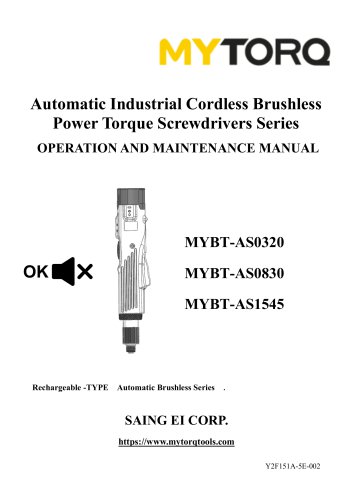
OPERATION AND MAINTENANCE MANUAL
This manual provides detailed instructions for the operation and maintenance of the SAING EI Corp. Automatic Industrial Cordless Brushless Power Torque Screwdrivers Series, covering models MYBT-AS0320, MYBT-AS0830, and MYBT-AS1545. It emphasizes the importance of reading the manual for safety and optimal performance.
Icon Instructions
Icons in the manual indicate the necessity to read the manual, observe safety notes, recycle, use indoors only, and avoid wet conditions. Warnings include avoiding explosive atmospheres, disassembling the device, and improper disposal.
Accessories
The package includes a manual, waist hook, driver hook, screw, bit, and guarantee card.
Safety Warnings
Users should maintain a clean working area, avoid explosive environments, and store the device properly. The manual stresses using the correct tool, dressing appropriately, and maintaining the device. It advises against using the device under the influence of substances and using only recommended accessories.
Noise and Vibration
Noise and vibration levels are provided according to EN62841-2-2 standards, with specified sound pressure and power levels.
Cordless Tool Protections
The screwdriver includes protections against overcurrent, low power, thermal issues, stalling, slow rotation, reverse control, and features a sleep and power-saving mode.
Operating Instructions
Before first use, fully charge the battery. Detailed steps are provided for battery installation and removal, and explanations of the trigger switch, forward/reverse lever, bit sleeve, torque adjusting ring, and indicating lights.
Functionality
The screwdriver features full auto shut-off, forward/reverse switching, and speed adjustment. It includes a torque locker/coupler and driver hook for convenience.
Other Cautions
The manual advises against unauthorized repairs and modifications, warns against chemical exposure, and provides guidelines for optimal usage conditions. Regular maintenance and torque testing are emphasized.
Conclusion
Adhering to the manual's instructions ensures safe and efficient use of the SAING EI cordless screwdrivers, maintaining performance and longevity.
The document outlines specifications for models MYBT-AS0320, MYBT-AS0830, and MYBT-AS1545, operating on a DC input voltage of 10.8V. Torque ranges for hard joints are 0.3-2 N.m, 0.8-3 N.m, and 1.5-4.5 N.m respectively, with soft joints at approximately 80% of these values. Torque accuracy is ±3%, with stepless adjustment. The duty cycle is 1.0s ON and 3.0s OFF. Unloaded speeds vary between high (HI) and low (LO) settings, with HI at 1200 min-1 and LO at 850 min-1 for the first two models, and 700 min-1 and 500 min-1 for the third model. Applicable screw sizes range from 2.3mm to 5.0mm, and the weight is 0.9kg without the battery. The length is 300mm without the battery.
To adjust torque, determine the tool's torque output using a torque wrench. Adjust by rotating the torque adjusting ring; clockwise increases torque, counterclockwise decreases it. Verify adjustments with a torque wrench, starting below the desired torque and gradually increasing. Adjust bit torque by changing the driving length of the adjust ring. Torque scale numbers are reference points and do not indicate actual torque values. The return torque method can be used for torque control, but measured values may appear 10%-30% lower than actual clamping torque. A torque checker can measure screwdriver torque, but clamping torque varies with conditions.
In reverse rotation, the clutch is turned off when a screw is tightened at large torque; set the same or higher torque to unscrew. Torque scale numbers are reference only. For detailed component lists, refer to the SAING EI website. The company reserves the right to modify the product without prior notice.
Catalog excerpts
Automatic Industrial Cordless Brushless Power Torque Screwdrivers Series OPERATION AND MAINTENANCE MANUAL Rechargeable -TYPE Automatic Brushless Series SAING EI CORP. https://www.mytorqtools.com Y2F151A-5E-002
Open the catalog to page 1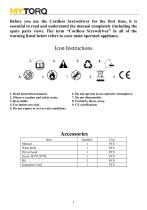
Before you use the Cordless Screwdriver for the first time, it is essential to read and understand the manual completely (including the spare parts view). The term “Cordless Screwdriver” in all of the warning listed below refers to your main operated appliance. 1. Read instruction manual. 2. Observe caution and safety notes. 5. Do not expose to wet or rain conditions. 6. Do not operate in an explosive atmosphere. 8. Forbid to throw away.
Open the catalog to page 3
Read all instructions and make sure the appearance of the device has no damage before you use it. Failure to follow all instructions listed below may result in electric shock fire and/or serious 1, Keep the working area nice and clean, 1.1 Mess and dark areas may cause of accidents, 1.2 Keep the device away from rain or moisture to decrease the risk of electric shock or short-circuiting occurred, 2, Be alert to workplace safety 2.1 Use the device under a well lit and clean environment, 2.2 Keep children and other people away unless the person has been assigned for the task to avoid the danger...
Open the catalog to page 4
19. Noise: The typical A-weighted noise level acc. To EN62841-2-2 Sound pressure level(LpA): 53.6 dB(A) Sound power level(LwA): 64.6 dB(A) Vibration: The vibration total value acc. EN62841-2-2 Vibration emission value ah (m/s²): 0.17 m/s² Uncertainty K (m/s²): 0.02 m/s
Open the catalog to page 5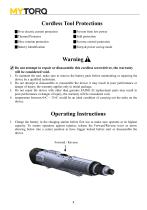
Cordless Tool Protections ▉Over electric current protection ▉Prevent from low power ▉Thermal Protector ▉Stall protection ▉Slow rotation protection ▉Reverse control protection ▉Battery Identification ▉Sleep & power saving mode Warning Do not attempt to repair or disassemble this cordless screwdriver, the warranty will be considered void. 1. To maintain the tool, make sure to remove the battery pack before maintaining or repairing the device by a qualified technician. 2. Do not attempt to disassemble or reassemble the device it may result in poor performance or danger of injury; the warranty applies...
Open the catalog to page 6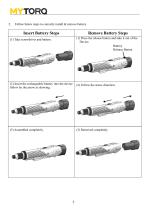
Follow below steps to correctly install & remove battery. Insert Battery Steps Remove Battery Steps (1) Take screwdriver and battery. (1) Press the release button and take it out of the Device. Battery Release Button (2) Insert the rechargeable battery into the device follow by the arrow as showing. (2) Follow the arrow direction.
Open the catalog to page 7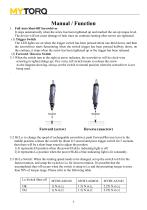
Manual / Function 1. Full Auto Shut-Off Screwdriver It stops automatically when the screw has been tightened up and reached the set-up torque level. The device will not cause damage of task since no continue running after screws are tightened. The LED lights are on when the trigger switch has been pressed about one-third down, and then the screwdriver starts functioning when the switch trigger has been pressed halfway down; on the contrary, it stops when the screw has been tightened up or the trigger has been released. (2) Forward / Reverse Switch 2-1 When the switch turn to the right as arrow...
Open the catalog to page 9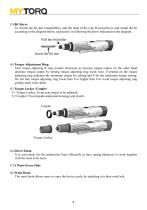
(3) Bit Sleeve To Switch the bit and compatibility, pull the head of the type B screwdriver, and install the bit according to the diagram below, and push it in following the arrow indicated on the diagram. Insert the bit into (4) Torque Adjustment Ring: Turn torque adjusting R ring counter clockwise to increase torque output, on the other hand decrease torque output by turning torque adjusting ring clock wise. 0 printed on the torque adjusting ring indicates the minimum torque for setting and 8 for the maximum torque setting. Do not turn torque adjusting ring lower than 0 or higher than 8 to...
Open the catalog to page 10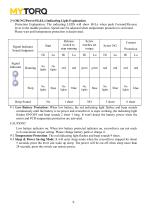
(9) OK/NG/Power/Hi &Lo Indicating Light Explanation Protection Explanation: The indicating LEDS will show Hi/Lo when push Forward/Reverse lever to the middle position. Speed can't be adjusted when temperature protection is activated. Please wait until temperature protection is deactivated. 9-1 Low Battery Protection: When low battery, the red indicating light flashes and beep sounds continuously until the battery is no power and screwdriver is stops working, the indicating light flashes ON/OFF and beep sounds 2 short 1 long. It won't detect the battery power when the motor and PCB temperature...
Open the catalog to page 11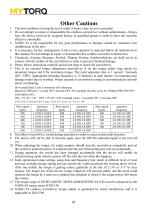
1. The best condition of using the tool is under 8 hours a day, do not overloaded, 2. Do not attempt to repair or disassemble this cordless screwdriver without authorization. Always have the device serviced by assigned factory or qualified person in order to have the warranty effective continually. 3. SAING El is not responsible for any poor performance or damage caused by customers own modification of the tool. 4. It is necessary for the management to have every operator to read and follow all instructions in this manual. Do not attempt to repair or disassemble this cordless screwdriver themselves....
Open the catalog to page 12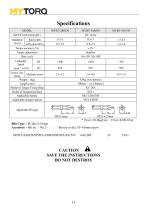
Specifications MODEL Accessory ~ Bit no. : No.2 •• •• Bit use in dia 3.0~4.0mm screw MYBT-AS0320/MYBT-AS0830/MYBT-AS1545 with BIT 2# 2 Pcs.
Open the catalog to page 13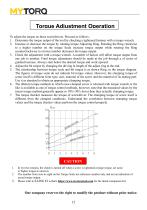
Toraue Adjustment Operation To adjust the torque on these screwdrivers. Proceed as follows : 1. Determine the torque output of the tool by checking a tightened fastener with a torque wrench. 2. Increase or decrease the torque by rotating torque Adjusting Ring. Rotating the Ring clockwise to a higher number on the torque Scale increase torque output while rotating the Ring counterclockwise to a lower number decreases the torque output. 3. Check the adjustment with a torque wrench. A number of factors will affect torque output from one job to another. Final torque adjustment should be made at the...
Open the catalog to page 14All Anlidar Industrial - MyTorq catalogs and technical brochures
 BSP-C32HL
16 Pages
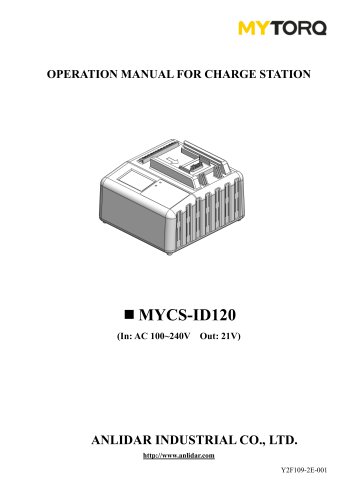 MYCS-ID120
10 Pages
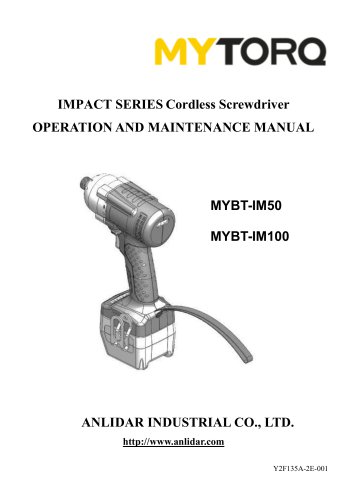 MYBT-IM50 MYBT-IM100
10 Pages
 MYP40-500N
7 Pages
 MYP40-500
10 Pages
 MYP32-300
8 Pages
 MYP32-60
8 Pages
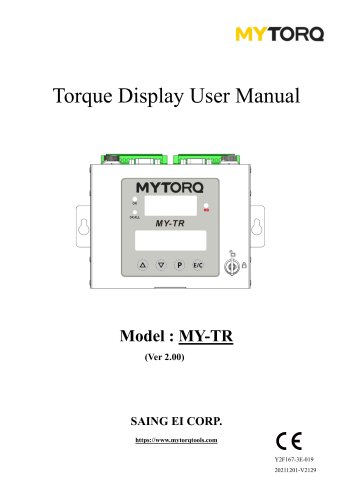 Torque Display User Manual
18 Pages
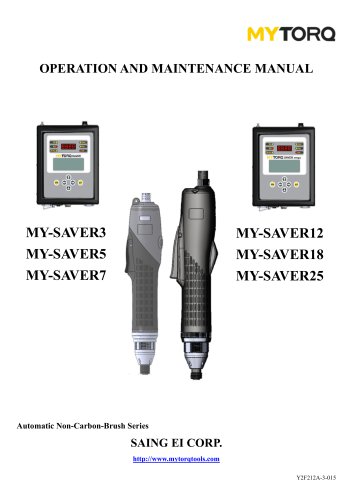 OPERATION AND MAINTENANCE MANUAL
11 Pages
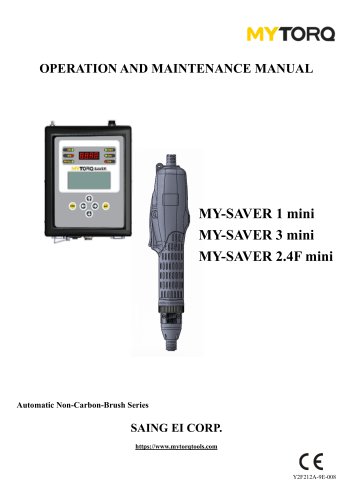 OPERATION AND MAINTENANCE MANUAL
10 Pages
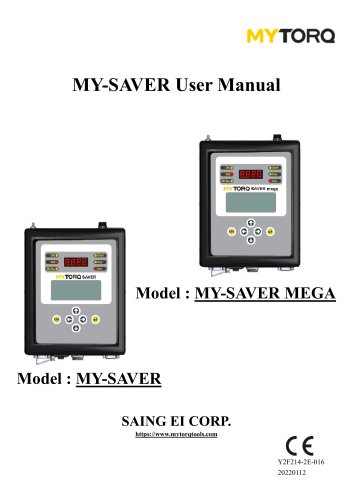 MY-SAVER User Manual
21 Pages
 MY-SIRIUS User Manual
49 Pages
 MY-EVO-mini User Manual
29 Pages
 Smart tools
8 Pages
Archived catalogs
 ACCESSORIES
2 Pages
 Power Shark
18 Pages
 MYTORQ High Torque
35 Pages
 MYTORQ Low Torque
32 Pages

- Electrical cable
- Feeder
- Battery charger
- Electric screwdriver
- Impact wrench
- Lithium battery
- 12 V battery
- Brushless electric screwdriver
- Corded electric screwdriver
- Straight electric screwdriver
- Automated feeder
- CE battery
- Pistol impact wrench
- Signal conditioner
- Charging post
- DC electric screwdriver
- Lithium battery charger
- Torque meter
- Pistol electric screwdriver
- Cordless electric screwdriver