
- Catalogs
- Anlidar Industrial - MyTorq
- MYPC40-500 / MYPC40-1500 / MYPC32-100 manual


MYPC40-500 / MYPC40-1500 / MYPC32-100 manual

MYPC40-500 / MYPC40-1500 / MYPC32-100 manual
Catalog excerpts

Please scan the following QR code or download the operation manual from MYTORQ website SAING EI CORP. https://www.mytorqtools.com
Open the catalog to page 1
NOTICE Metal Assembly Screwdrivers are designed for installing threaded fasteners in light industrial and appliance manufacturing applications. MYTORQ is not responsible for customer modification of tools for applications on which MYTORQ was not consulted. WARNING Important safety information enclosed. Read all these instructions before placing tool in service or operation this tool and save these instructions. It is the responsibility of the employer to place the information in this manual into the hands of the operator. Failure to observe the following warnings could result in injury. When...
Open the catalog to page 3
WARNING! Read all instructions Failure to follow all instructions listed below may result in electric shock fire and/or serious injure. The term "power tool" in all of the warning listed below refer to your mains operated (corded) power tool or battery operated (cordless) power tool. SAVE THESE INSTRUCTIONS a) Keep work area clean and well lit. Cluttered and dark areas invite accidents. b) Do not operate power tools in explosive atmosphere, such as in the presence of flammable liquids, gases or dust. Power tools create sparks which may ignite the dust of fumes. c) Keep children and bystanders...
Open the catalog to page 4
d) Store idle power tools out of reach of children and do not allow persons unfamiliar with the power tool or these instructions to operate the power tool. Power tools are dangerous in the hands of untrained users. e) Maintain power tools. Check for misalignment or binding of moving parts, breakage of parts and any other condition that may affect the power tools operation. If damaged, have the power tool repaired before use. Many accidents are cause by poorly maintained power tools. f) Keep cutting tools sharp and clean, properly maintained cutting tools with sharp cutting edges are less likely...
Open the catalog to page 5
1. Please read the operating manual thoroughly and comply with safety regulation to operate this Multi-Function Controller. 2. Please grasp the plug of power cord while plugging in or out the plugs of connecting cord of Electric Screwdriver and power cord. 3. Please fix the power controller to avoid any danger of pulling and dragging the power cord. 4. Do not near oil, chemical materials or heated objects, also please be alert not to scratch the power cord by sharp object. 5. This type of Controller can only be applied to MYTORQ Electric Screwdriver with Counter. Do not use Electric Screwdriver...
Open the catalog to page 6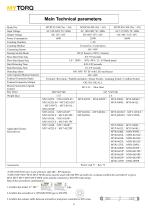
Main Technical parameters Model No ^MY2-0235LS5 can’t work with slow start (RC / SP) function. so please confirm the screwdriver’s type is ^MY2 MY5 MY7 MY8 MYT MYR series must be used with SIX PIN screwdrivers. MY2 MY5 MY7 MY8 MYT MYR series and the connector is SIX PIN when using. Step of the screwdriver confirmation : 2.Confirm the screwdriver’s CONNECTOR type is SIX PIN. 3.Confirm the connect cable between screwdriver and power controller is SIX wires.
Open the catalog to page 7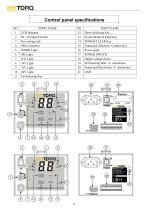
Control panel specifications NO.
Open the catalog to page 8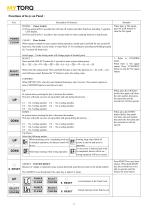
Functions of Keys on Panel : POWER : Power Switch (1) Press and hold for 6 seconds that will turn off counter and other functions including 7 segment. LED display. (2) Press and hold for 3 seconds to turn counter back on when counting function is deactivated. When there is NG signal, press CLEAR bottom to clear the NG signal CLEAR : Clear Switch When operator intends to reset counter during operation, simply press and hold for one second till beep once. But under a cycle mode, to return back U1 for resetting by pressing and holding keypad for 3 seconds till beep twice. Switch page : Under setting...
Open the catalog to page 9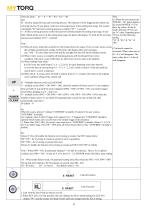
Enter the setup: dt----- tt-----Sr----SA----Gr-----Rn dt/tt dt:the time range between each screwing process. This function will be triggered after finish one screwing process. If user doesn’t start next screwing process in this setting time range. The system will display "dt" until next screwing process is started. ("01"= 1 second) tt:All the screwing processes in this list need to be finished under this setting time range. If user didn’t finish all the screws in this setting time range, the panel will display "tt" until all the screwing processes are finished. ("01"= 1 minute) Note: (1) When...
Open the catalog to page 10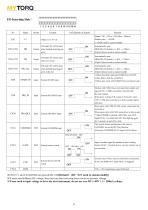
wave pattern of signals Remark Output:DC +12V or +24V (Max:200mA) Default value:+24VDC (+12VDC need to custom modify) CN2 and CN3 will be short Output when finished fastening one screw Automatically open MOS RELAY (default) +/- 40V, +/- 250mA (Open Collector need to custom modify) CN4 and CN5 will be short when error occur Automatically open MOS RELAY (default) +/- 40V, +/- 250mA (Open Collector need to custom modify) CN6 and CN7 will be short Output when finished fastening all screw in the list Automatically open MOS RELAY (default) +/- 40V, +/- 250mA (Open Collector need to custom modify) 1.When...
Open the catalog to page 11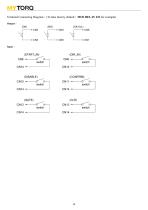
Terminal Connecting Diagram:(To take factory default:MOS RELAY I/O for example) Output:
Open the catalog to page 12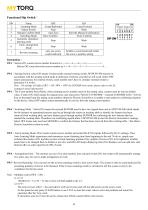
SW1 : Selects ON, counts screws number forward as 1-----2-----3------4------5-----------------1... Selects Off, count down the screws number as 5-----4-----3-----2------1-------------------5 . SW2 : Sensing Switch, select ON means Counter needs external sensing switch, MYPC40-500 must be in accordance with the sensing switch mode to determine if electric screwdriver will work. Select OFF means unnecessary for external switch, count number don’t have to consider external switch to determine if it works. Note : SA settings will affect SW2 = ON, SW4 = OFF the SENSOR drive mode, please refer to the...
Open the catalog to page 13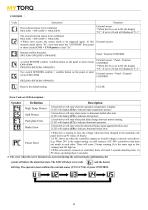
^ The error when the screw fastened was occurred during the external mode cjmfirmation, the system will detect the abnormal state. The LED will show error code will ring. The operator must confirm the external sensor (CN11+CN14) or press CONFIRM.
Open the catalog to page 14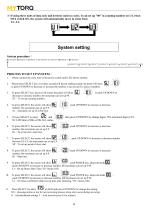
If using three units of data only and let three units in cycles. It can set up "00" in counting number on U4, when SW6 switch ON, the system will automatically move in circle from System procedure : SL<SELECT>SC<SELECT>At<SELECT>Ot<SELECT>Rc<SELECT>SP<SELECT>Ht<SELECT> 1. Please connect the cord, turn on the power switch until LED shows number. 2. Please press SELECT key over three seconds till buzzer making sound, the panel will show to push UP/DOWN to decrease or increase the number, it can set up five units of number. 3. To press SELECT key, buzzer will sound, the panel will show decrease...
Open the catalog to page 15All Anlidar Industrial - MyTorq catalogs and technical brochures
 BSP-C32HL
16 Pages
 MYCS-ID120
10 Pages
 MYBT-IM50 MYBT-IM100
10 Pages
 OPERATION AND MAINTENANCE MANUAL
14 Pages
 MYP40-500N
7 Pages
 MYP40-500
10 Pages
 MYP32-300
8 Pages
 MYP32-60
8 Pages
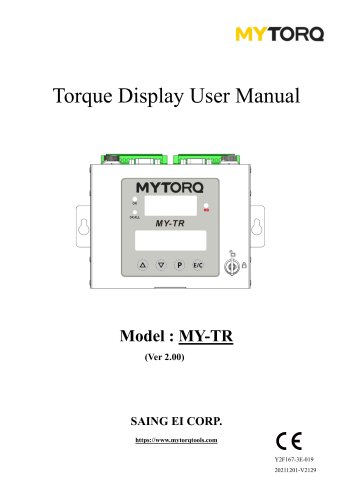 Torque Display User Manual
18 Pages
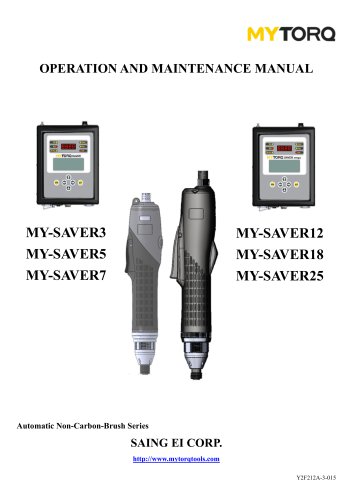 OPERATION AND MAINTENANCE MANUAL
11 Pages
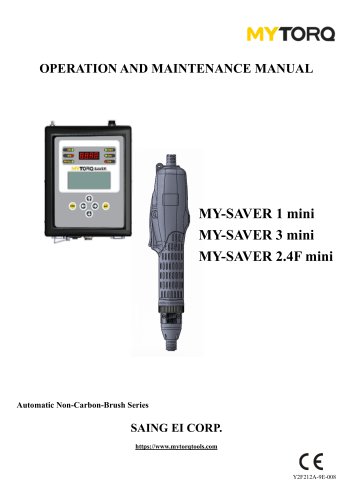 OPERATION AND MAINTENANCE MANUAL
10 Pages
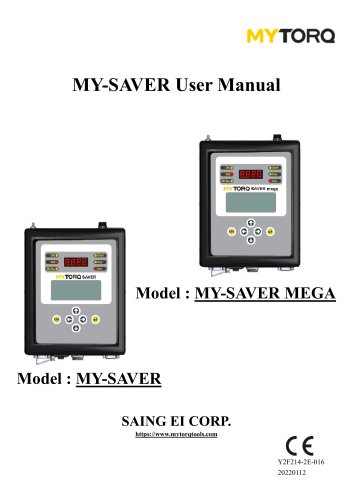 MY-SAVER User Manual
21 Pages
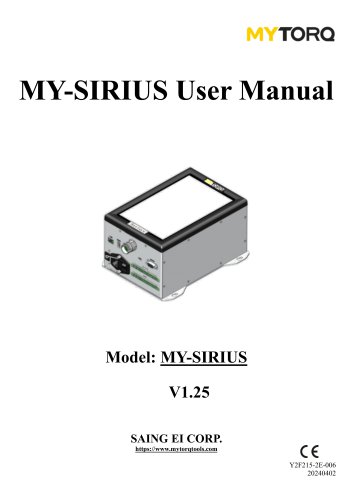 MY-SIRIUS User Manual
49 Pages
 MY-EVO-mini User Manual
29 Pages
 Smart tools
8 Pages
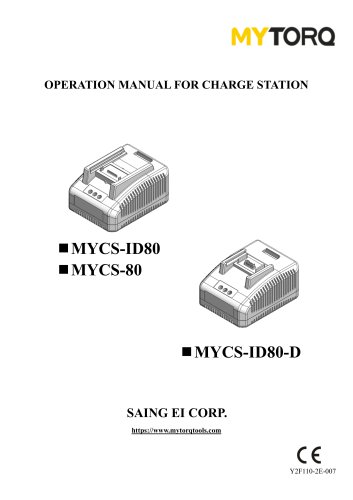

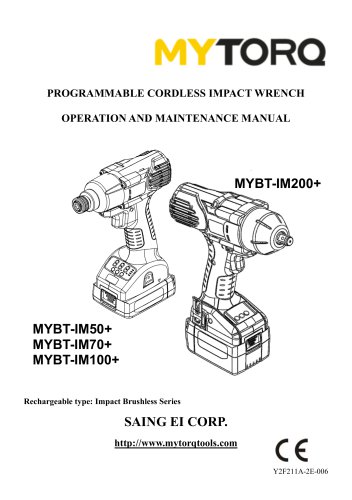
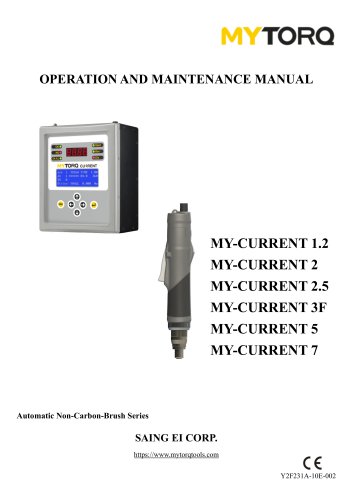
Archived catalogs
 ACCESSORIES
2 Pages
 Power Shark
18 Pages
 MYTORQ High Torque
35 Pages
 MYTORQ Low Torque
32 Pages

- Electrical cable
- Feeder
- Battery charger
- Impact wrench
- Lithium battery
- 12 V battery
- Brushless electric screwdriver
- Corded electric screwdriver
- Straight electric screwdriver
- Automated feeder
- CE battery
- Pistol impact wrench
- Signal conditioner
- Charging post
- DC electric screwdriver
- Lithium battery charger
- Torque meter
- Pistol electric screwdriver
- Cordless electric screwdriver