
- Catalogs
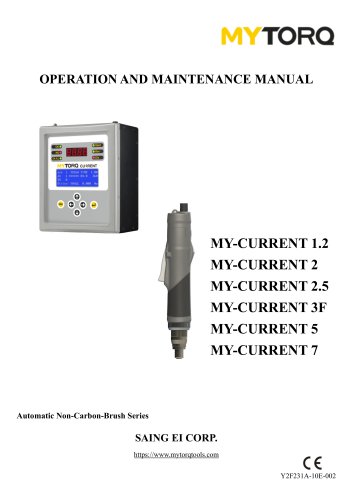
- Anlidar Industrial - MyTorq
- BSP-C32HL


BSP-C32HL

BSP-C32HL
General Safety Rules:
- Maintain a clean and well-lit work area to prevent accidents.
- Avoid using power tools in explosive environments.
- Ensure power tool plugs match the outlet to reduce electric shock risk.
- Stay alert and use appropriate safety equipment.
Operations Cautions:
- Use only with Kilews Electric Screwdrivers.
- Protect the power cord from oil, chemicals, and sharp objects.
- Stop operation if the controller overheats or malfunctions and seek repair.
Main Technical Parameters:
- Input Voltage: AC 100-240V
- Output Voltage: DC 32V/24V
- Power Consumption: 60W
- Counting Numbers: 1-99
- Adjustable Slow-Start Time and Speed
Control Panel Specifications:
- Features LED indicators, power switch, and functional keys for system settings.
- Includes a seven-pin connector for compatible screwdrivers.
System Setting and Simulated Learning:
- Provides instructions for system setup and operation simulation.
- Highlights the importance of grounding and proper installation.
Servicing:
- Recommends regular maintenance by qualified personnel.
- Lists user-replaceable parts and necessary tools for maintenance.
Explosive Drawing for Parts/Spare-Part List:
- Includes a detailed parts list and diagram for maintenance reference.
Conclusion: Emphasizes safety, proper usage, and maintenance to ensure optimal performance and longevity of the BSP-C32HL controller.
Specifications:
- Details the importance of not exceeding 24V/10mA for voltage input.
- Describes connections for components like CN5 COM, CN6 GATE Input, and CN7 CLR Input.
Dip Switch Functional Instructions:
- Dip switches (SW1-SW6) control functions such as counting mode, sensor operation, and auto-learning mode.
- Each switch has specific ON/OFF settings affecting screwdriver behavior.
System Setup Process:
- Involves connecting power and using the SELECT key to configure settings like screw count and slow-start time.
- Provides detailed steps for parameter adjustments using panel controls.
Operational Guidelines:
- Emphasizes precise Ht/Lt settings for correct screw fastening.
- Describes simulated learning procedure for optimal system setup.
Safety and Maintenance:
- Highlights the necessity of grounding to prevent electrical shock.
- Recommends limiting operation to eight hours per day and periodic testing every 5-6 months.
- Advises using genuine replacement parts and consulting authorized service centers.
Warnings and Cautions:
- Cautions against unauthorized repairs and modifications.
- Stresses following manufacturer's instructions and consulting the Kilews website for component lists.
Catalog excerpts

OPERATION AND MAINTENANCE MANUAL KILEWS INDUSTRIAL CO., LTD. http://www.kilews.com
Open the catalog to page 1
NOTICE Metal Assembly Screwdrivers are designed for installing threaded fasteners in light industrial and appliance manufacturing applications. KILEWS is not responsible for customer modification of tools for applications on which KILEWS was not consulted. WARNING Important safety information enclosed. Read all these instructions before placing tool in service or operation this tool and save these instructions. It is the responsibility of the employer to place the information in this manual into the hands of the operator. Failure to observe the following warnings could result in injury. When...
Open the catalog to page 2
WARNING! Read all instructions Failure to follow all instructions listed below may result in electric shock fire and/or serious injure. The term “power tool” in all of the warning listed below refer to your mains operated (corded) power tool or battery operated (cordless) power tool. SAVE THESE INSTRUCTIONS a) Keep work area clean and well lit. Cluttered and dark areas invite accidents. b) Do not operate power tools in explosive atmosphere, such as in the presence of flammable liquids, gases or dust. Power tools creat sparks which may ignite the dust of fumes.. c) Keep children, and bystanders...
Open the catalog to page 3
g) Use the power tools, accessories and tool bits ect., in accordance with these instructions and in the manner intended for the particular type of power tool, taking into account the working conditions and the work to be performed. Use of the power tool for operations different from intended could result in a hazardous situation. a) Have your power tool serviced by qualified repair person using only indentical replacement parts, This will ensure that the safety of the power tool is maintained. a) Instruction for putting into use 1. Setting-up or fixing power tool in a stable position as appropriate...
Open the catalog to page 4
1. Please read the operating manual thoroughly and comply with safety regulation to operate this Multi-Function Controller. 2. Please grasp the plug of power cord while plugging in or out the plugs of connecting cord of Electric Screwdriver and power cord. 3. Please fix the power controller to avoid any danger of pulling and dragging the power cord. 4. Do not near oil, chemical materials or heated objects, also please be alert not to scratch the power cord by sharp object. 5. This type of Controller can only be applied to Kilews Electric Screwdriver with Counter. Do not use Electric Screwdriver...
Open the catalog to page 5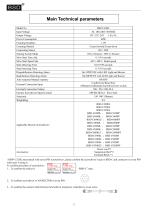
Main Technical parameters Model No ^BSP-C32HL must match with seven PIN screwdrivers , please confirm the screwdriver’s type is BSD-C and connector is seven PIN when user is using it. To confirm procedure of screwdriver: 1 To confirm the sticker is BSD-C” type. 2^ To confirm screwdriver’s CONNECTOR is seven PIN. 3 To confinn the connect cable between Screwdriver and power controller is seven wires.
Open the catalog to page 6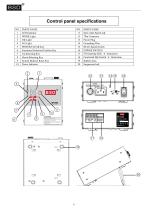
PARTS NAME LED Indicator WORK Light OK Light NG Light POWER/CLEAR Key Functional Selection/Confirm Key Up-Selecting Key Down-Selecting Key System Build-in Reset Key Power Indicator PARTS NAME Slow-Start Speed Adj. 7Pin Connector Power Plug Grounding Wire HI/LO Speed Switch POWER SWITCH I/O Inserting Hole * Instruction Functional Dip Switch * Instruction Rubber shim Suspension bail
Open the catalog to page 7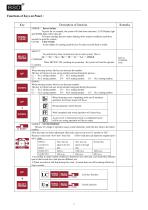
Functions of Keys on Panel : Power Switch To press for six seconds, the system will shut down functions , LED Display light and WORK light will be shut off. To return counting function under shutting down counter condition, push three seconds to open the counter. CLEAR : Clear Switch In the middle of counting, push this key for three seconds back to initial. To push this key three seconds any time to enter system. That is: When DIP SW3 ON, reaching set up number , the system will ask the operator OWhen entering system, this key can increase the number. This key will point out user set-up number...
Open the catalog to page 8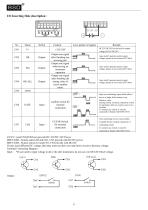
I/O Inserting Hole description : No BSP-C32HL: System selects HI and CN1, CN5 provide with DC32V power BSP-C32HL: System selects LO and CN1, CN5 provide with DC24V If users need different DC voltage, then they must use their own step-down circuit to decrease voltage. Terminal Connecting Diagram : Input : *If user need to input voltage to drive the alert instrument, do not use over DC24V/10mA voltage.
Open the catalog to page 9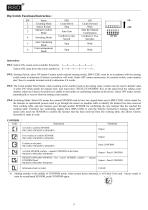
Dip Switch Functional Instruction : SW Selects Off, count down the screws number as 5-----4-----3------2------1------5. SW2: Sensing Switch, select ON means Counter needs external sensing switch, BSP-C32HL must be in accordance with the sensing switch mode to determine if electric screwdriver will work. Select OFF means unnecessary for external switch, count number don’t have to consider external switch to determine if it works. SW3: The Count number Reset Mode, when counting screws number reach to the setting value, counter must be reset to default value, if select ON which stands for manual...
Open the catalog to page 10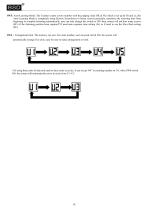
SW5: Auto-Learning Mode: The Counter counts screws number with the judging value OK & NG which is set up by Ht and Lt, this Auto-Learning Mode is completely using Electric Screwdriver to fasten screws practically, memorize the screwing time from beginning to complete fastening automatically, user can only change this switch to ON, then system will ask how many screws (SC) of the fastening position been required? If need auto response time setting (At) or if need to use the Slow-Start setting (Rc). SW6:Arrangement form: The memory can save five units number, user can push switch ON, the system...
Open the catalog to page 11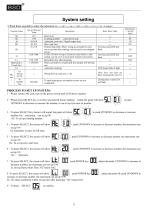
System setting ^ Push three seconds to enter the selection SL====SC====At====RC====Ht====Lt====LL <Confirm> PROCESS TO SET UP SYSTEM: 1 - Please connect the cord, turn on the power switch until LED shows number. 2 - Please press SELECT key over three seconds till buzzer making sound, the panel will show 5LISDJ UP/DOWN to decrease or increase the number, it can set up five units of number. 3 - To press SELECT key, buzzer will sound, the panel will show 4 - To press SELECT, the screen will show At: Automatic set up CLEAR time. to push UP/DOWN to decrease or increase 5 - To press SELECT, the screen...
Open the catalog to page 12All Anlidar Industrial - MyTorq catalogs and technical brochures
 MYCS-ID120
10 Pages
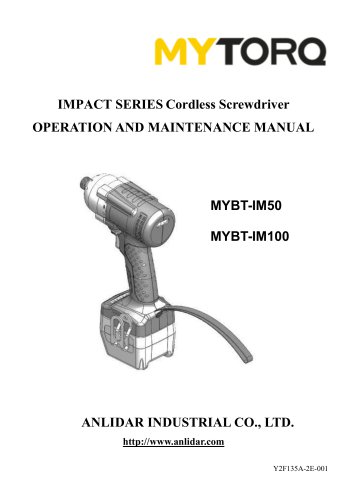 MYBT-IM50 MYBT-IM100
10 Pages
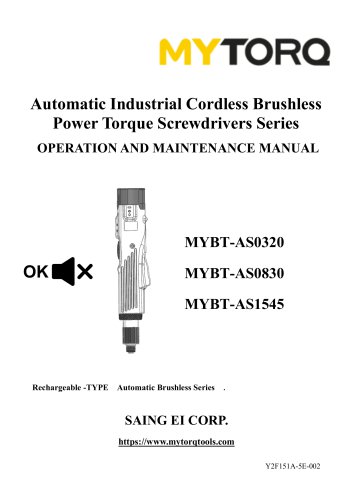 OPERATION AND MAINTENANCE MANUAL
14 Pages
 MYP40-500N
7 Pages
 MYP40-500
10 Pages
 MYP32-300
8 Pages
 MYP32-60
8 Pages
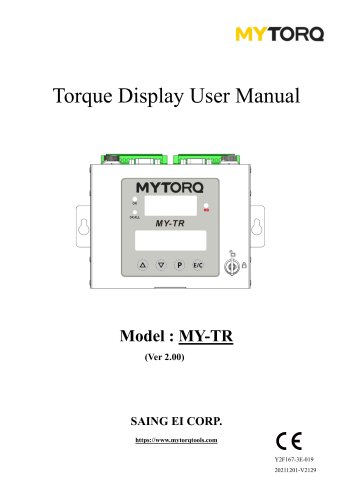 Torque Display User Manual
18 Pages
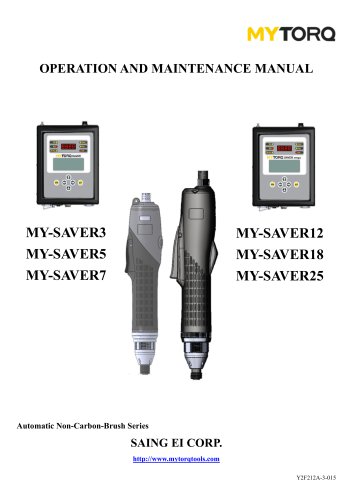 OPERATION AND MAINTENANCE MANUAL
11 Pages
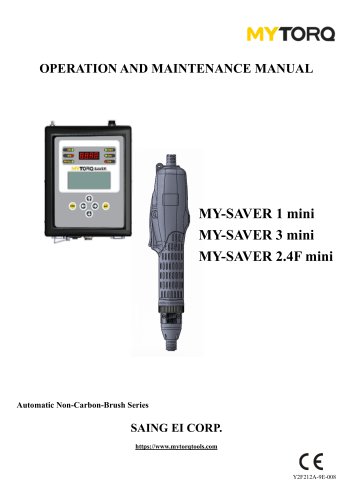 OPERATION AND MAINTENANCE MANUAL
10 Pages
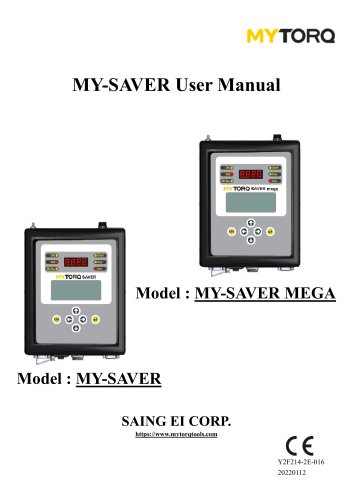 MY-SAVER User Manual
21 Pages
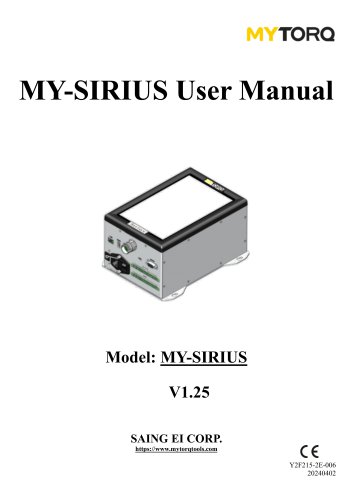 MY-SIRIUS User Manual
49 Pages
 MY-EVO-mini User Manual
29 Pages
 Smart tools
8 Pages



Archived catalogs
 ACCESSORIES
2 Pages
 Power Shark
18 Pages
 MYTORQ High Torque
35 Pages
 MYTORQ Low Torque
32 Pages

- Electrical cable
- Feeder
- Battery charger
- Lithium battery
- Impact wrench
- 12 V battery
- Brushless electric screwdriver
- Corded electric screwdriver
- Straight electric screwdriver
- Automated feeder
- CE battery
- Pistol impact wrench
- Signal conditioner
- Charging post
- DC electric screwdriver
- Lithium battery charger
- Torque meter
- Pistol electric screwdriver
- Cordless electric screwdriver