Catalog excerpts

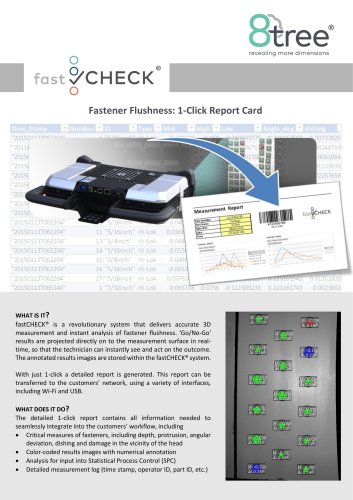
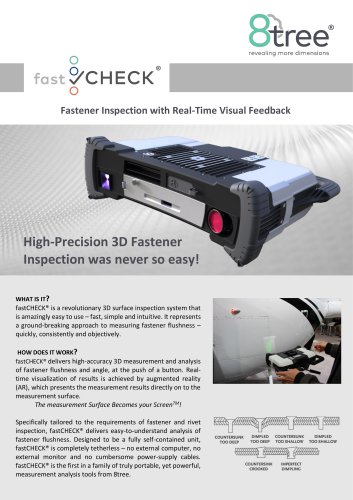
Fastener Flushness: 1-Click Report Card fastCHECK® is a revolutionary system that delivers accurate 3D measurement and instant analysis of fastener flushness. 'Go/No-Go' results are projected directly on to the measurement surface in realtime, so that the technician can instantly see and act on the outcome. The annotated results images are stored within the fastCHECK® system. With just 1-click a detailed report is generated. This report can be transferred to the customers’ network, using a variety of interfaces, including Wi-Fi and USB. WHAT DOES IT DO? The detailed 1-click report contains all information needed to seamlessly integrate into the customers’ workflow, including • Critical measures of fasteners, including depth, protrusion, angular deviation, dishing and damage in the vicinity of the head • Color-coded results images with numerical annotation • Analysis for input into Statistical Process Control (SPC) 8TR-BRO-012-005 - log (time stamp, Report.Docx / part ID, etc.) • Detailed measurement Fastcheck Brochure operator ID, 03 2019 EN Technical Data are subject to change wi
Open the catalog to page 1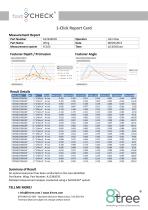
1-Click Report Card Measurement Report Part Number Part Name Measurement system Fastener Depth / Protrusion Operator Date Time Fastener Angle Summary of Result An optical assessment has been conducted on the area identified. Part Name: Wing. Part Number: A12345678. Detailed measurement analysis conducted using a fastCHECK® system. TELL ME MORE! > info@8-tree.com / www.8-tree.com 8TR-BRO-012-005 - Fastcheck Brochure Report.Docx / 03 2019 EN Technical Data are subject to change without notice
Open the catalog to page 2All 8tree’s catalogs and technical brochures
-
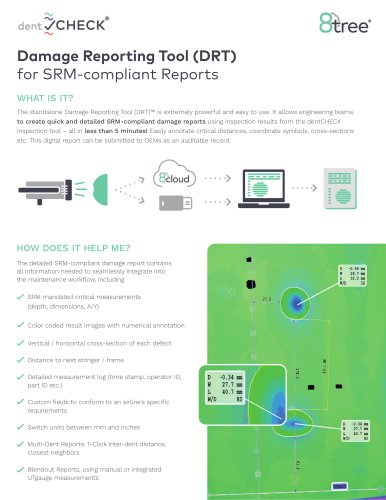
Damage Reporting Tool (DRT)
2 Pages

